SignUp Process
New to CaseDrive? Don’t worry! Our straightforward sign-up process will have you connected and manage your cases in no time.
Visit the SignUp Page:
- Go to the CaseDrive SignUp page by visiting https://casedrive.lezdotechmed.com/client/register
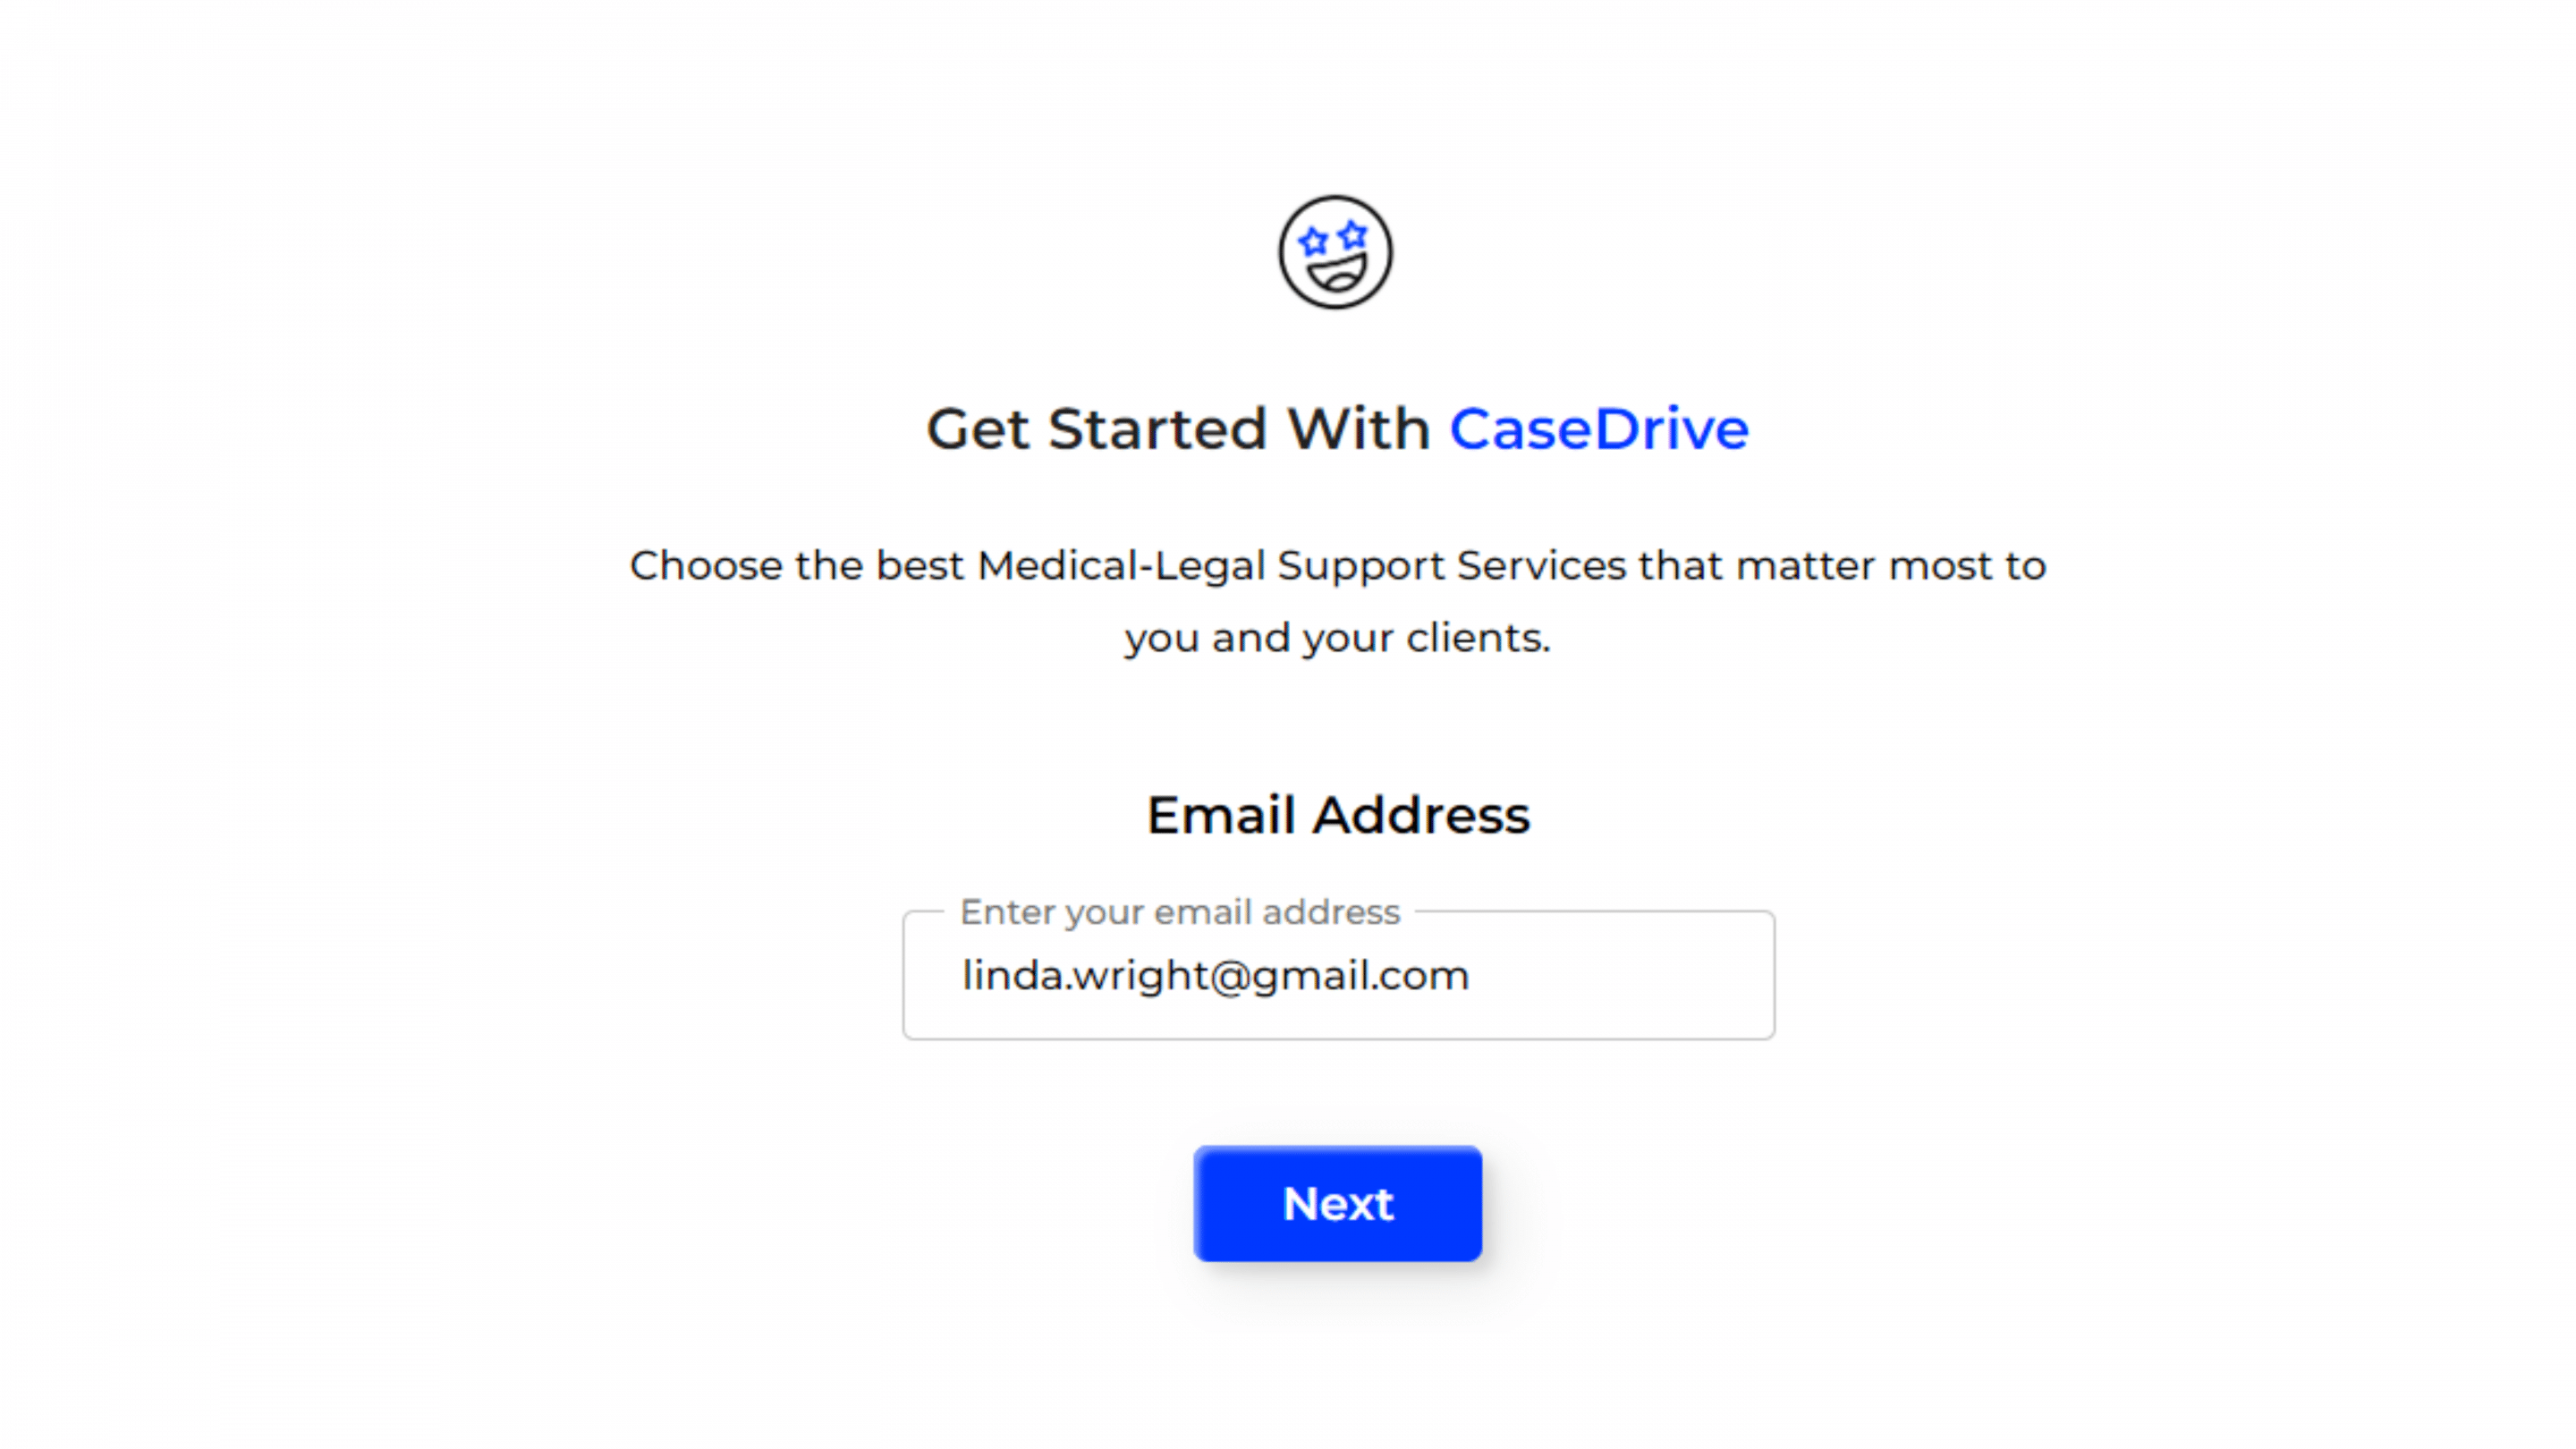
Enter Your Email Address
- On the Sign Up page, you will be prompted to enter your email address.
- Type your email address in the provided field and click the “Next” button.
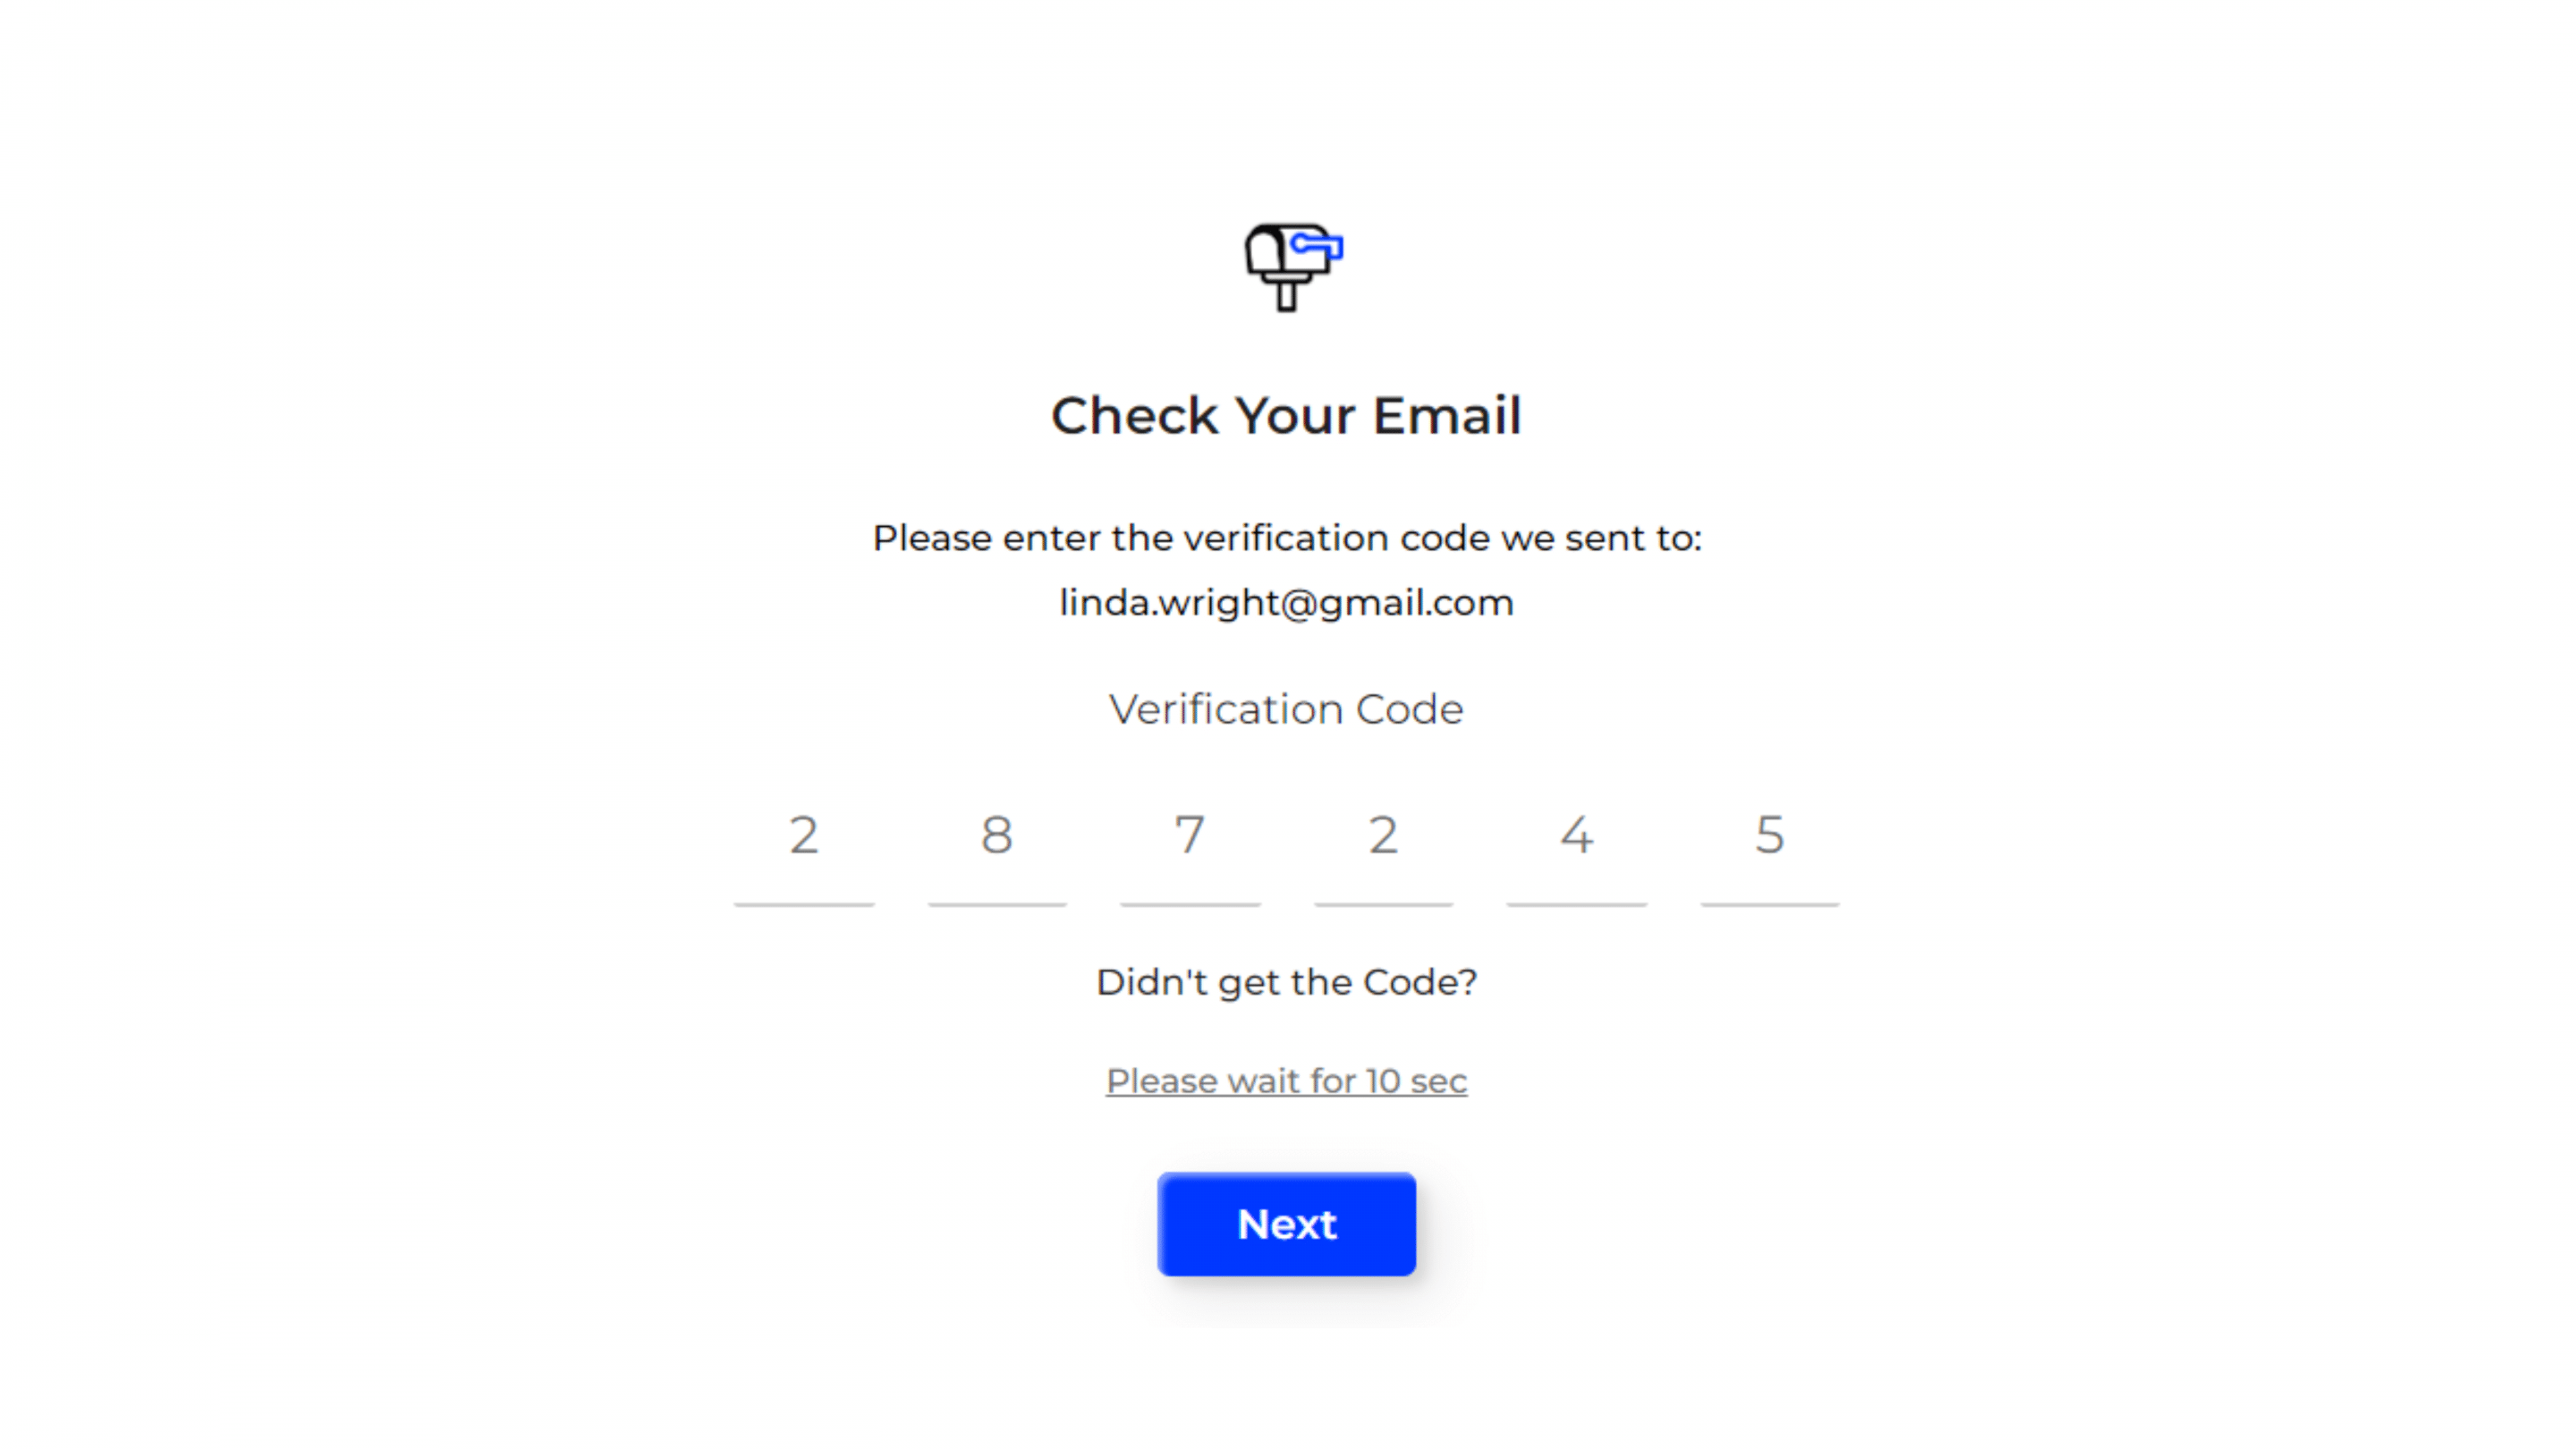
Verify Your Email
- After entering your email address, you will receive a verification email.
Note: The verification code may come in your spam or junk folder. Be sure to check these folders if you do not see the email in your inbox.
- Enter the verification code from your email into the provided fields and click “Next”.
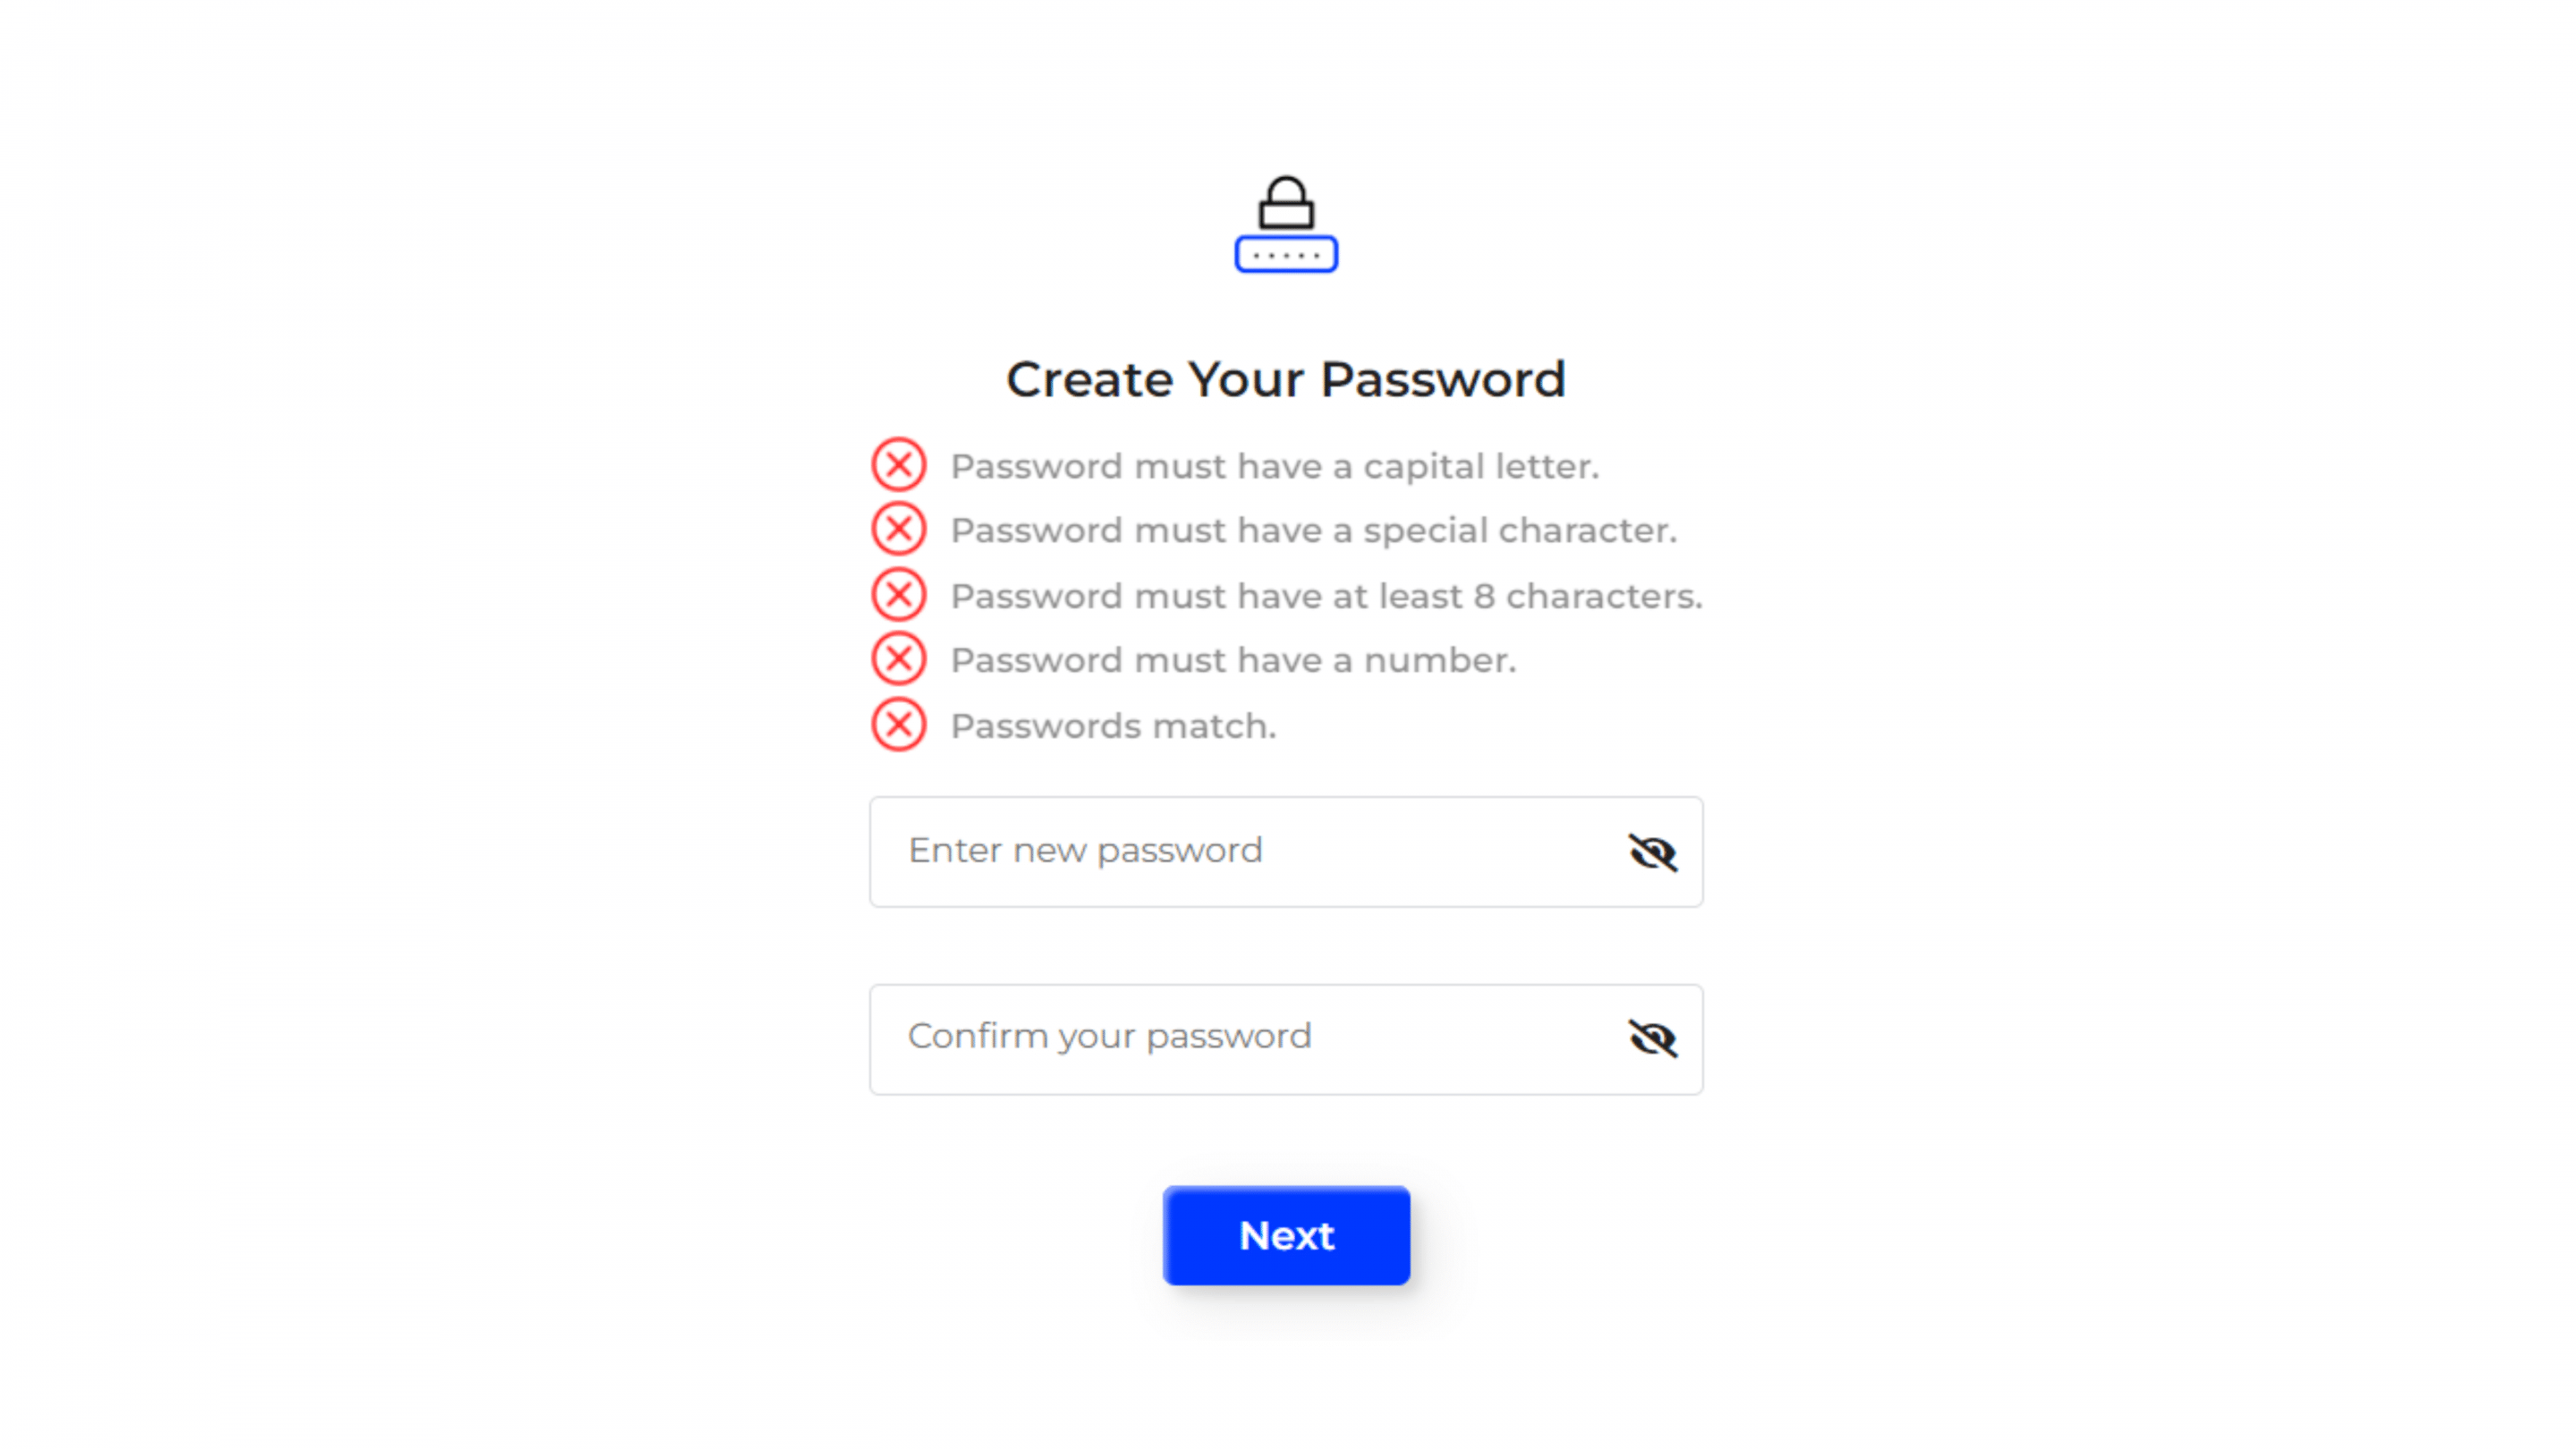
Create Your Password:
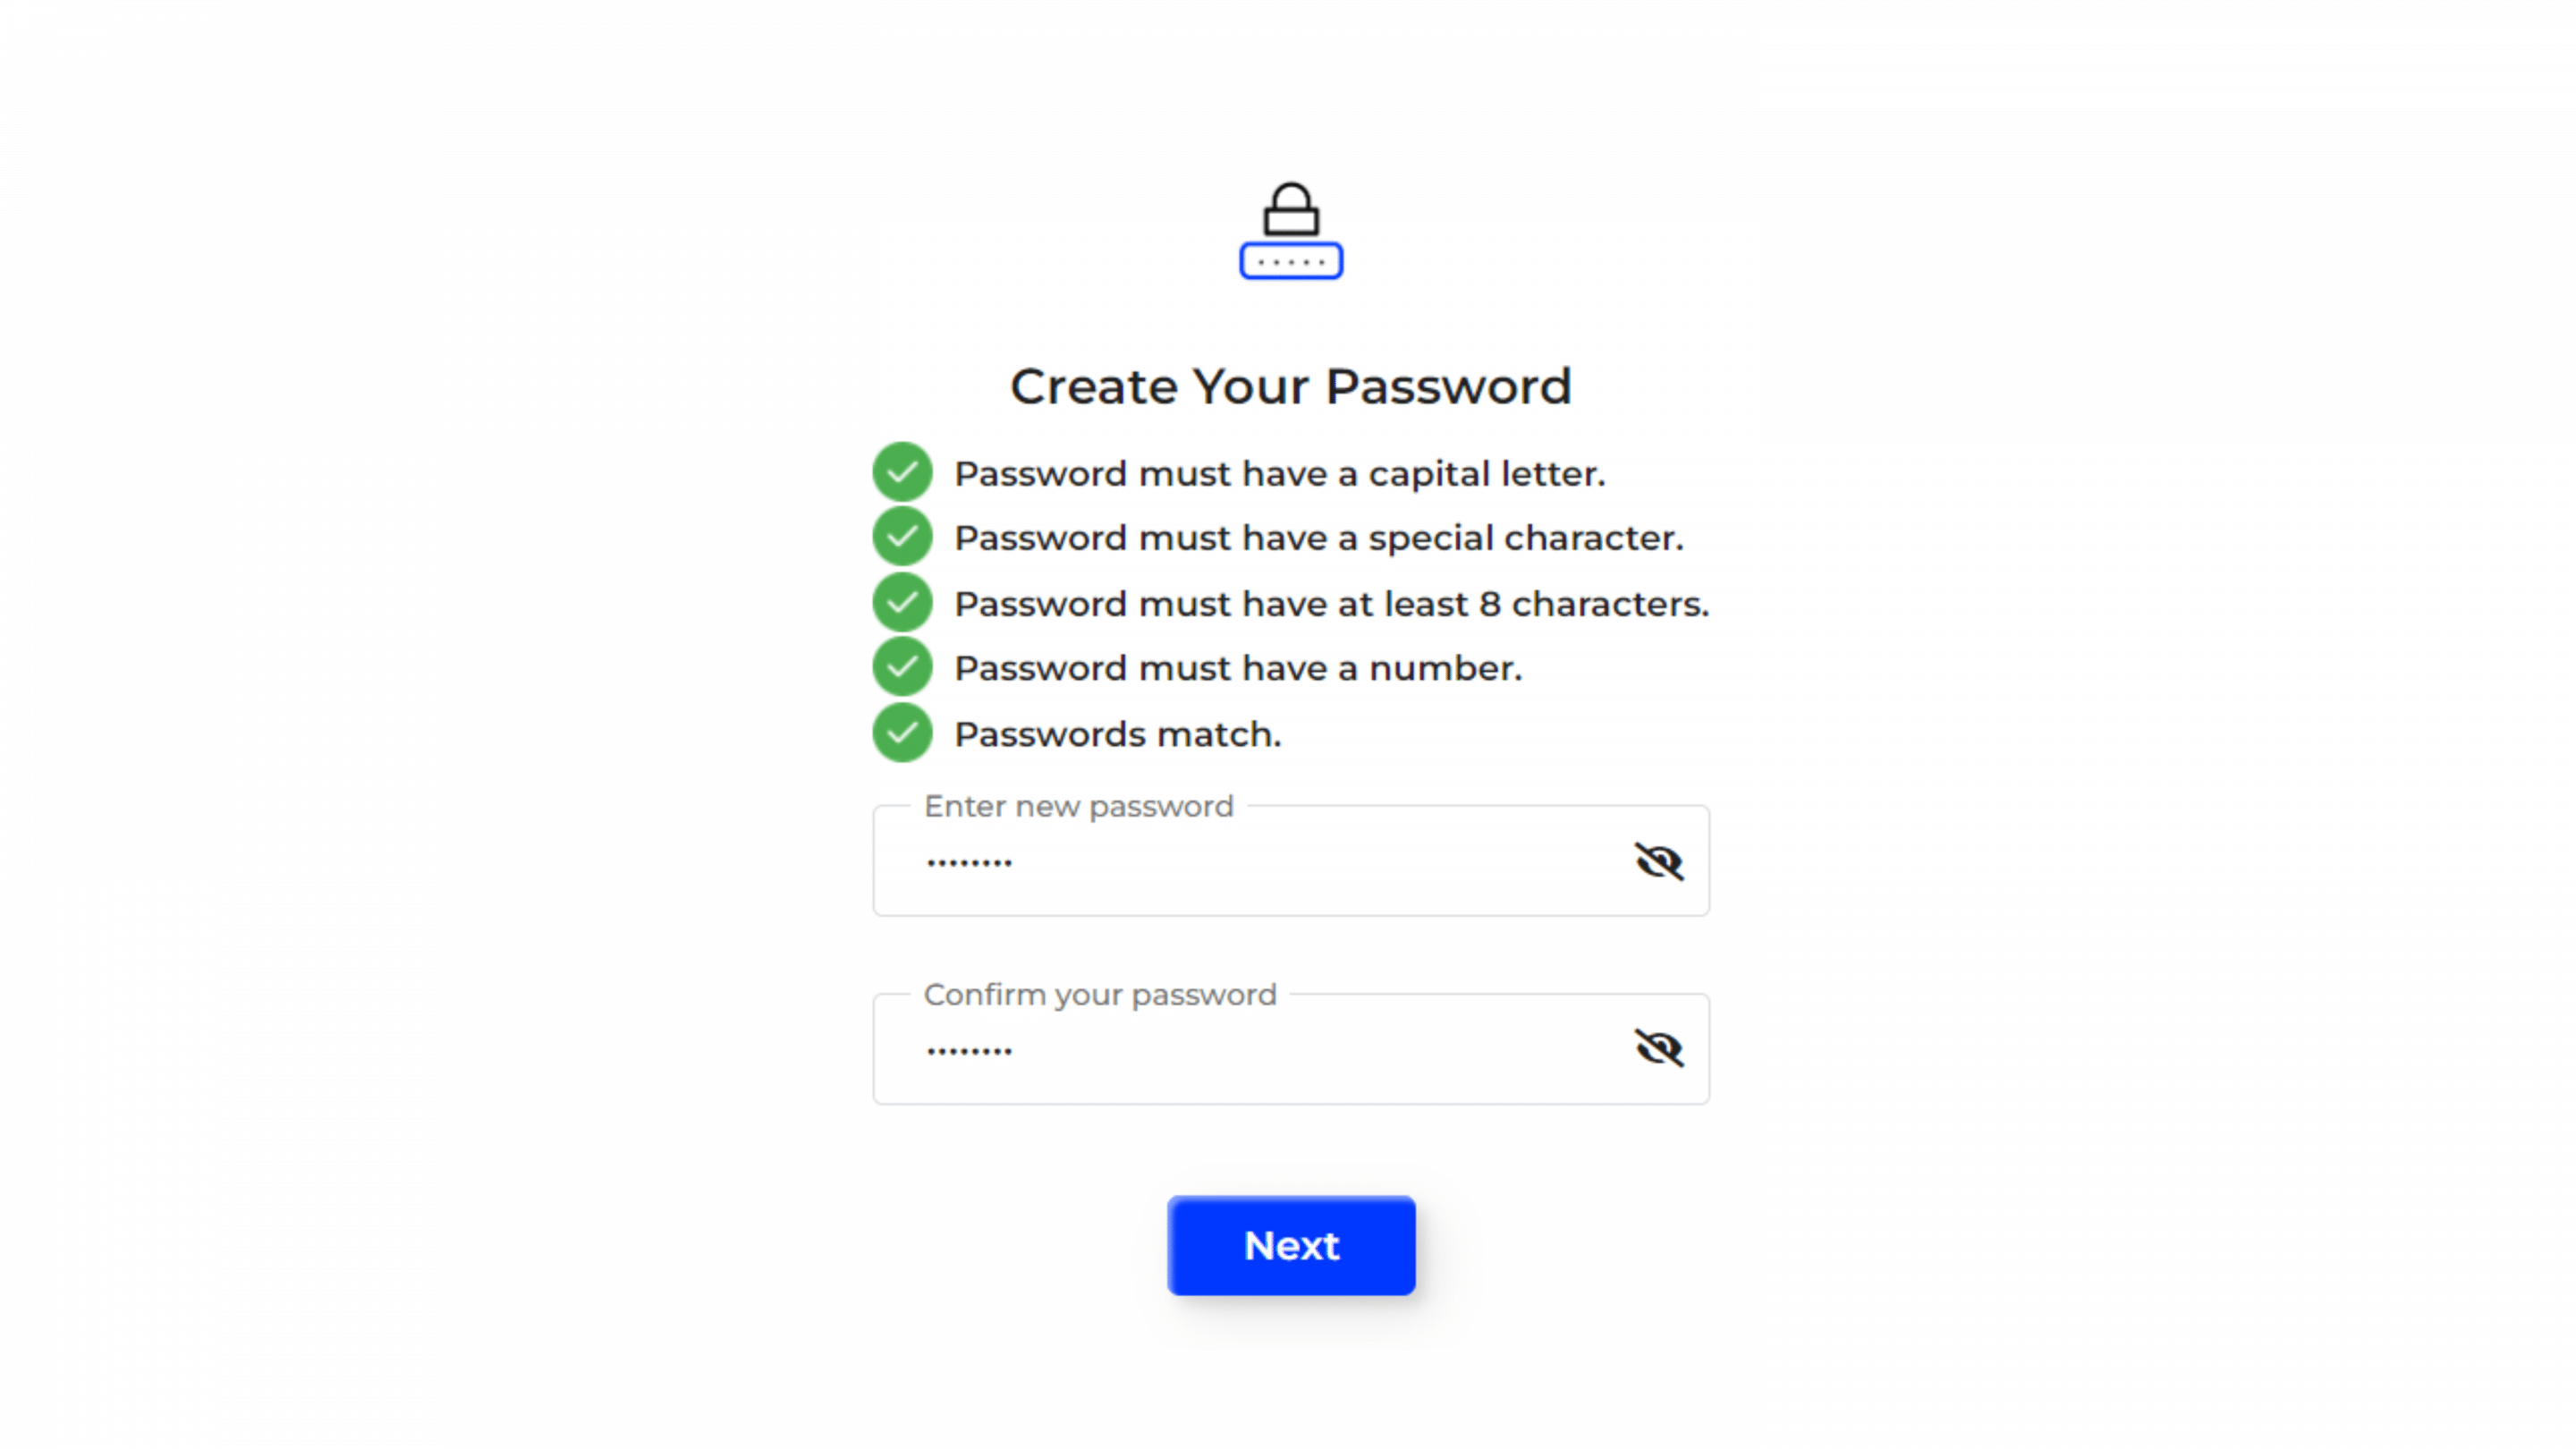
- Create a strong password for your CaseDrive account. Your password must have a capital letter, special character, at least 8 characters, and a number.
- Enter the password in the designated fields and click “Next”.
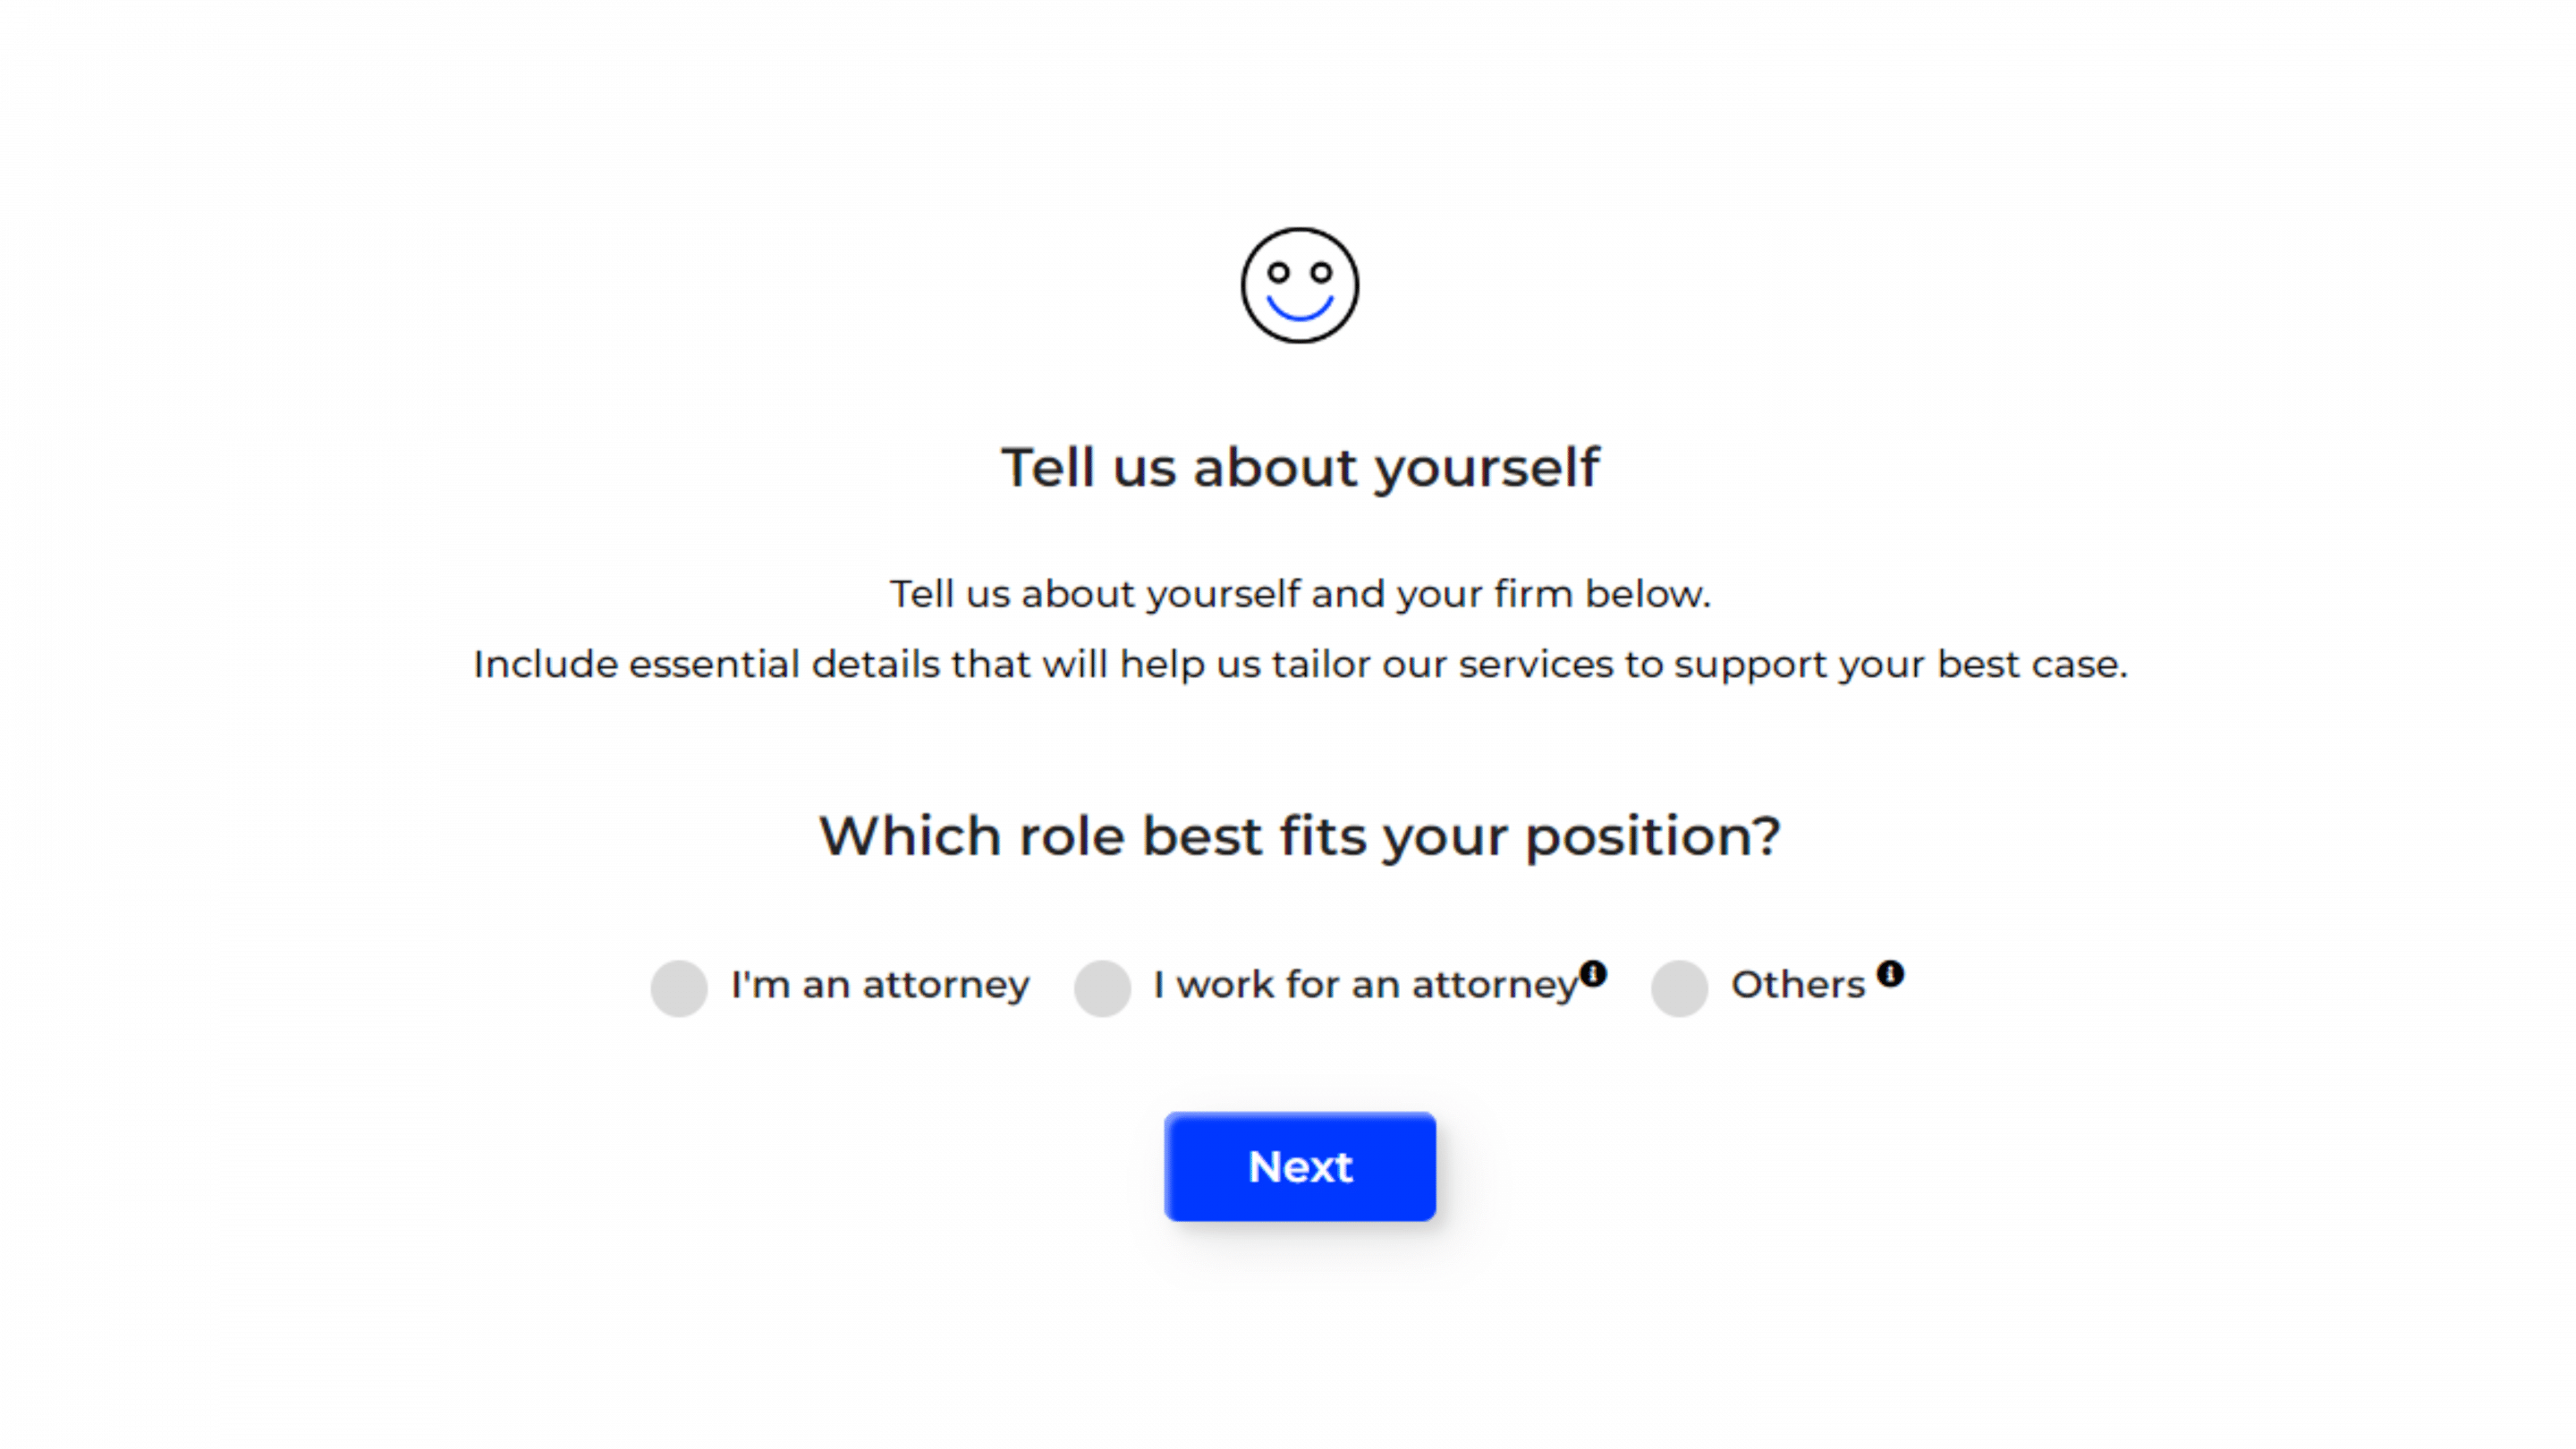
Tell Us About Yourself
Congratulations on creating your CaseDrive account! Now, tell us a little about yourself and your firm, so we can tailor our services to meet your unique needs.
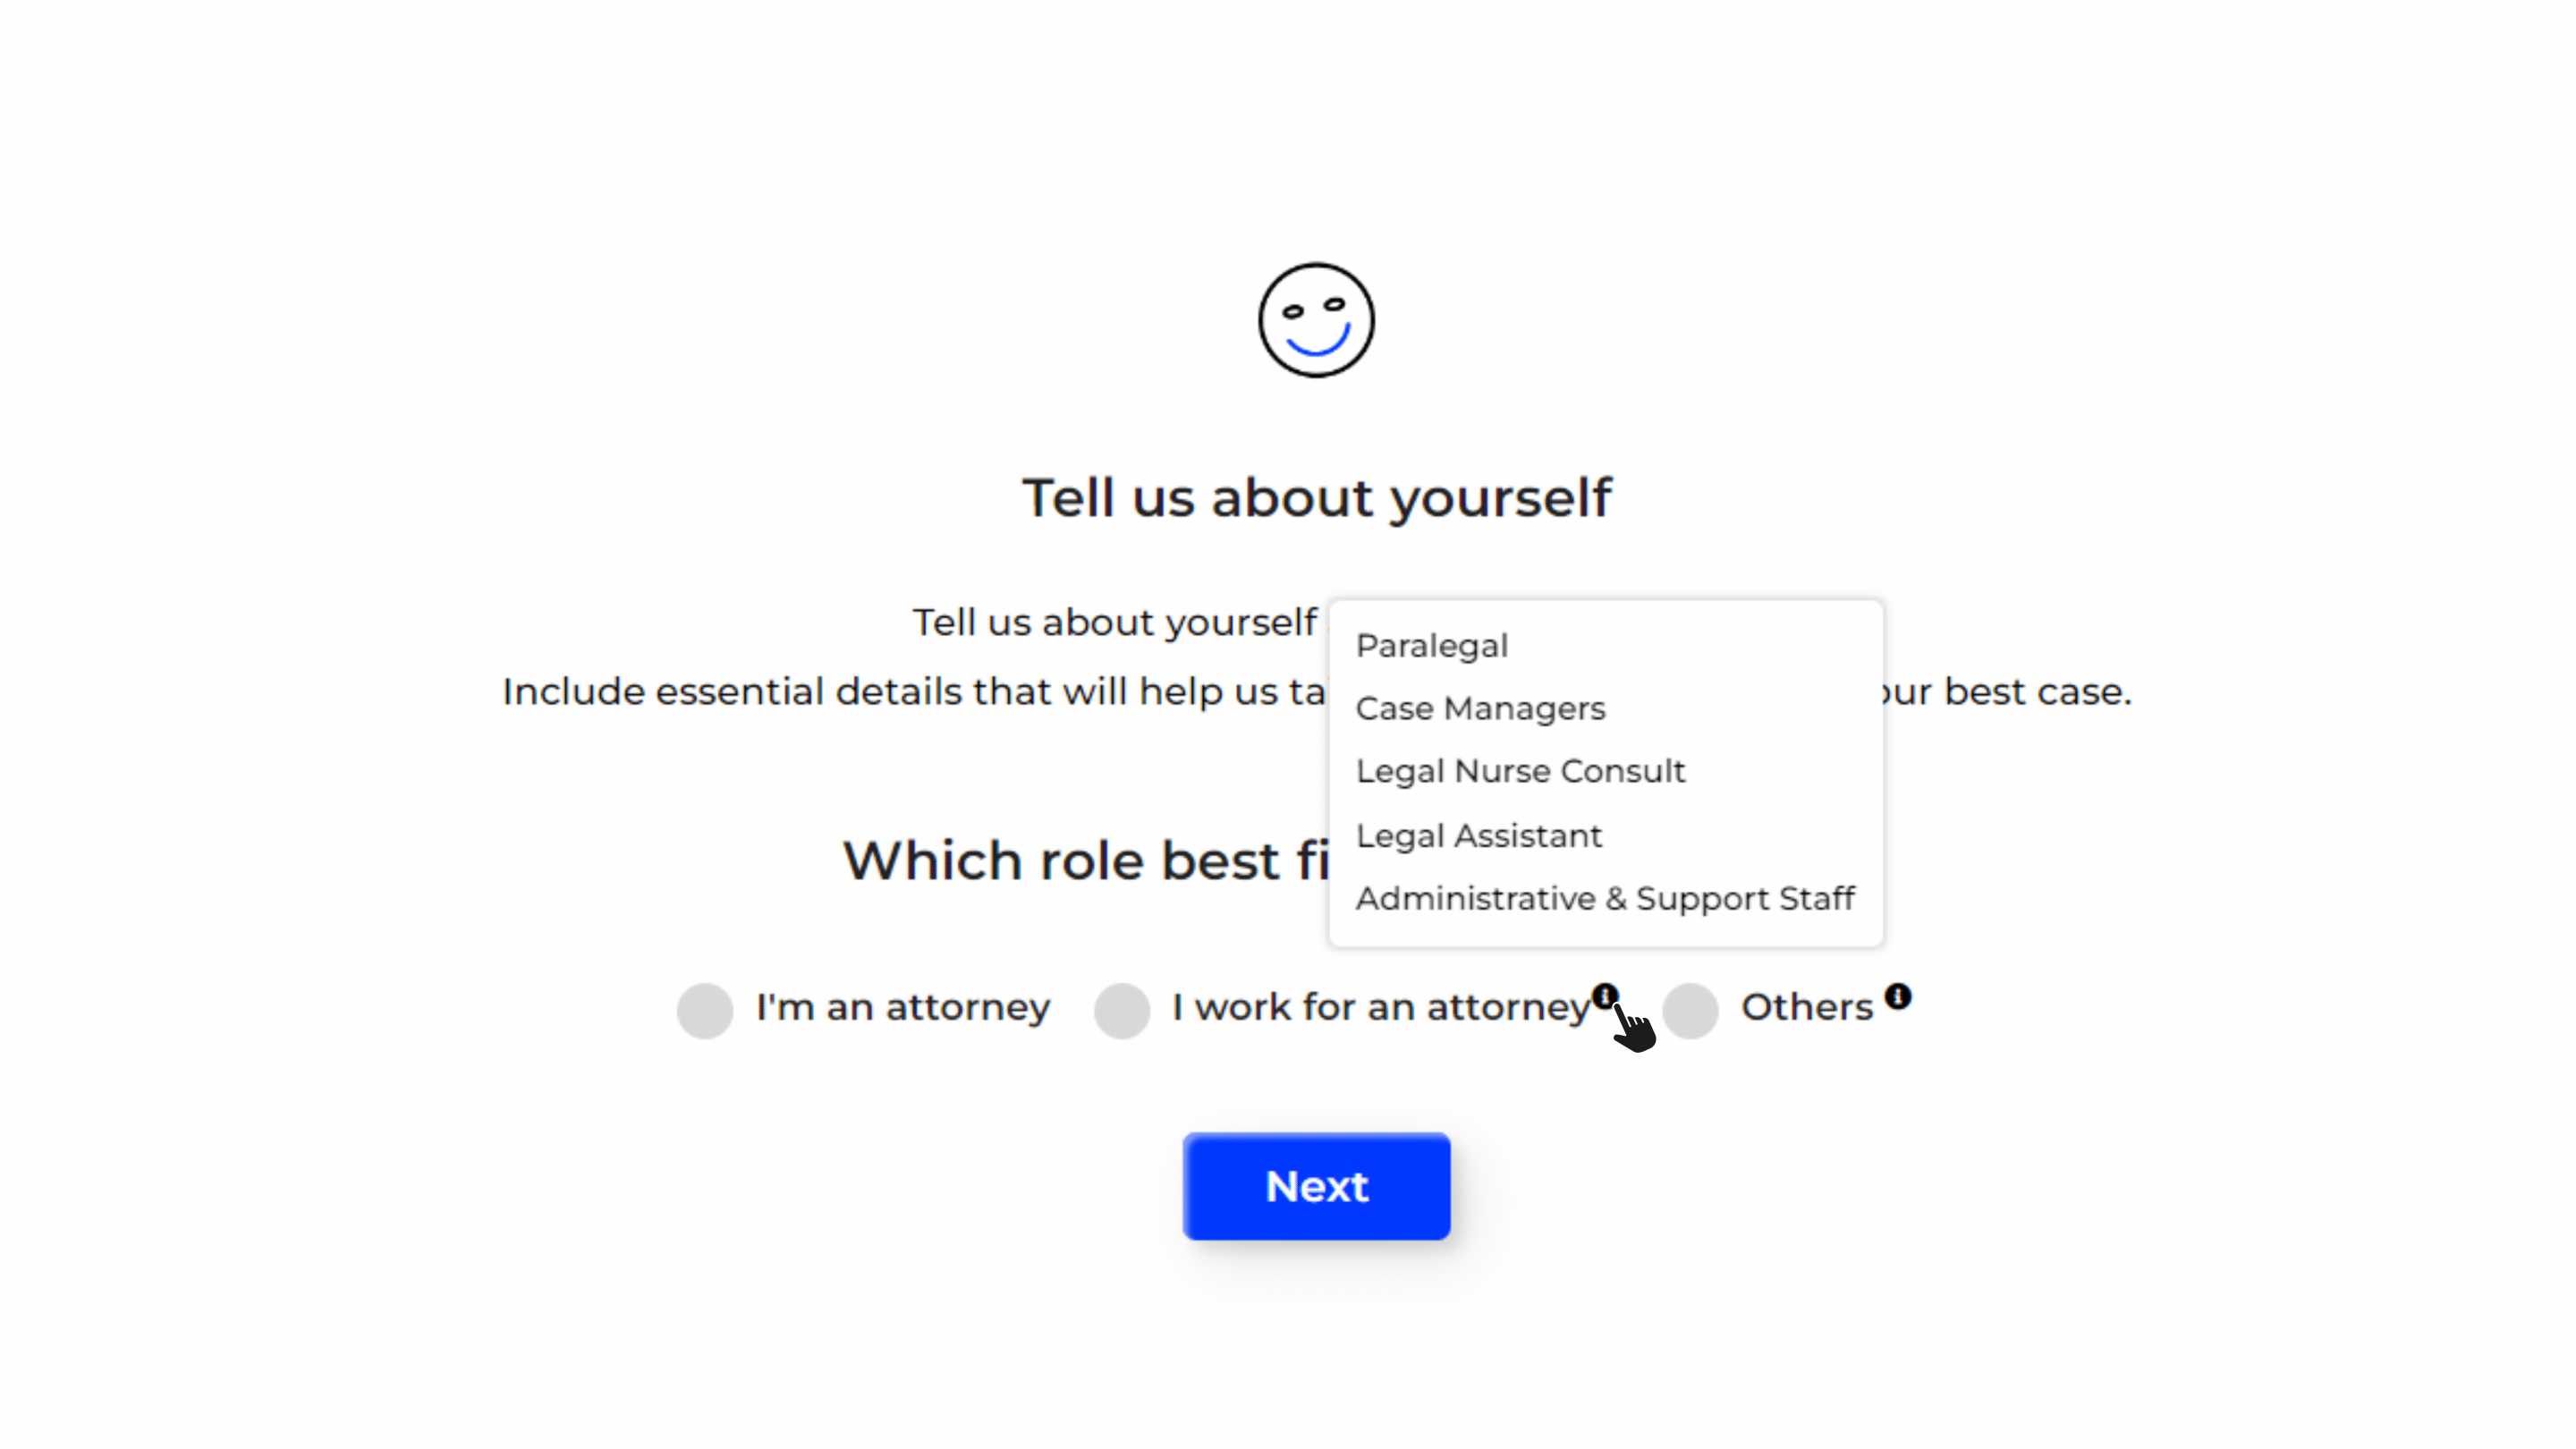
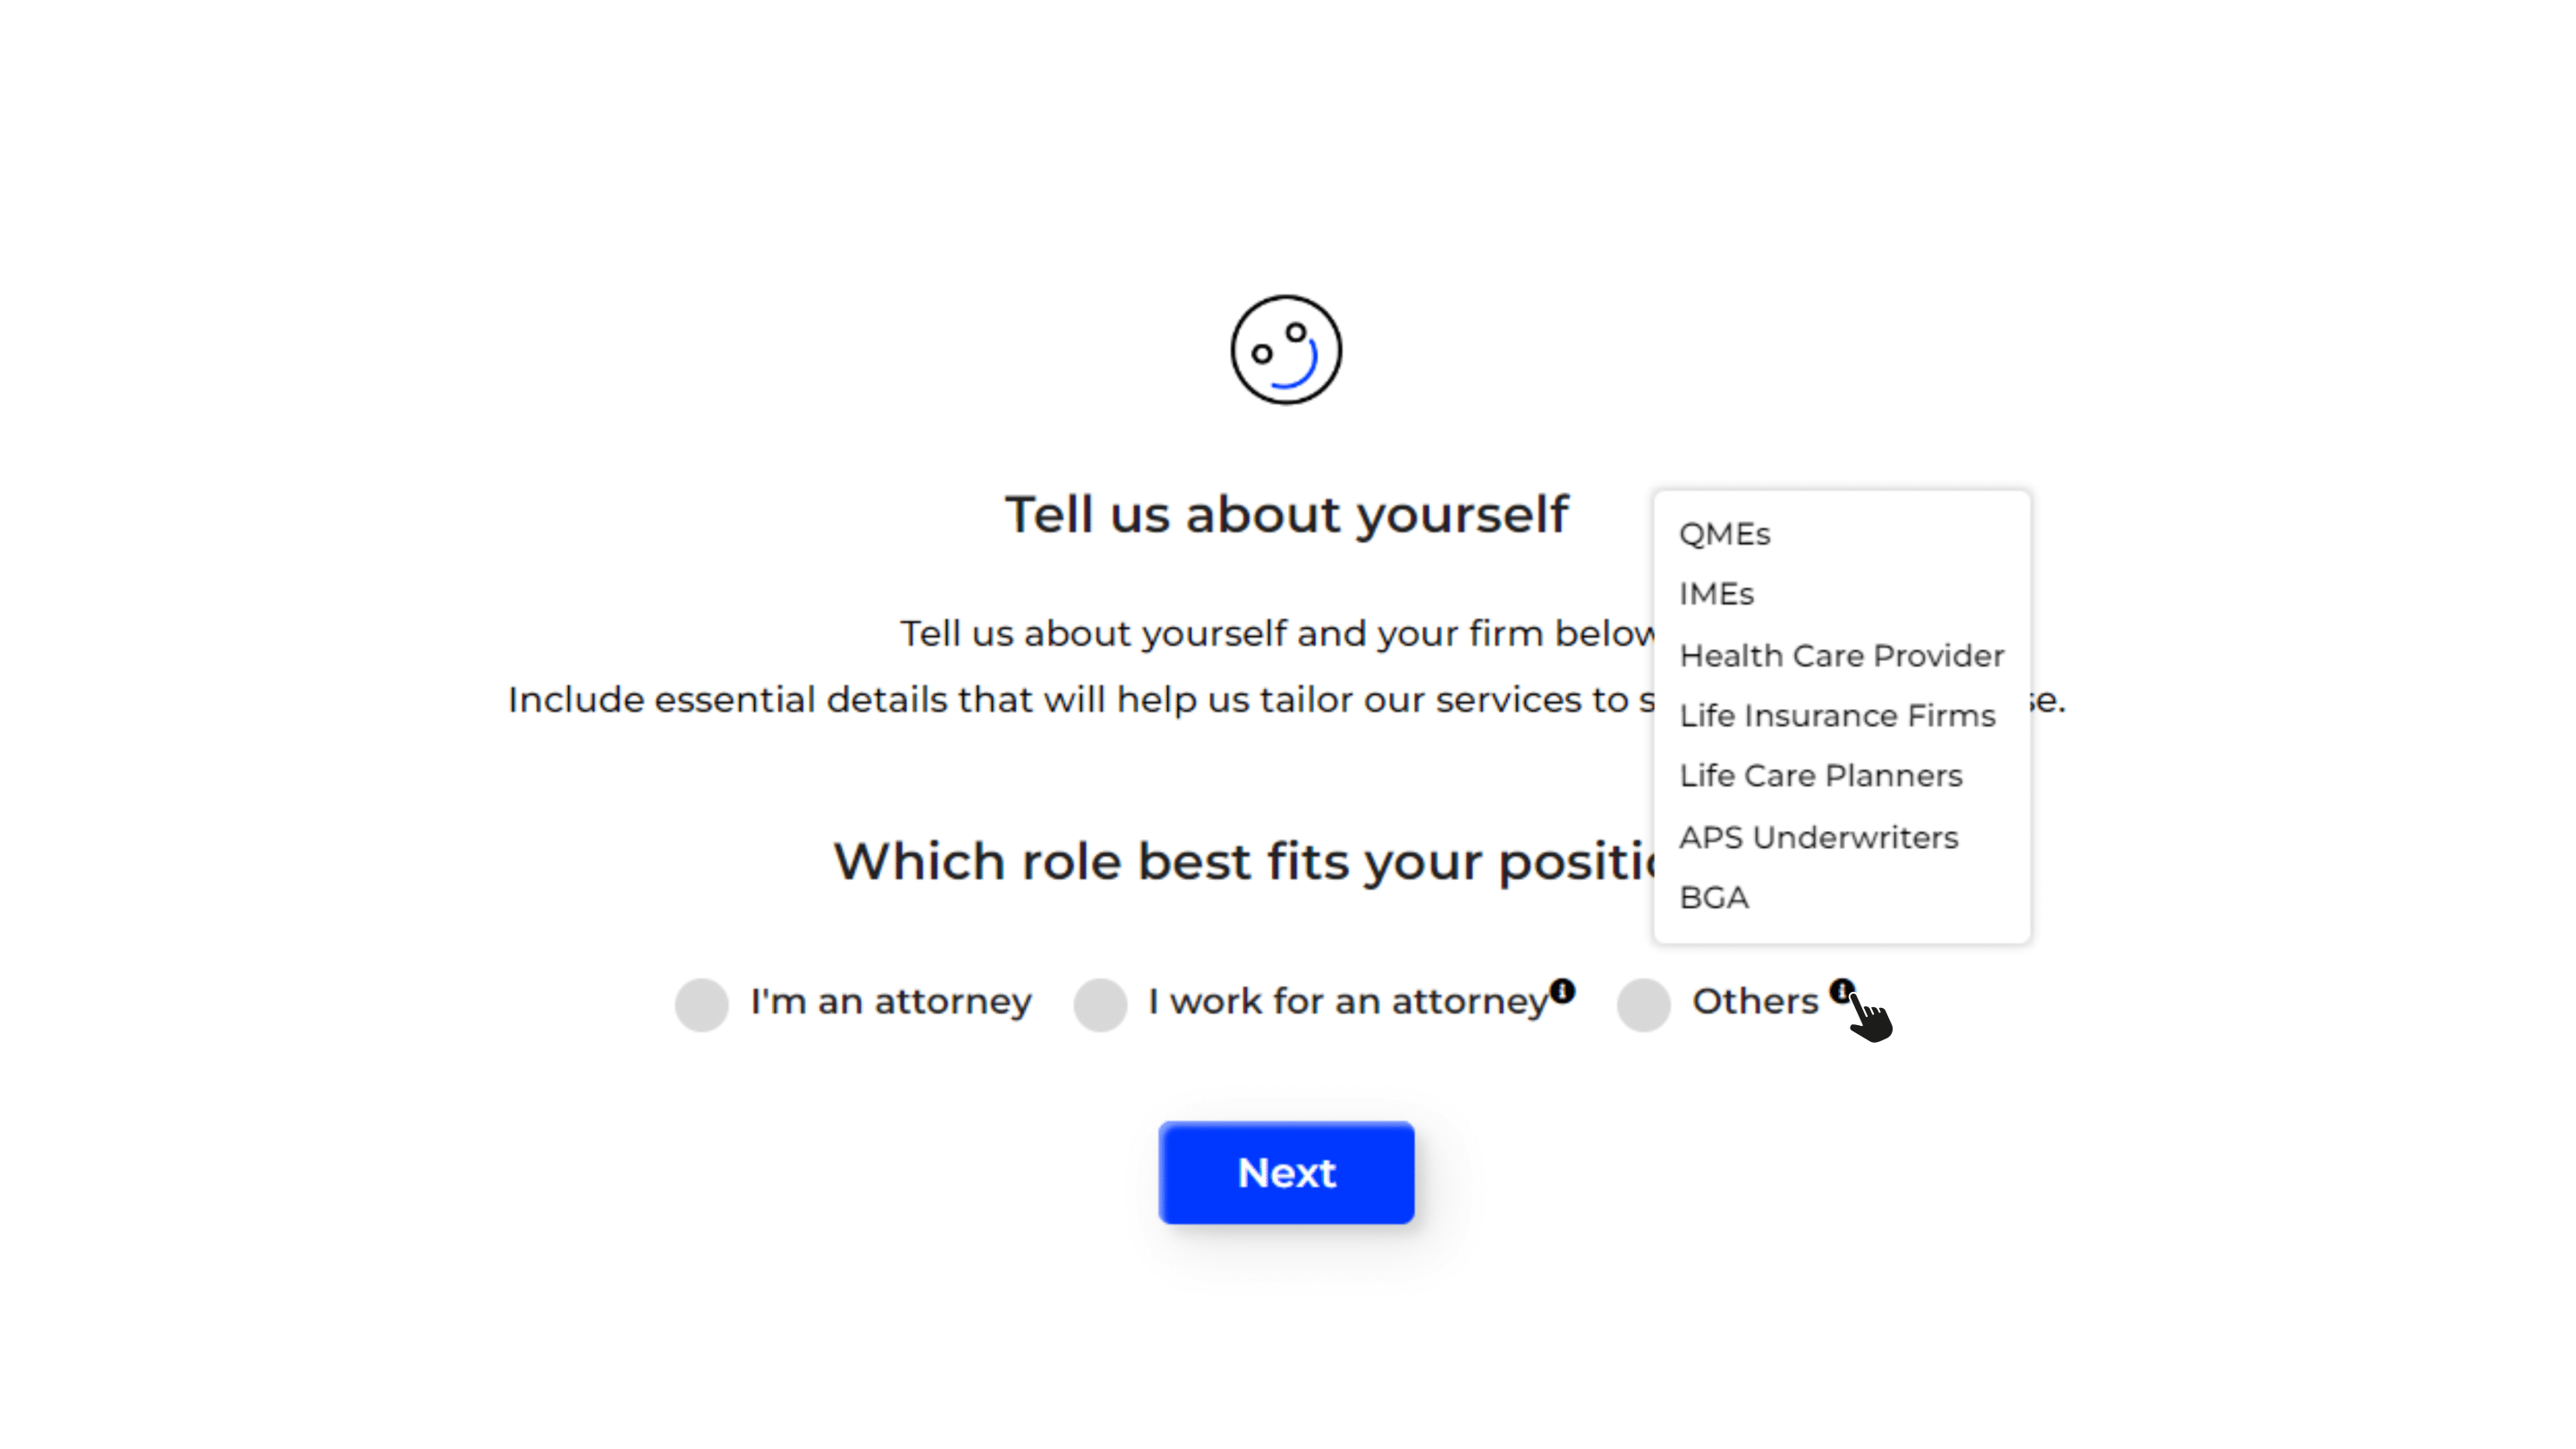
- Provide details about your role. Select one of the following:
- I’m an attorney.
- I work for an attorney (options include Paralegal, Case Managers, Legal Nurse Consultant, Legal Assistant, Administrative & Support Staff).
- Others (options include QMEs, IMEs, Health Care Provider, Life Insurance Firms, Life Care Planners, APS Underwriters, BGA).
- Click “Next”
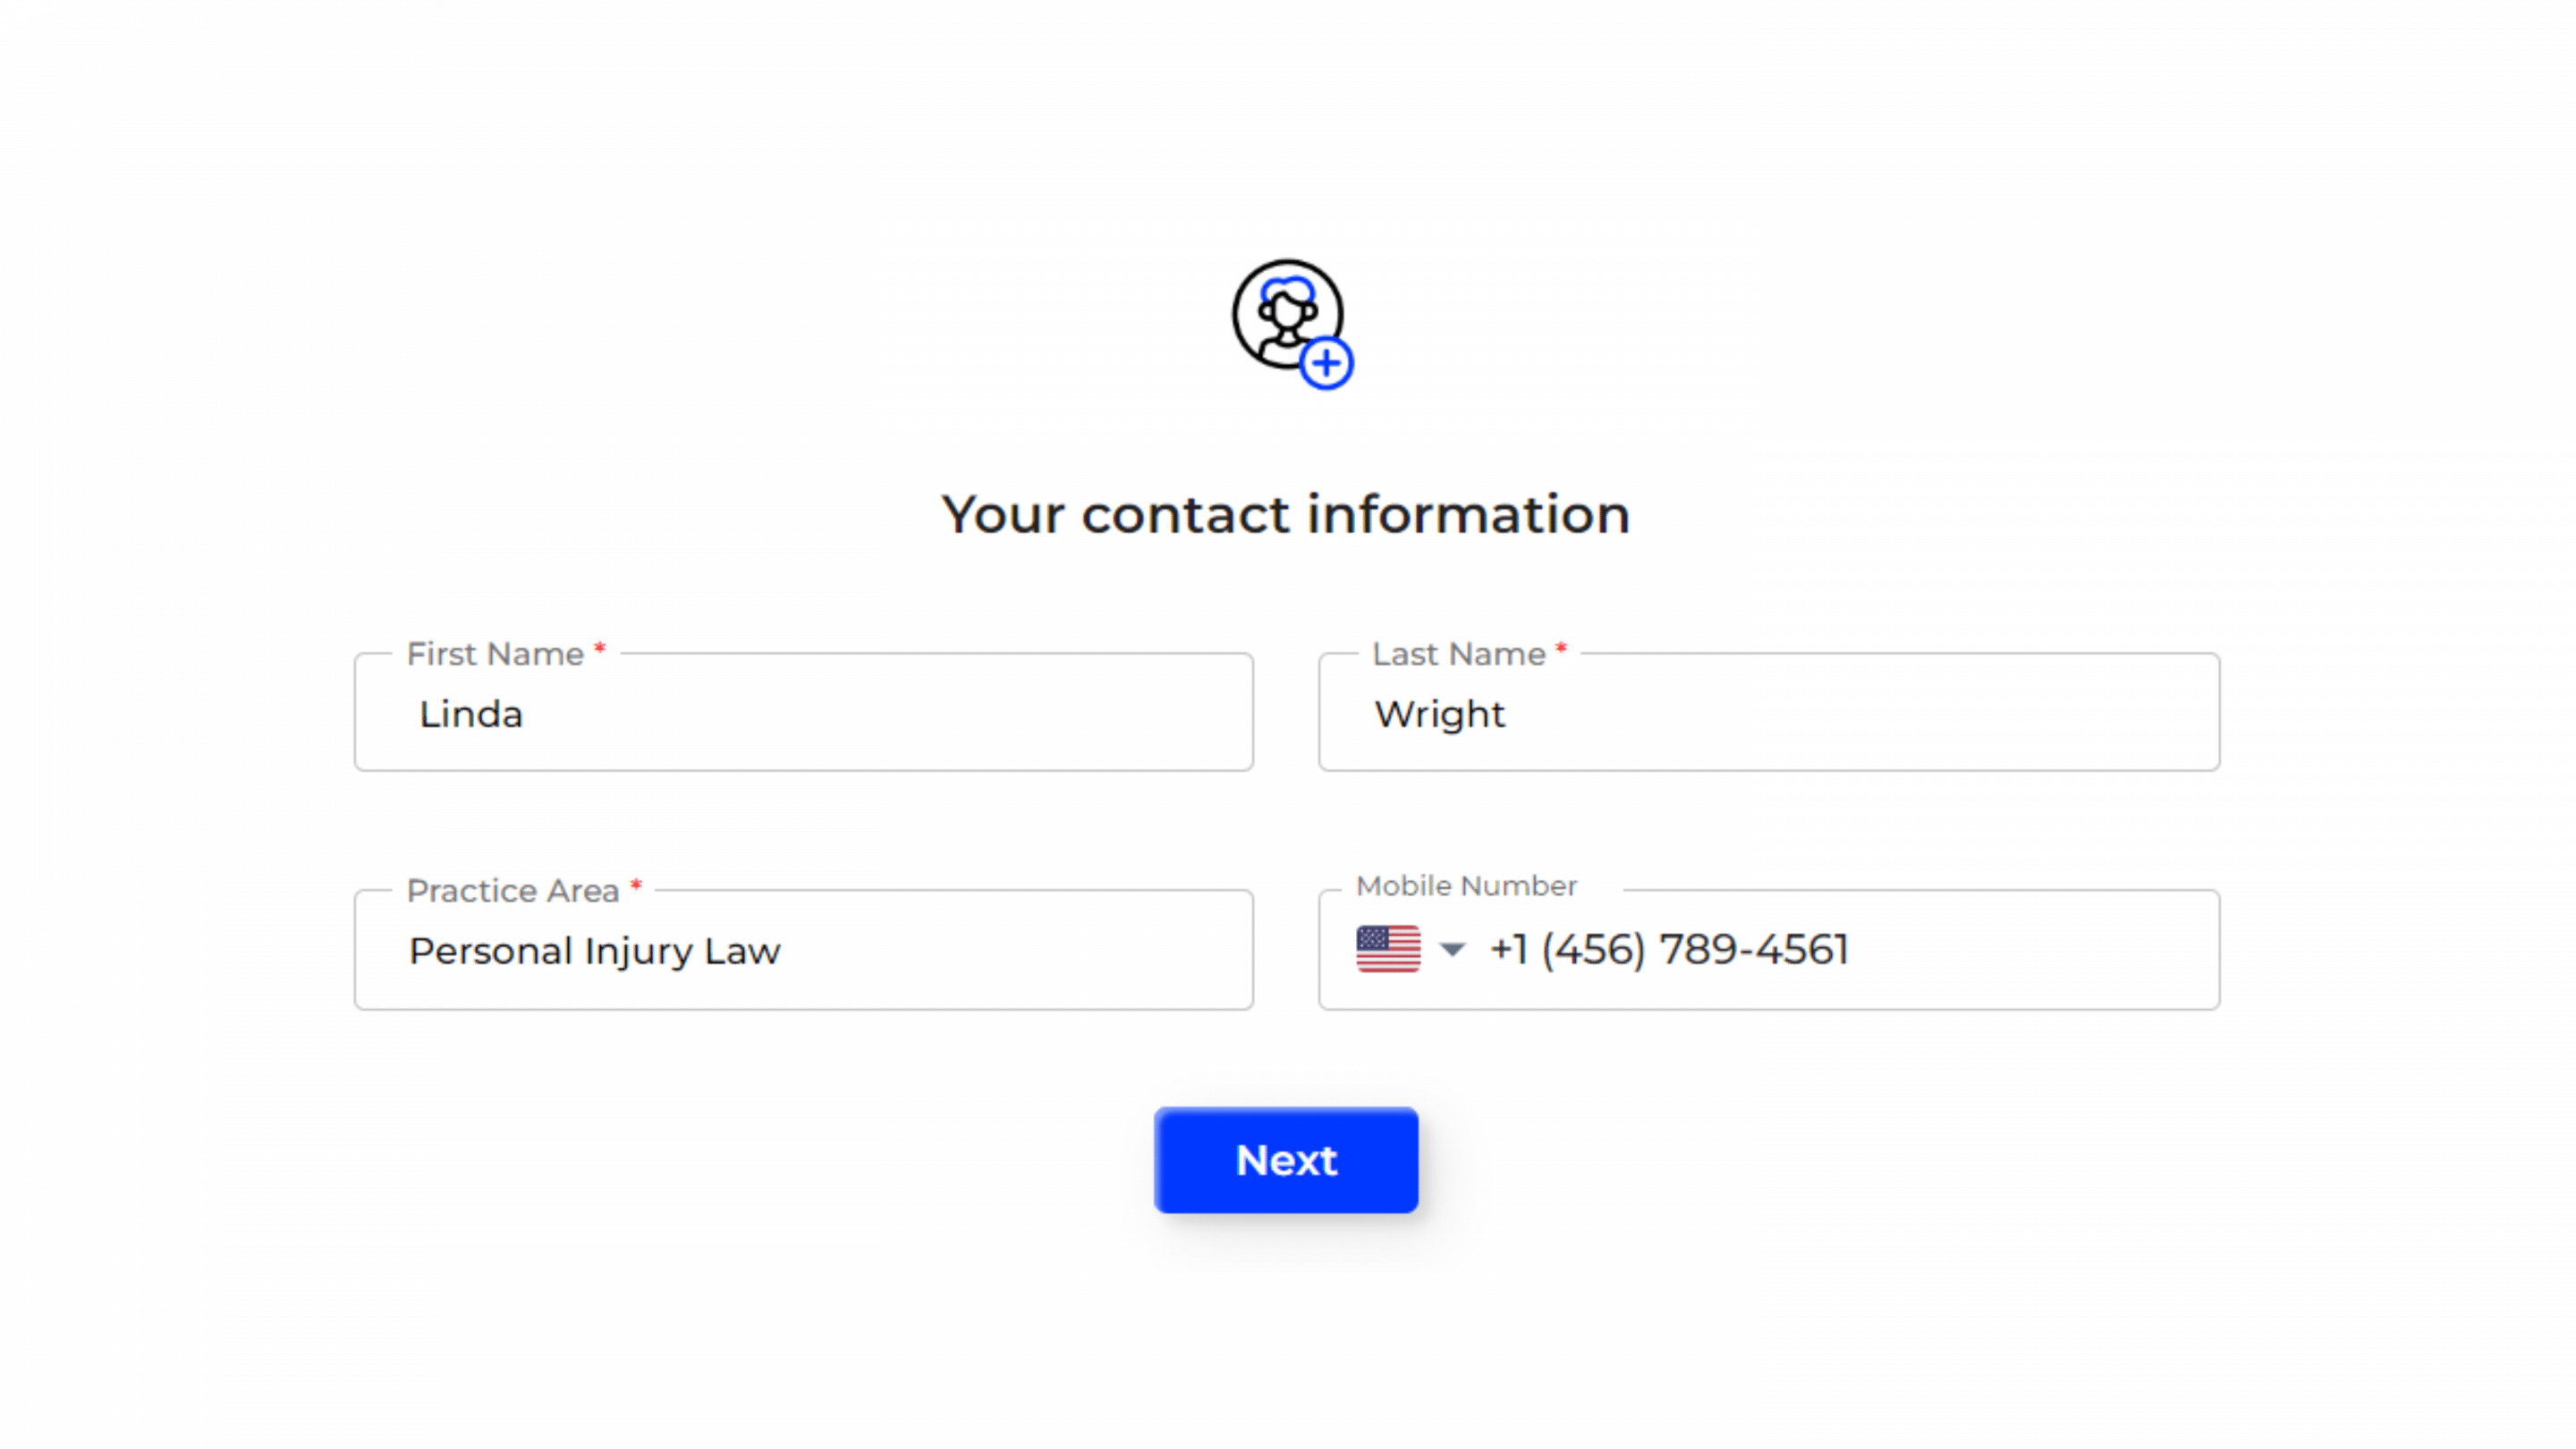
Your Contact Information
After detailing your role, proceed to fill in your contact information to complete your profile.
- Enter the following details:
- First Name
- Last Name
- Practice Area (e.g., Criminal Law, Personal Injury)
- Mobile Number
- Click “Next”.
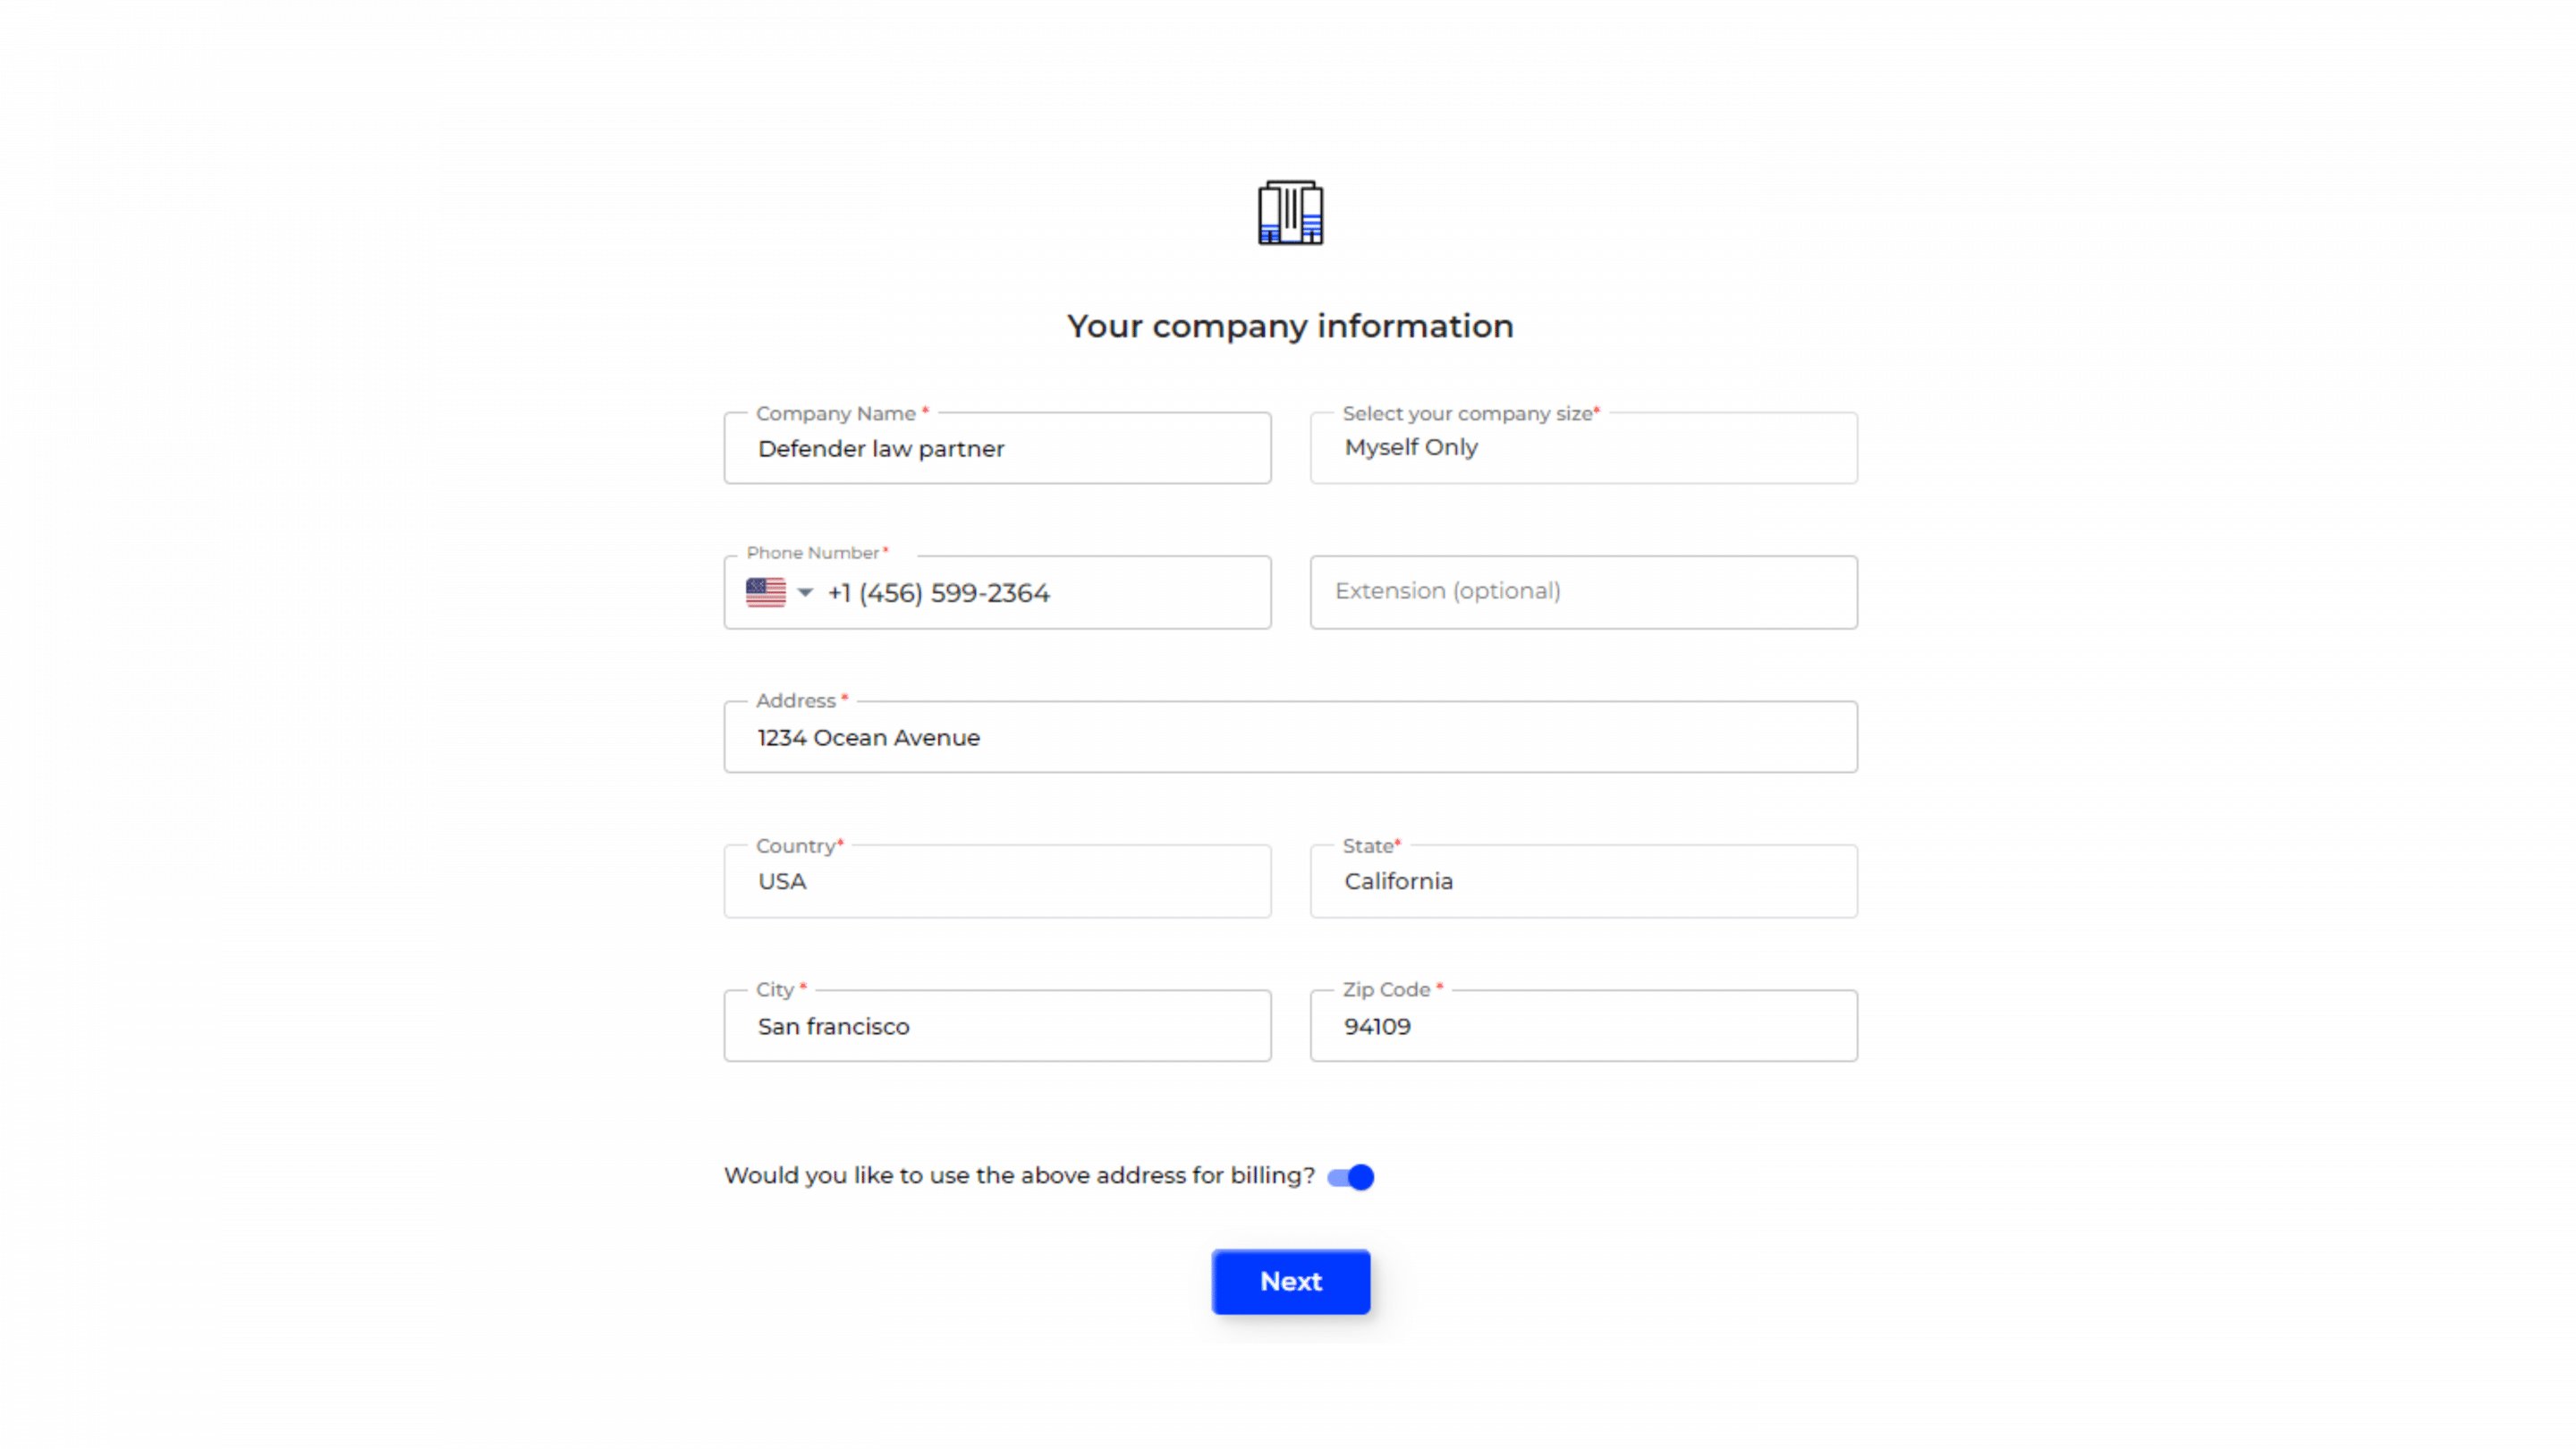
Your Company Information
Once your contact information is set, move on to complete your company details.
- Provide your company details, including:
- Company Name
- Select Company Size
- Phone Number
- Address
- Country
- State
- City
- Zip Code
- Indicate if you want to use the above address for billing.
- Click “Next”.
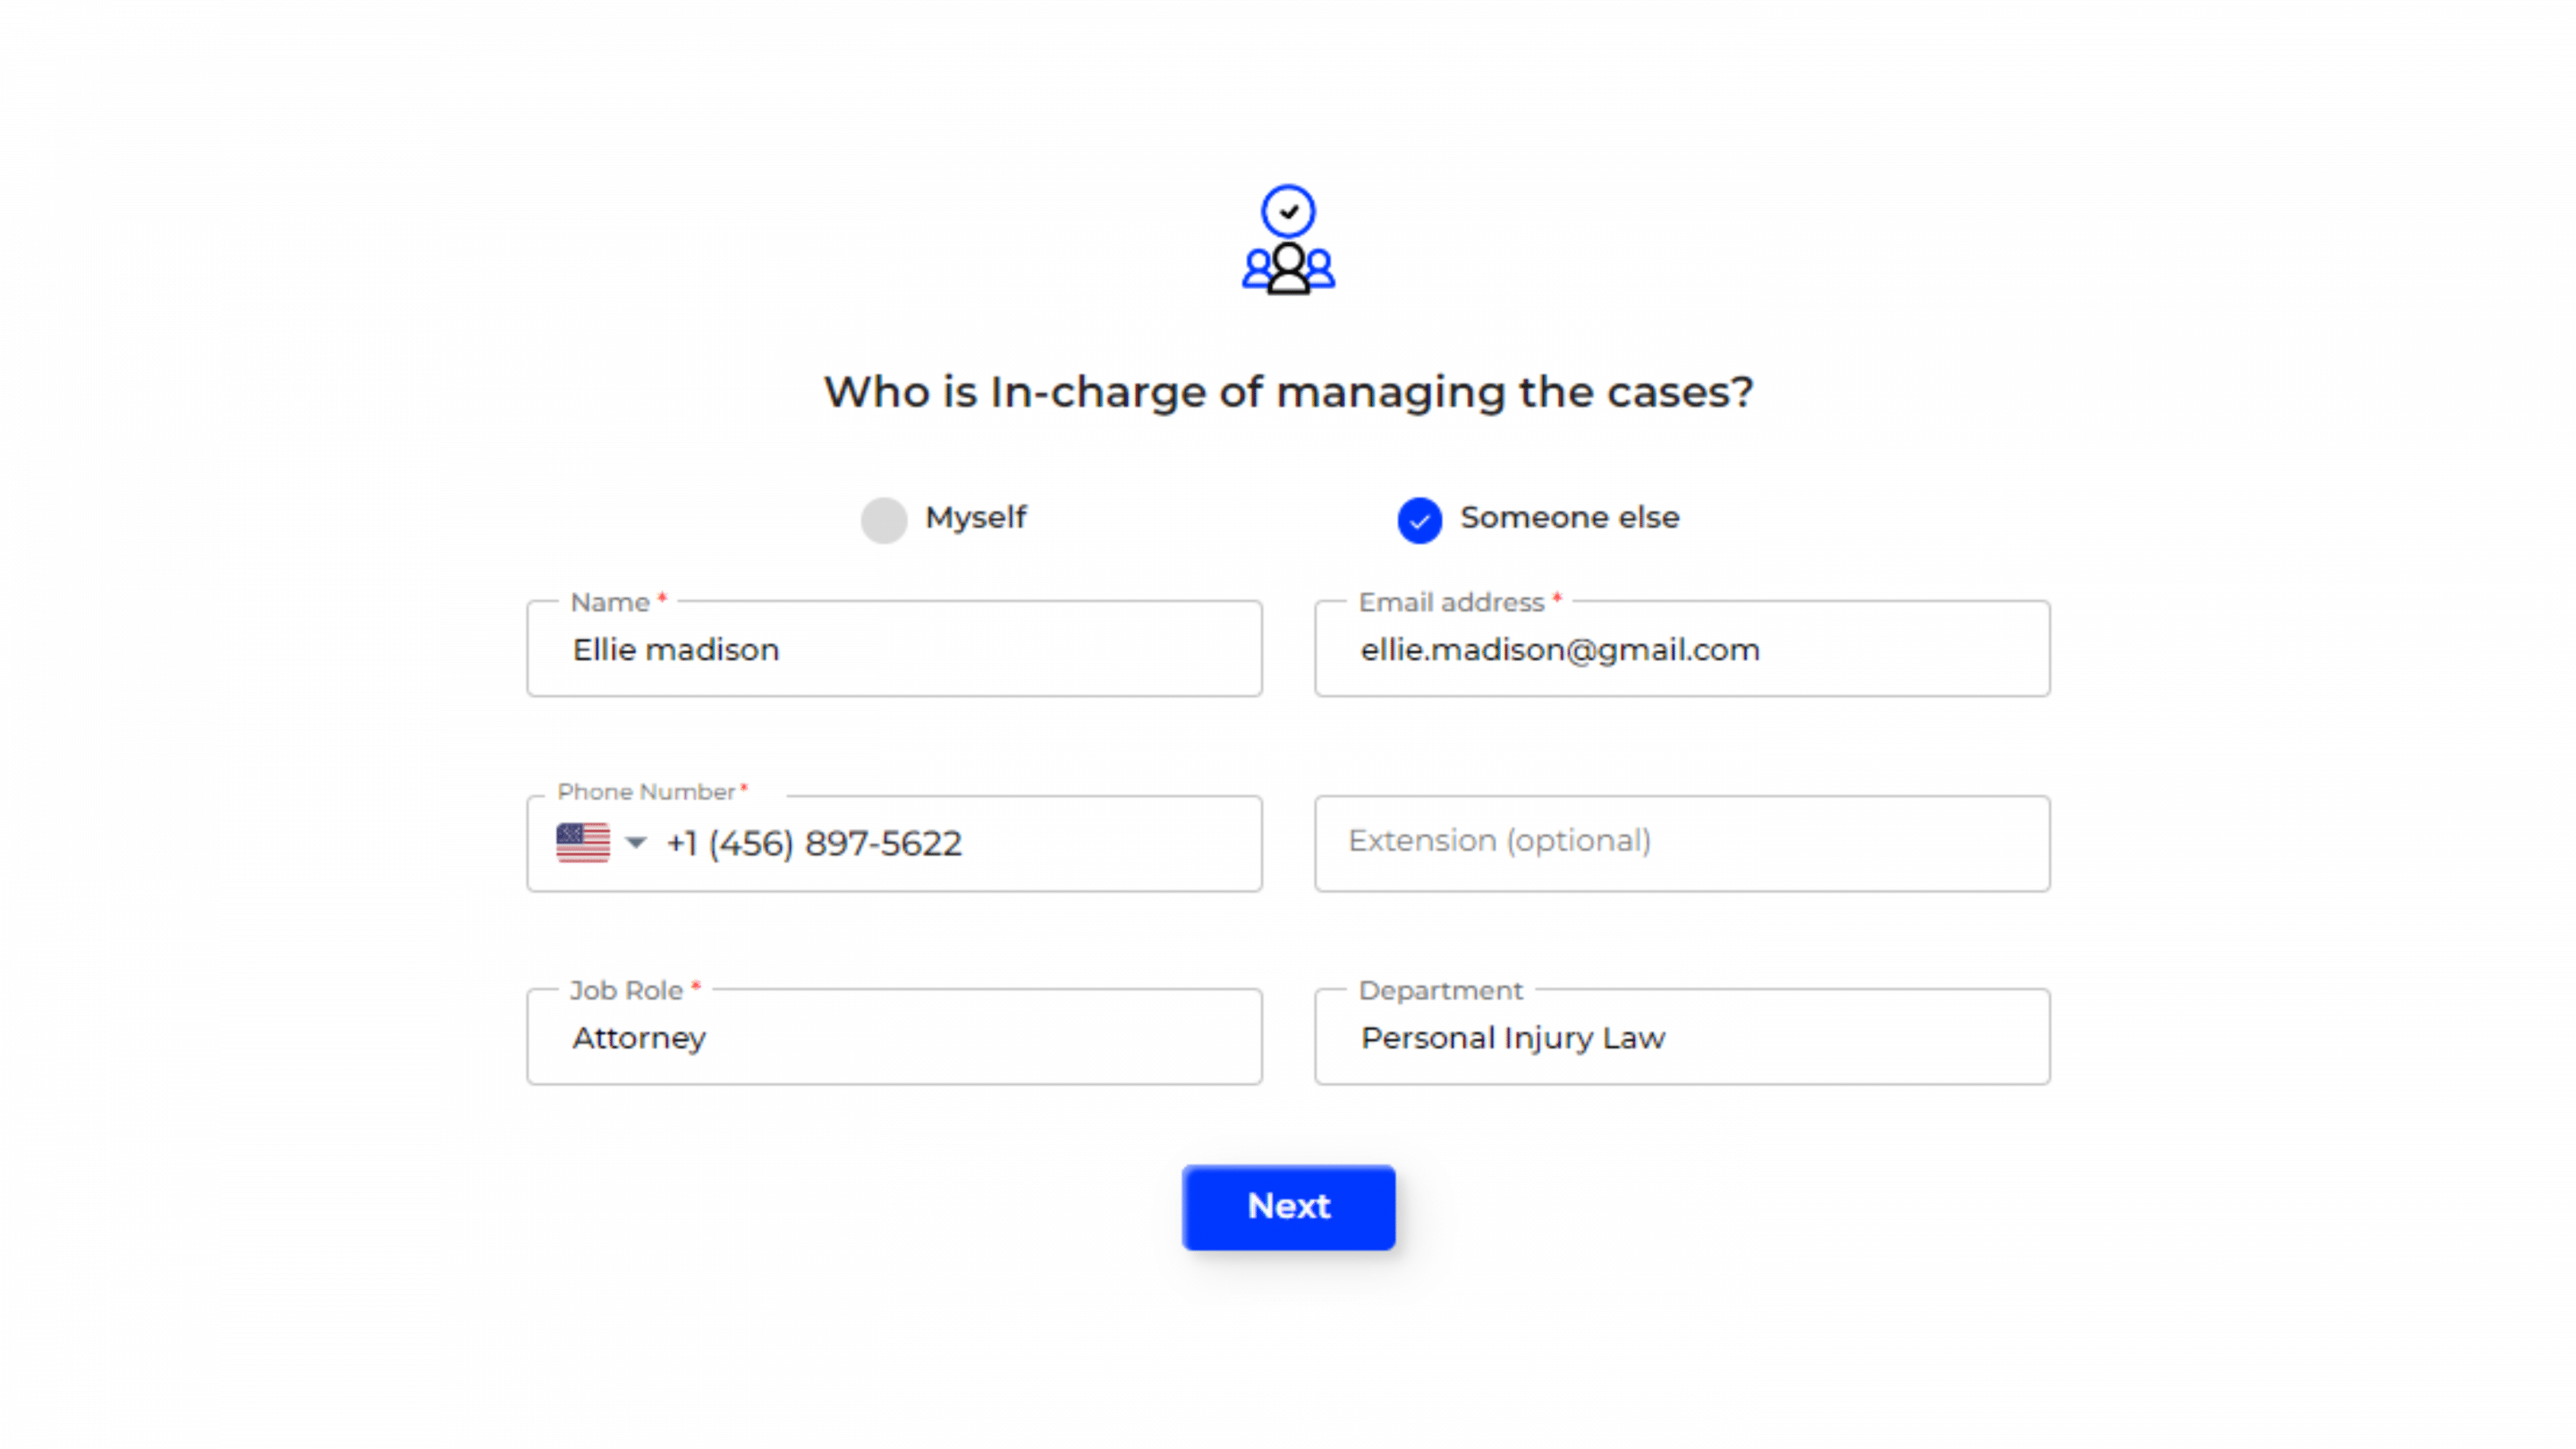
Who is In-Charge of Managing the Cases?
Next is to indicate the case manager. Indicate who will manage the case and specify whether it’s you or someone else.
- Select whether you or someone else is in charge of managing the cases.
- If selecting “Someone else,” provide their details, including:
- Name
- Email Address
- Phone Number
- Job Role
- Department
- Click “Next”.
This step assigns case management responsibilities. If another person is managing cases, their details are needed to set up their access.
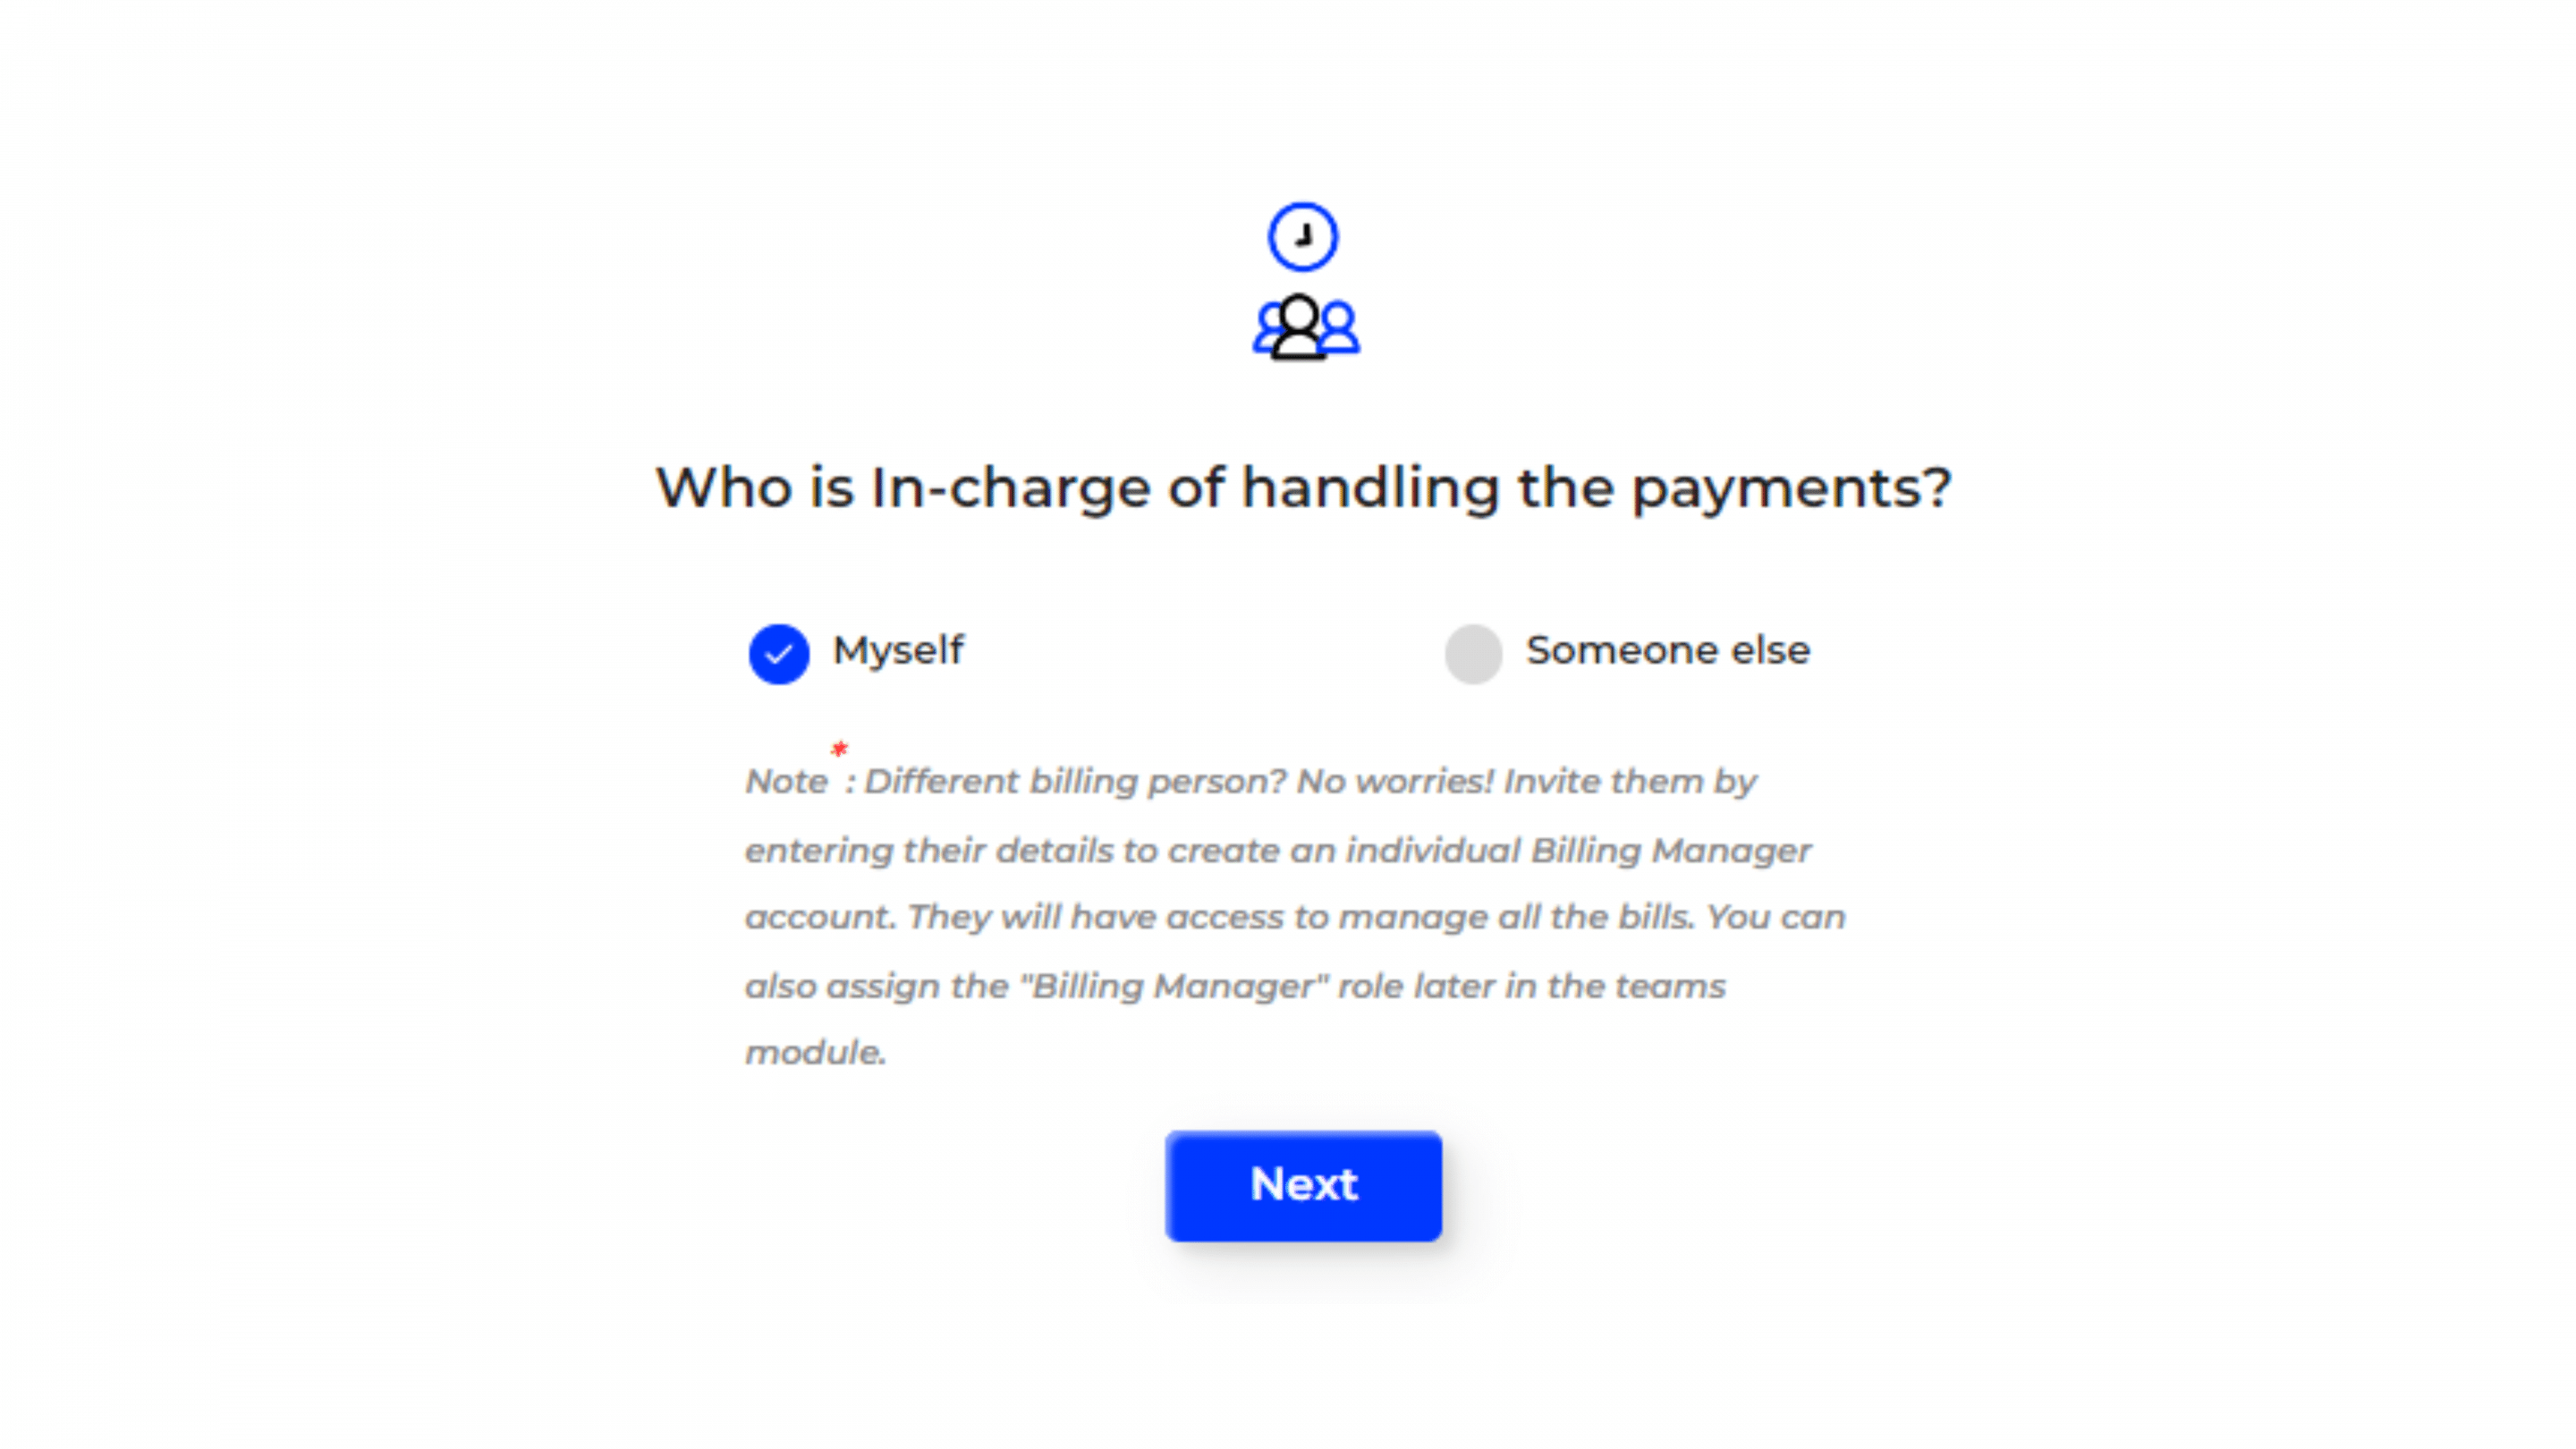
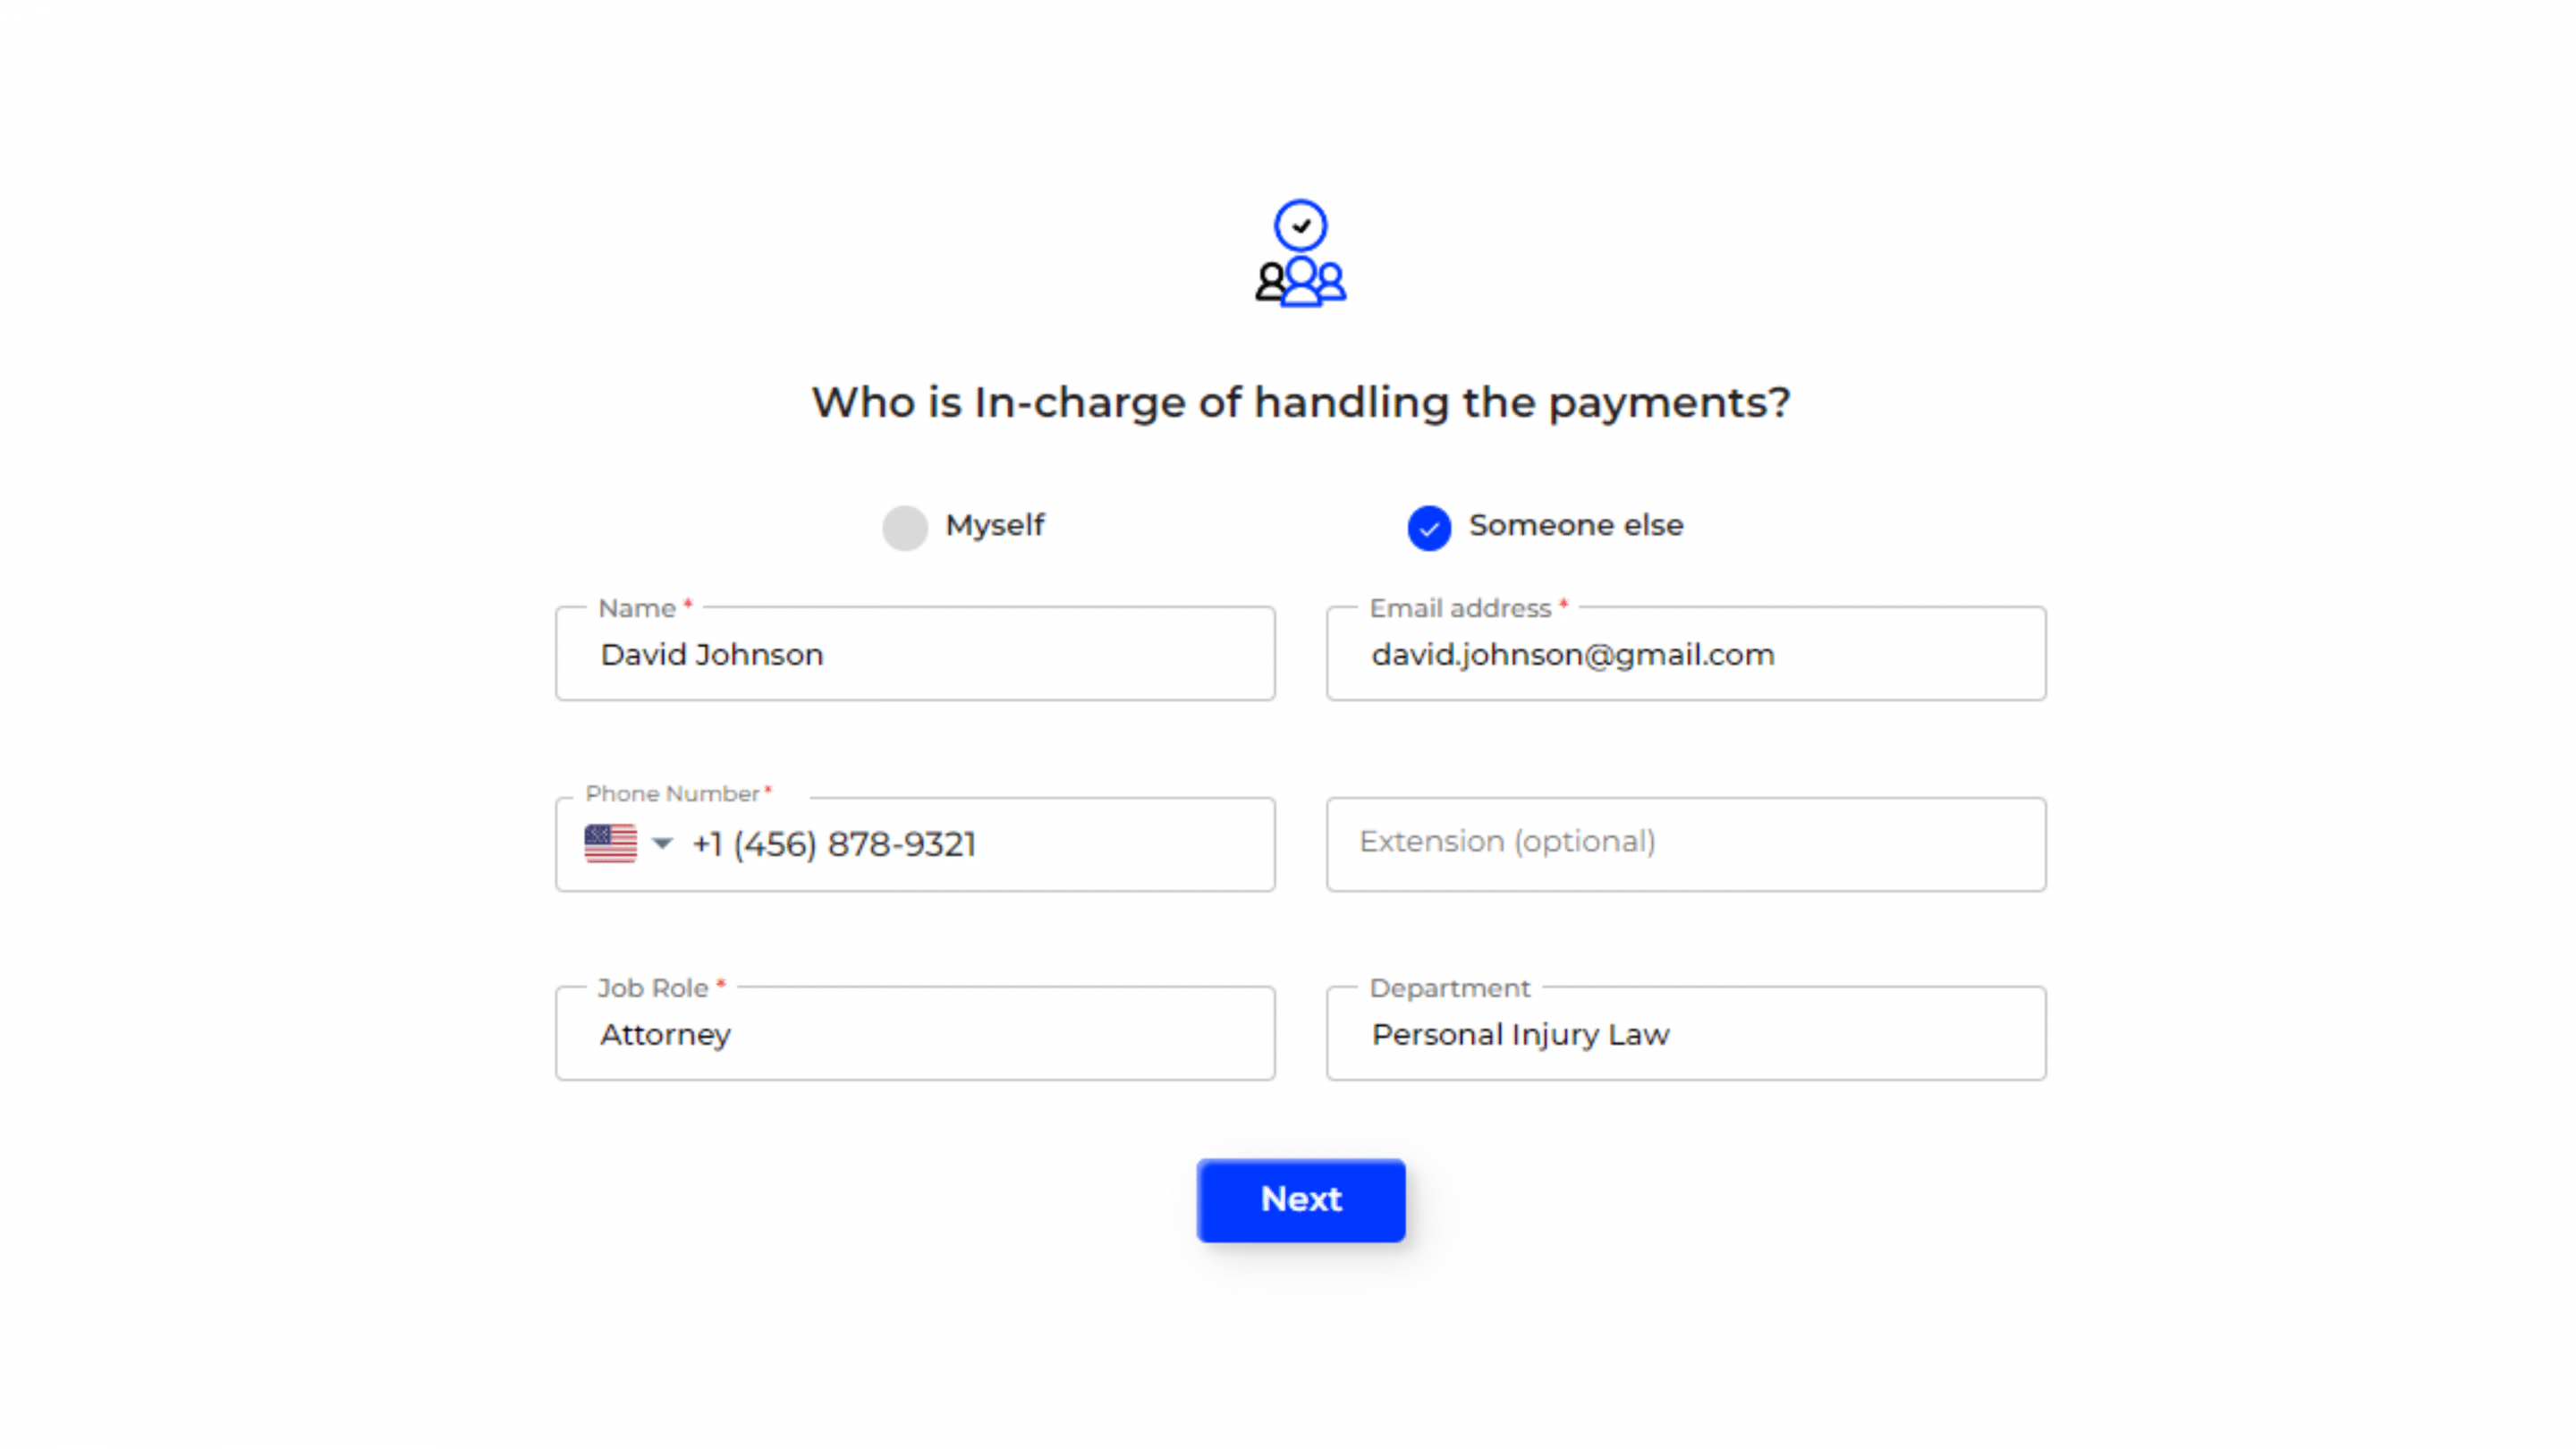
Who is In-Charge of Handling the Payments?
Let us know if it’s you or someone else.
- Select whether you or someone else is in charge of handling the payments.
- If selecting “Someone else,” provide their details, including:
- Name
- Email Address
- Phone Number
- Job Role
- Department
- Click “Next”.
Assign payment handling responsibilities to ensure billing is managed correctly. Provide accurate contact details for the person responsible.
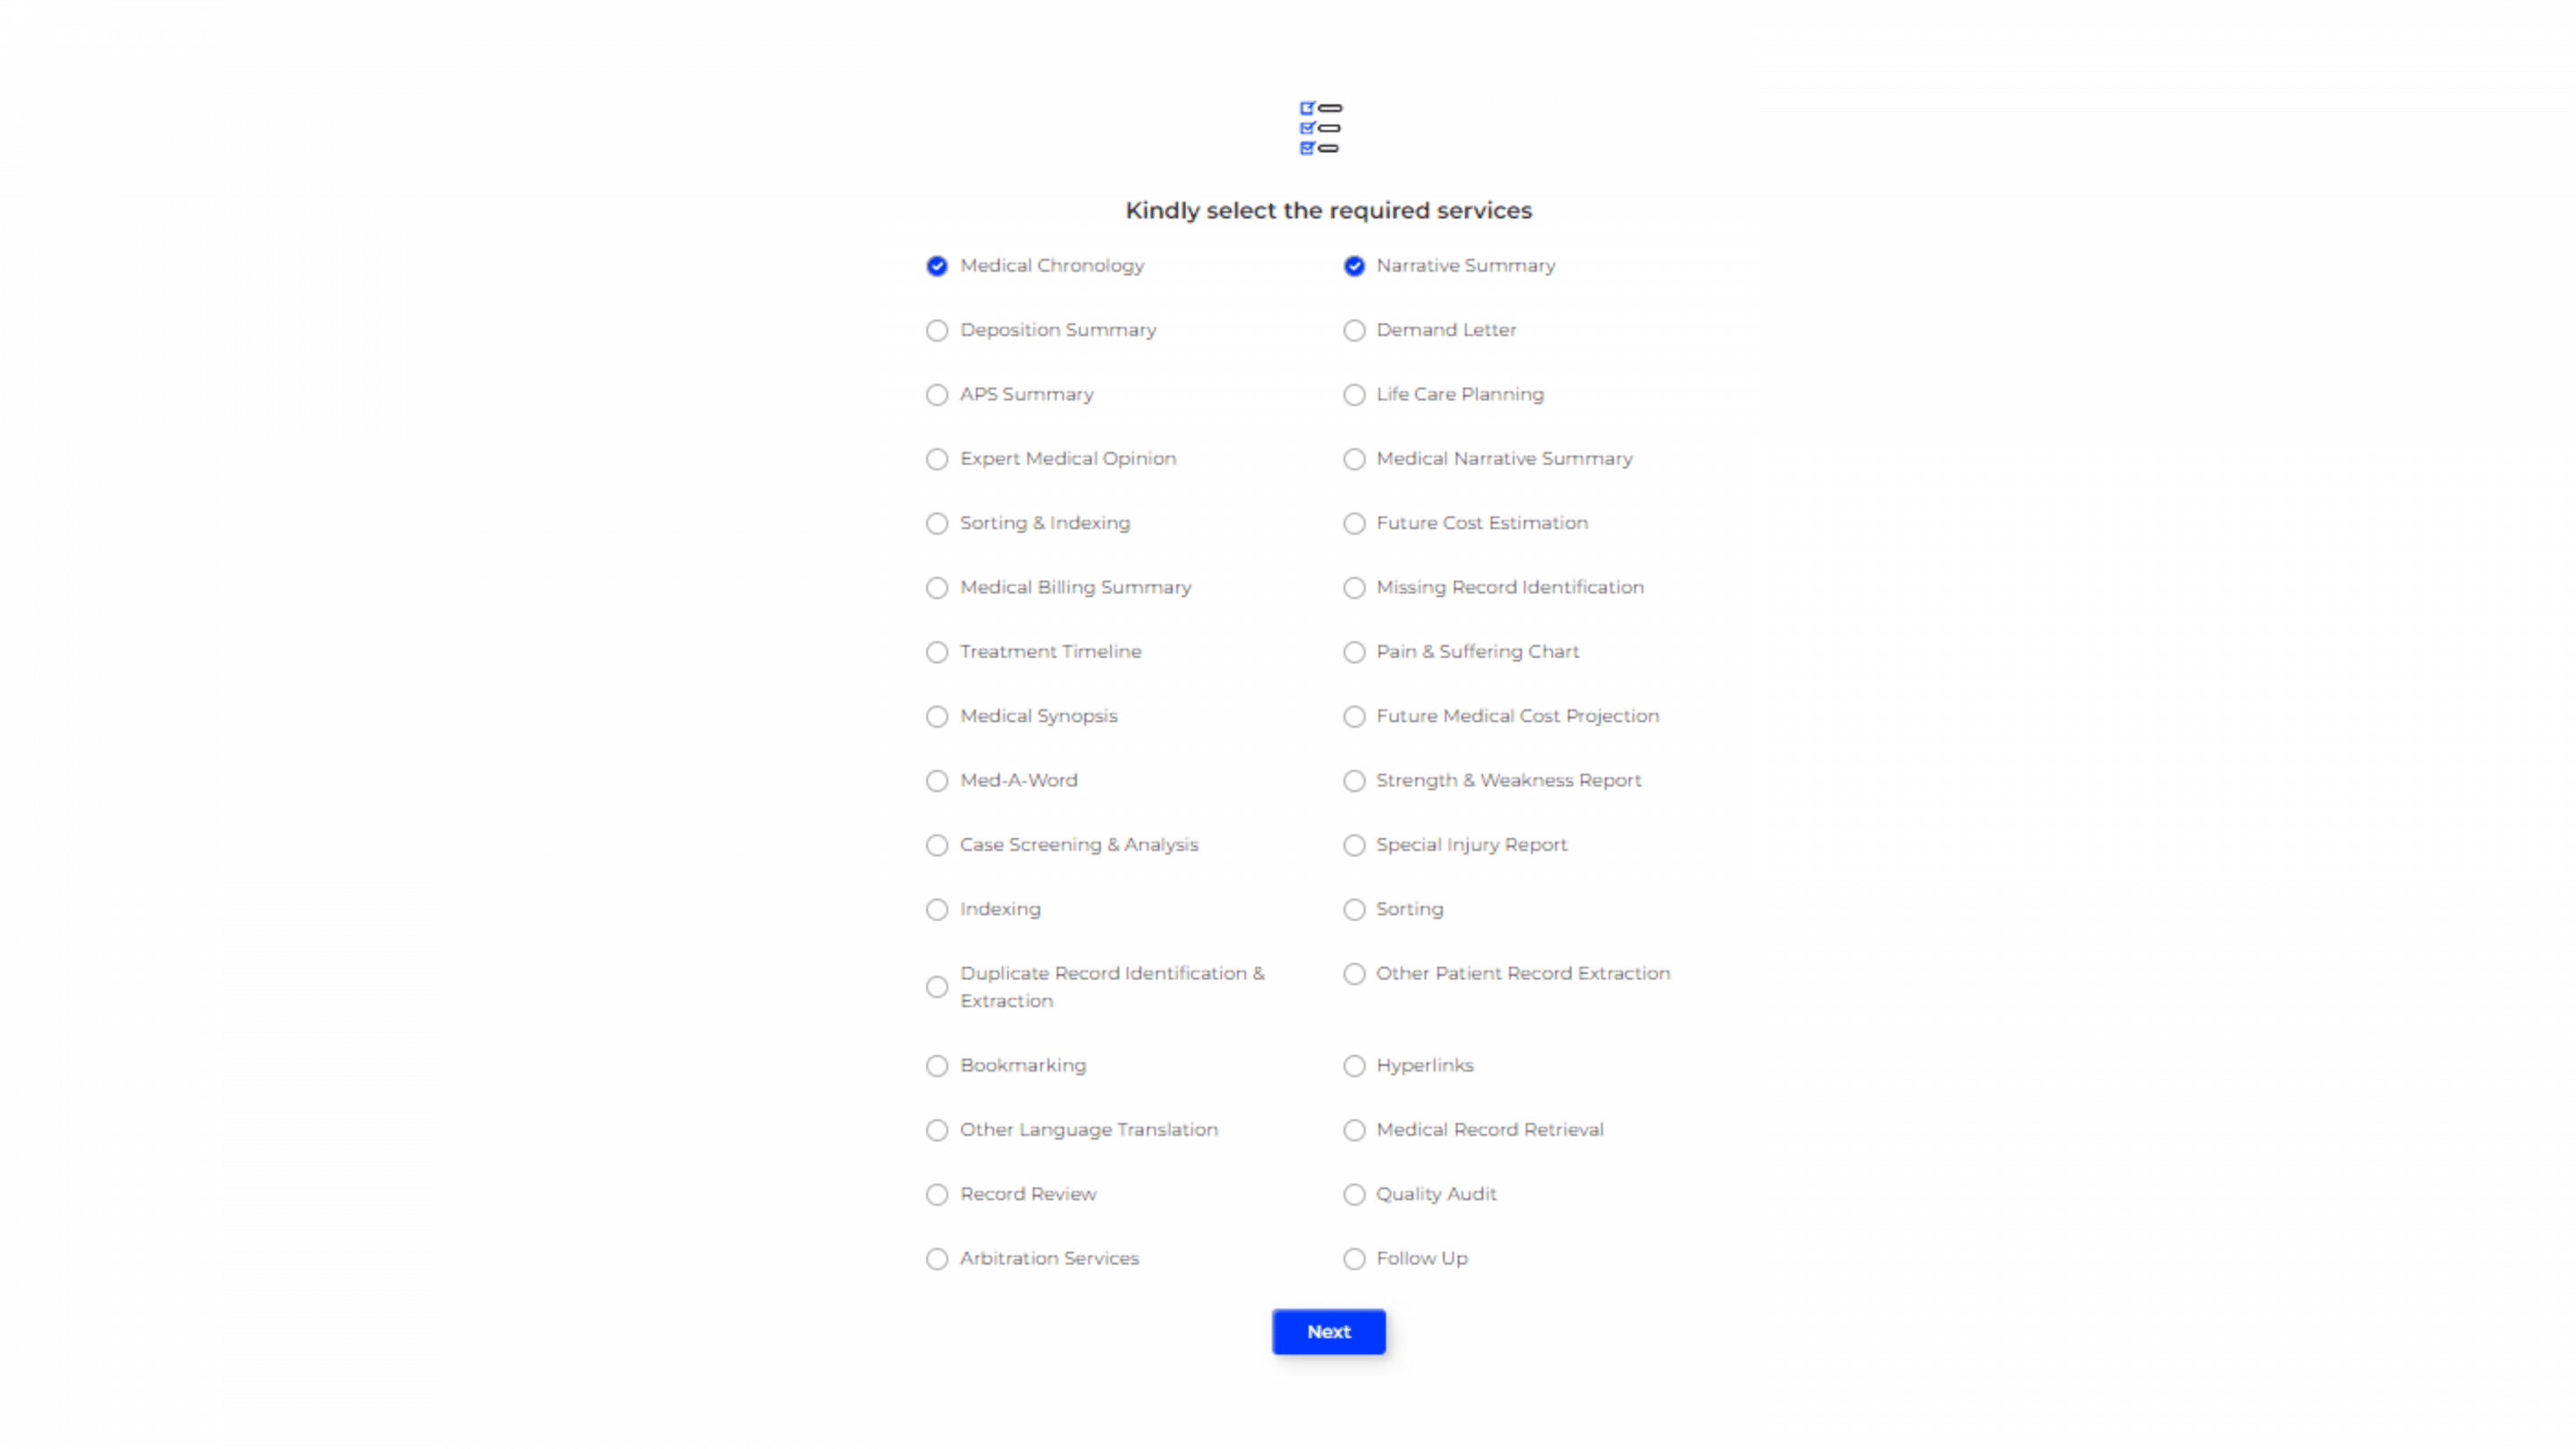
Select Required Services
Choose the specific services you need. Multiple selections can be made based on your requirements.
- Select the services you require from the list.
- Click “Next”.
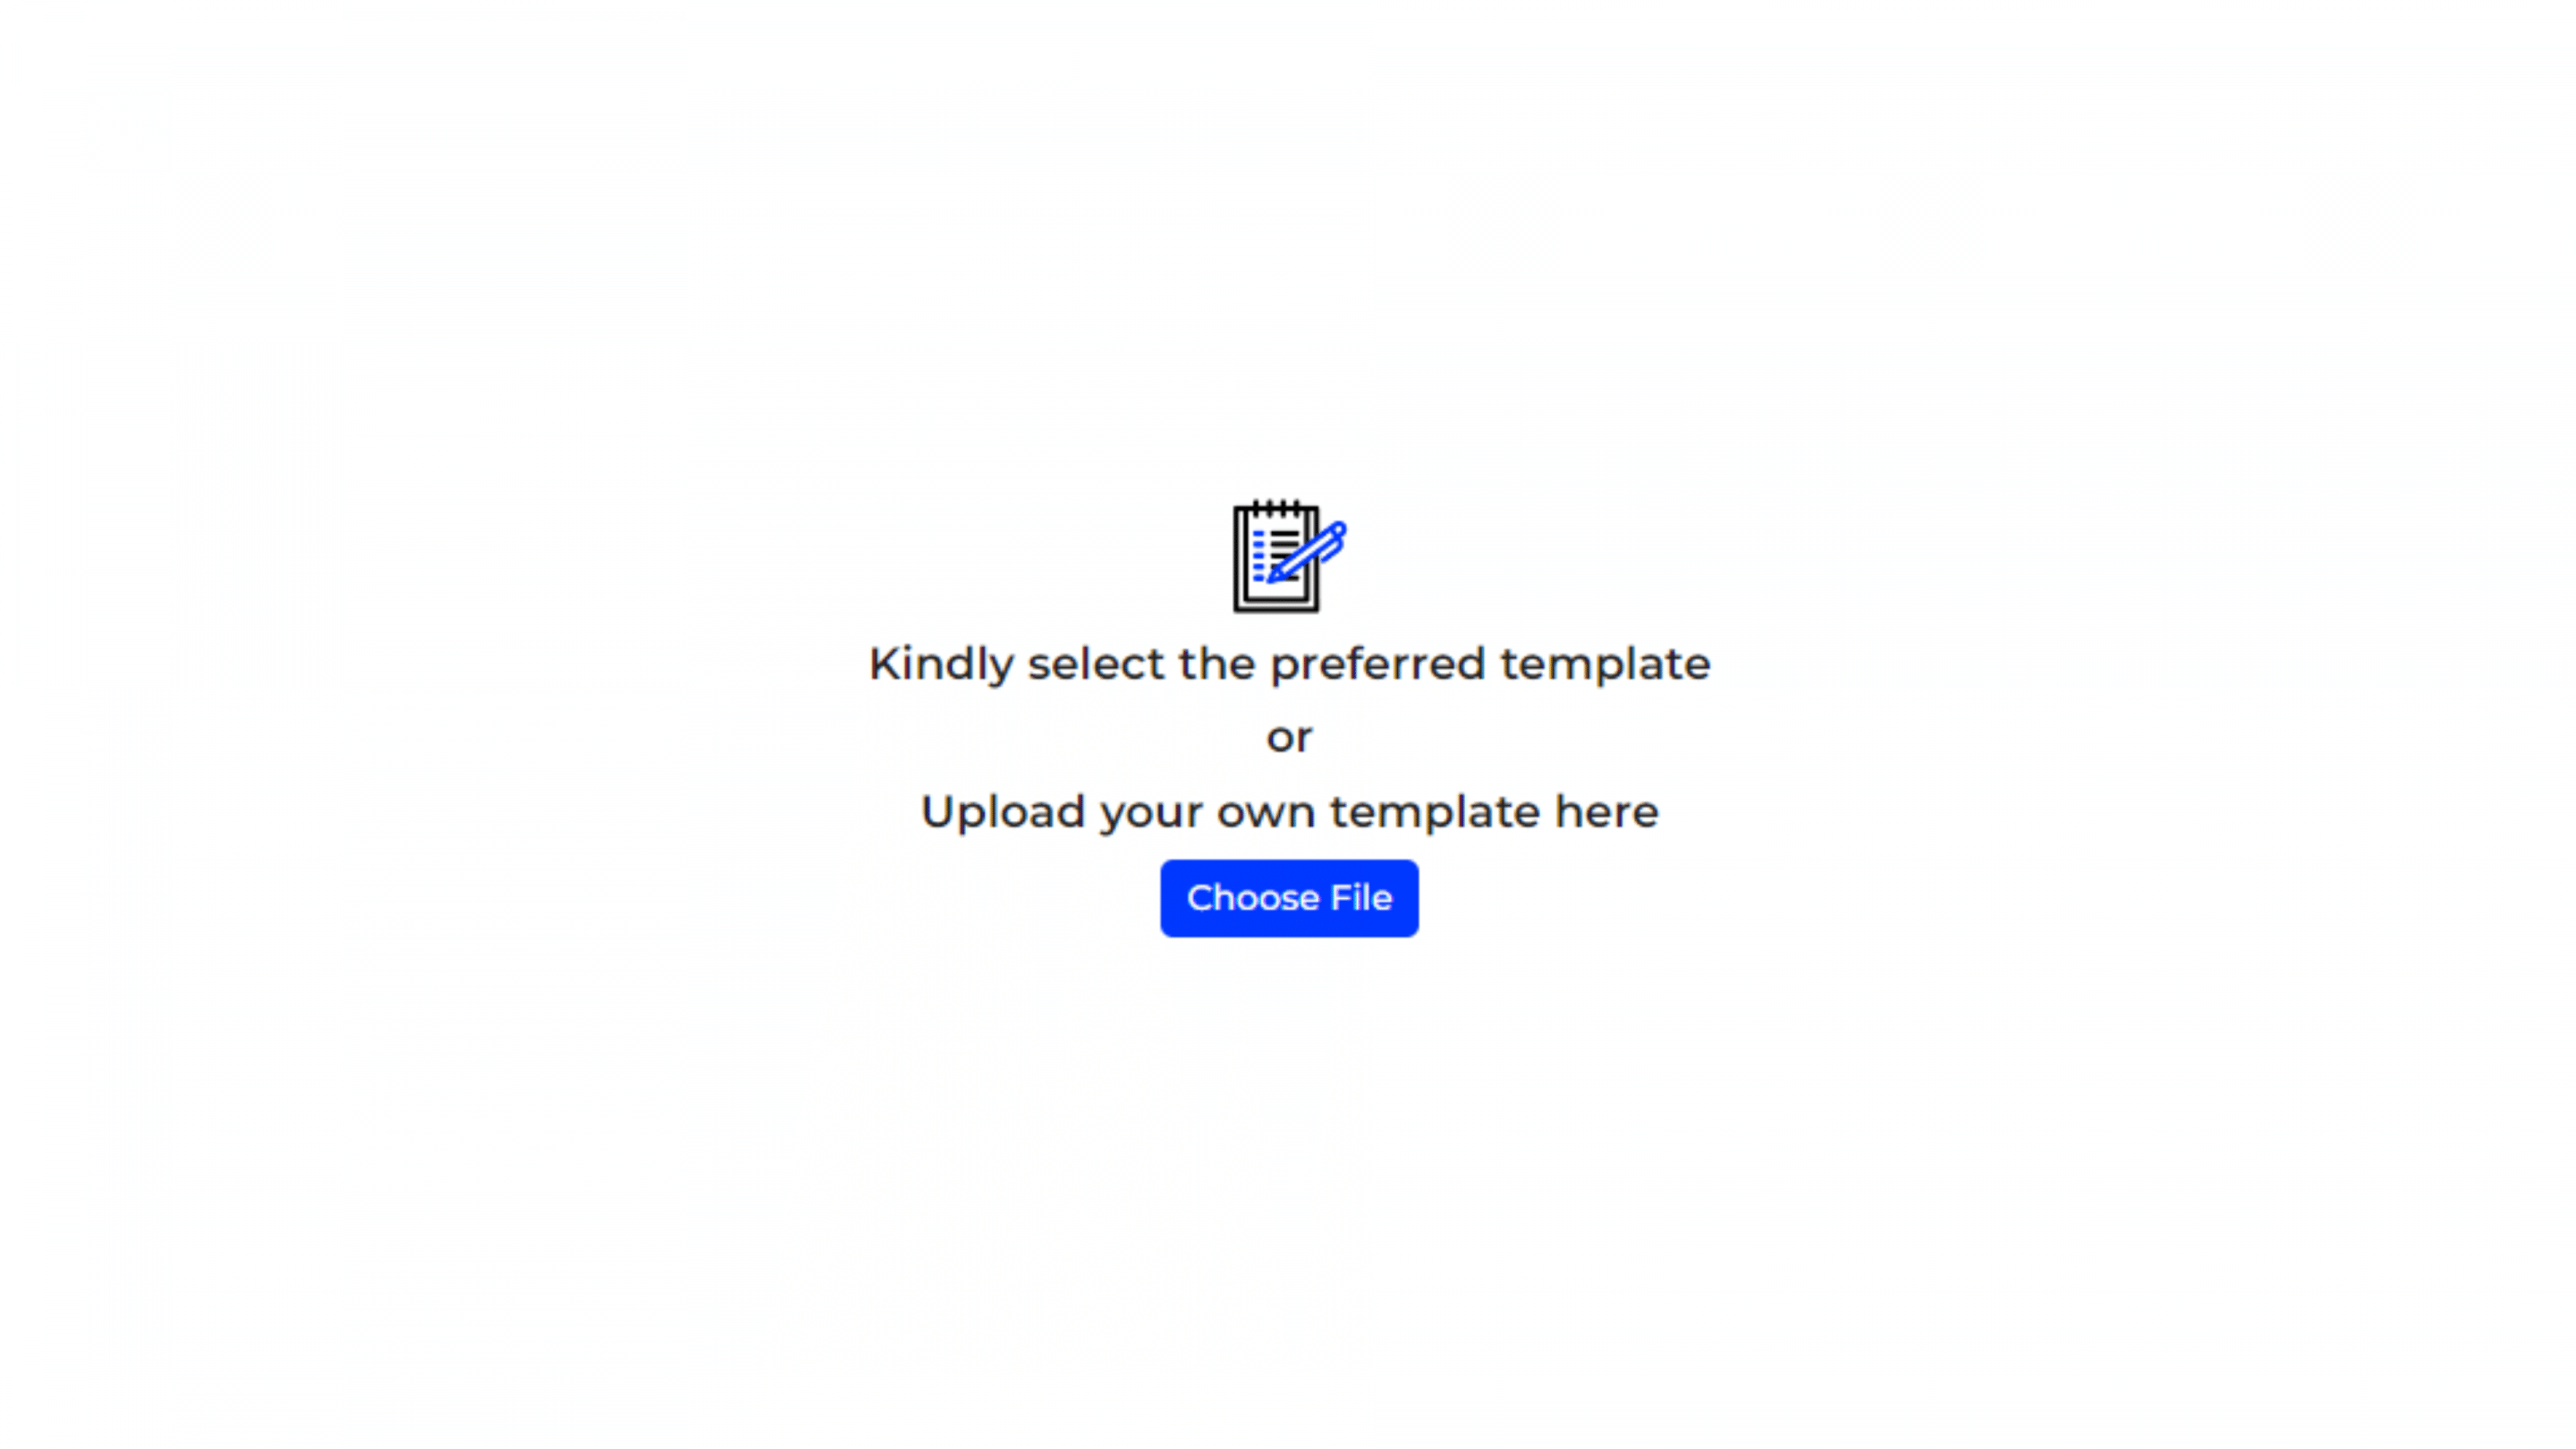
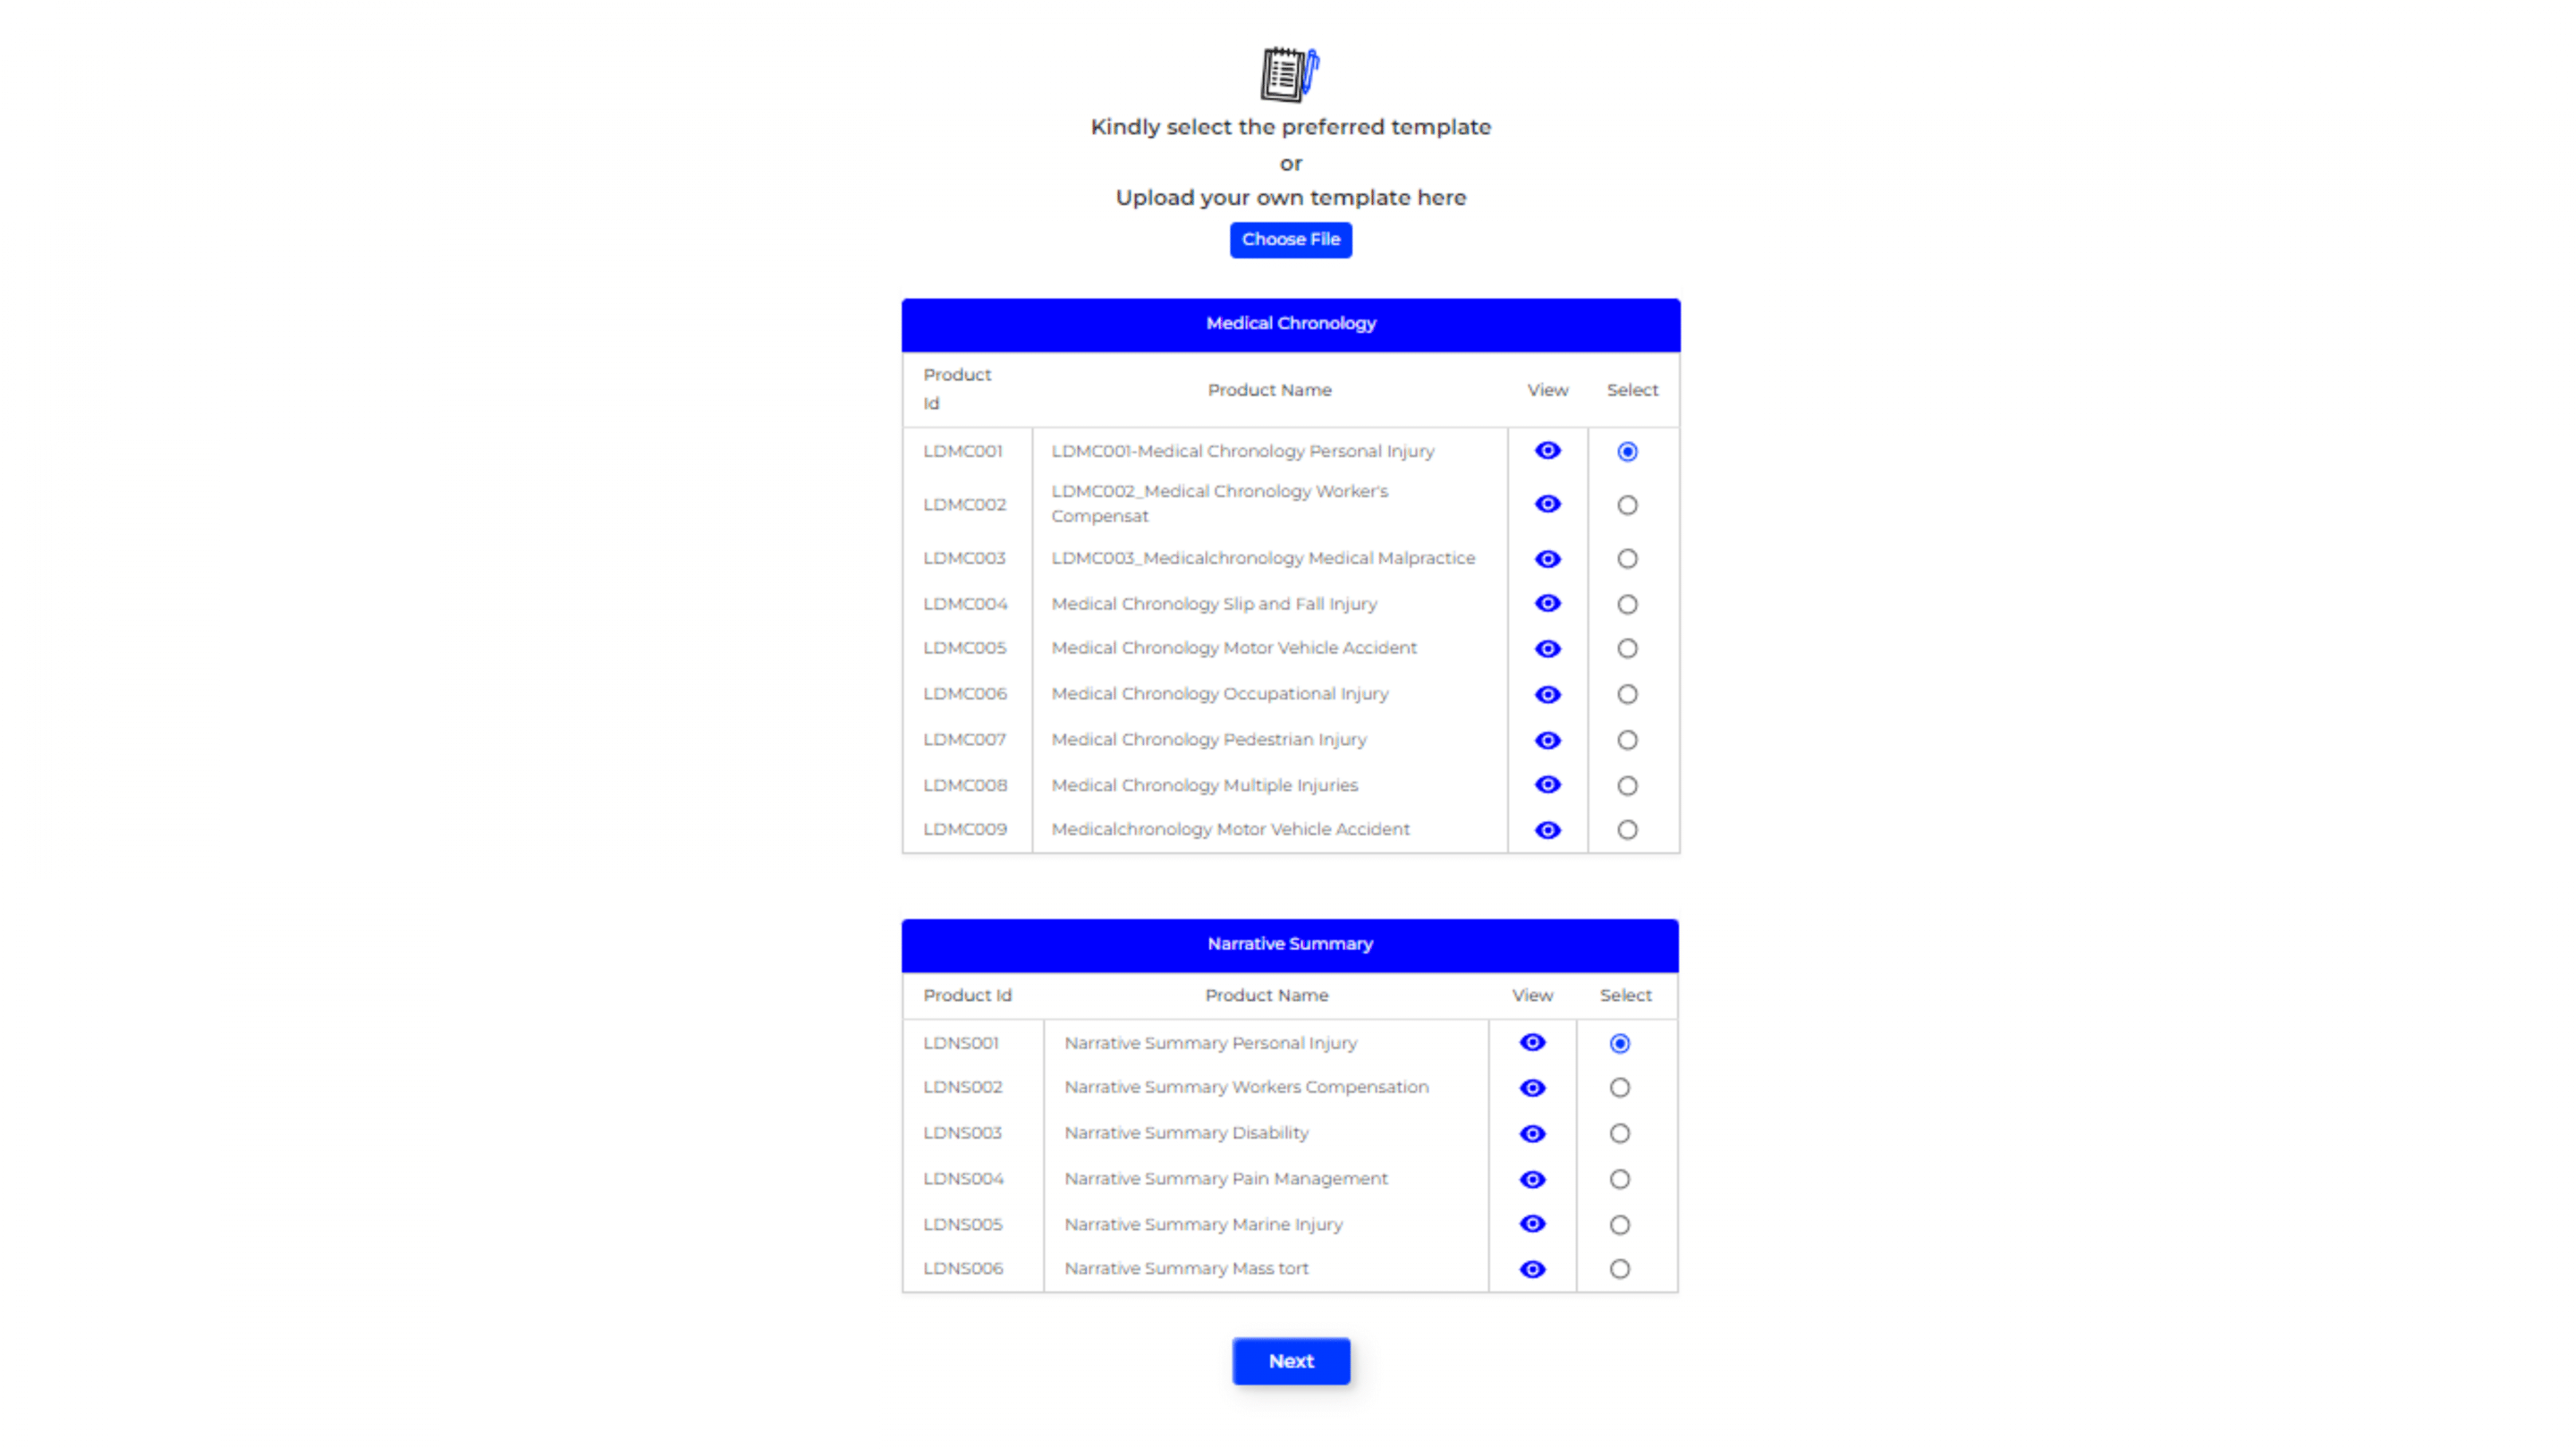
Select Preferred Template
Would you like to choose a template from the available options or upload your own? Let us know how you want us to customize.
Option 1: Select a Template from the List
-
- Browse the list of available templates.
- Choose the template that best suits your needs by selecting it from the list.
- Click “Confirm.”
- Selecting a Template: This option helps standardize your documentation using pre-defined formats. It ensures consistency and saves time by providing a ready-made structure for your reports.
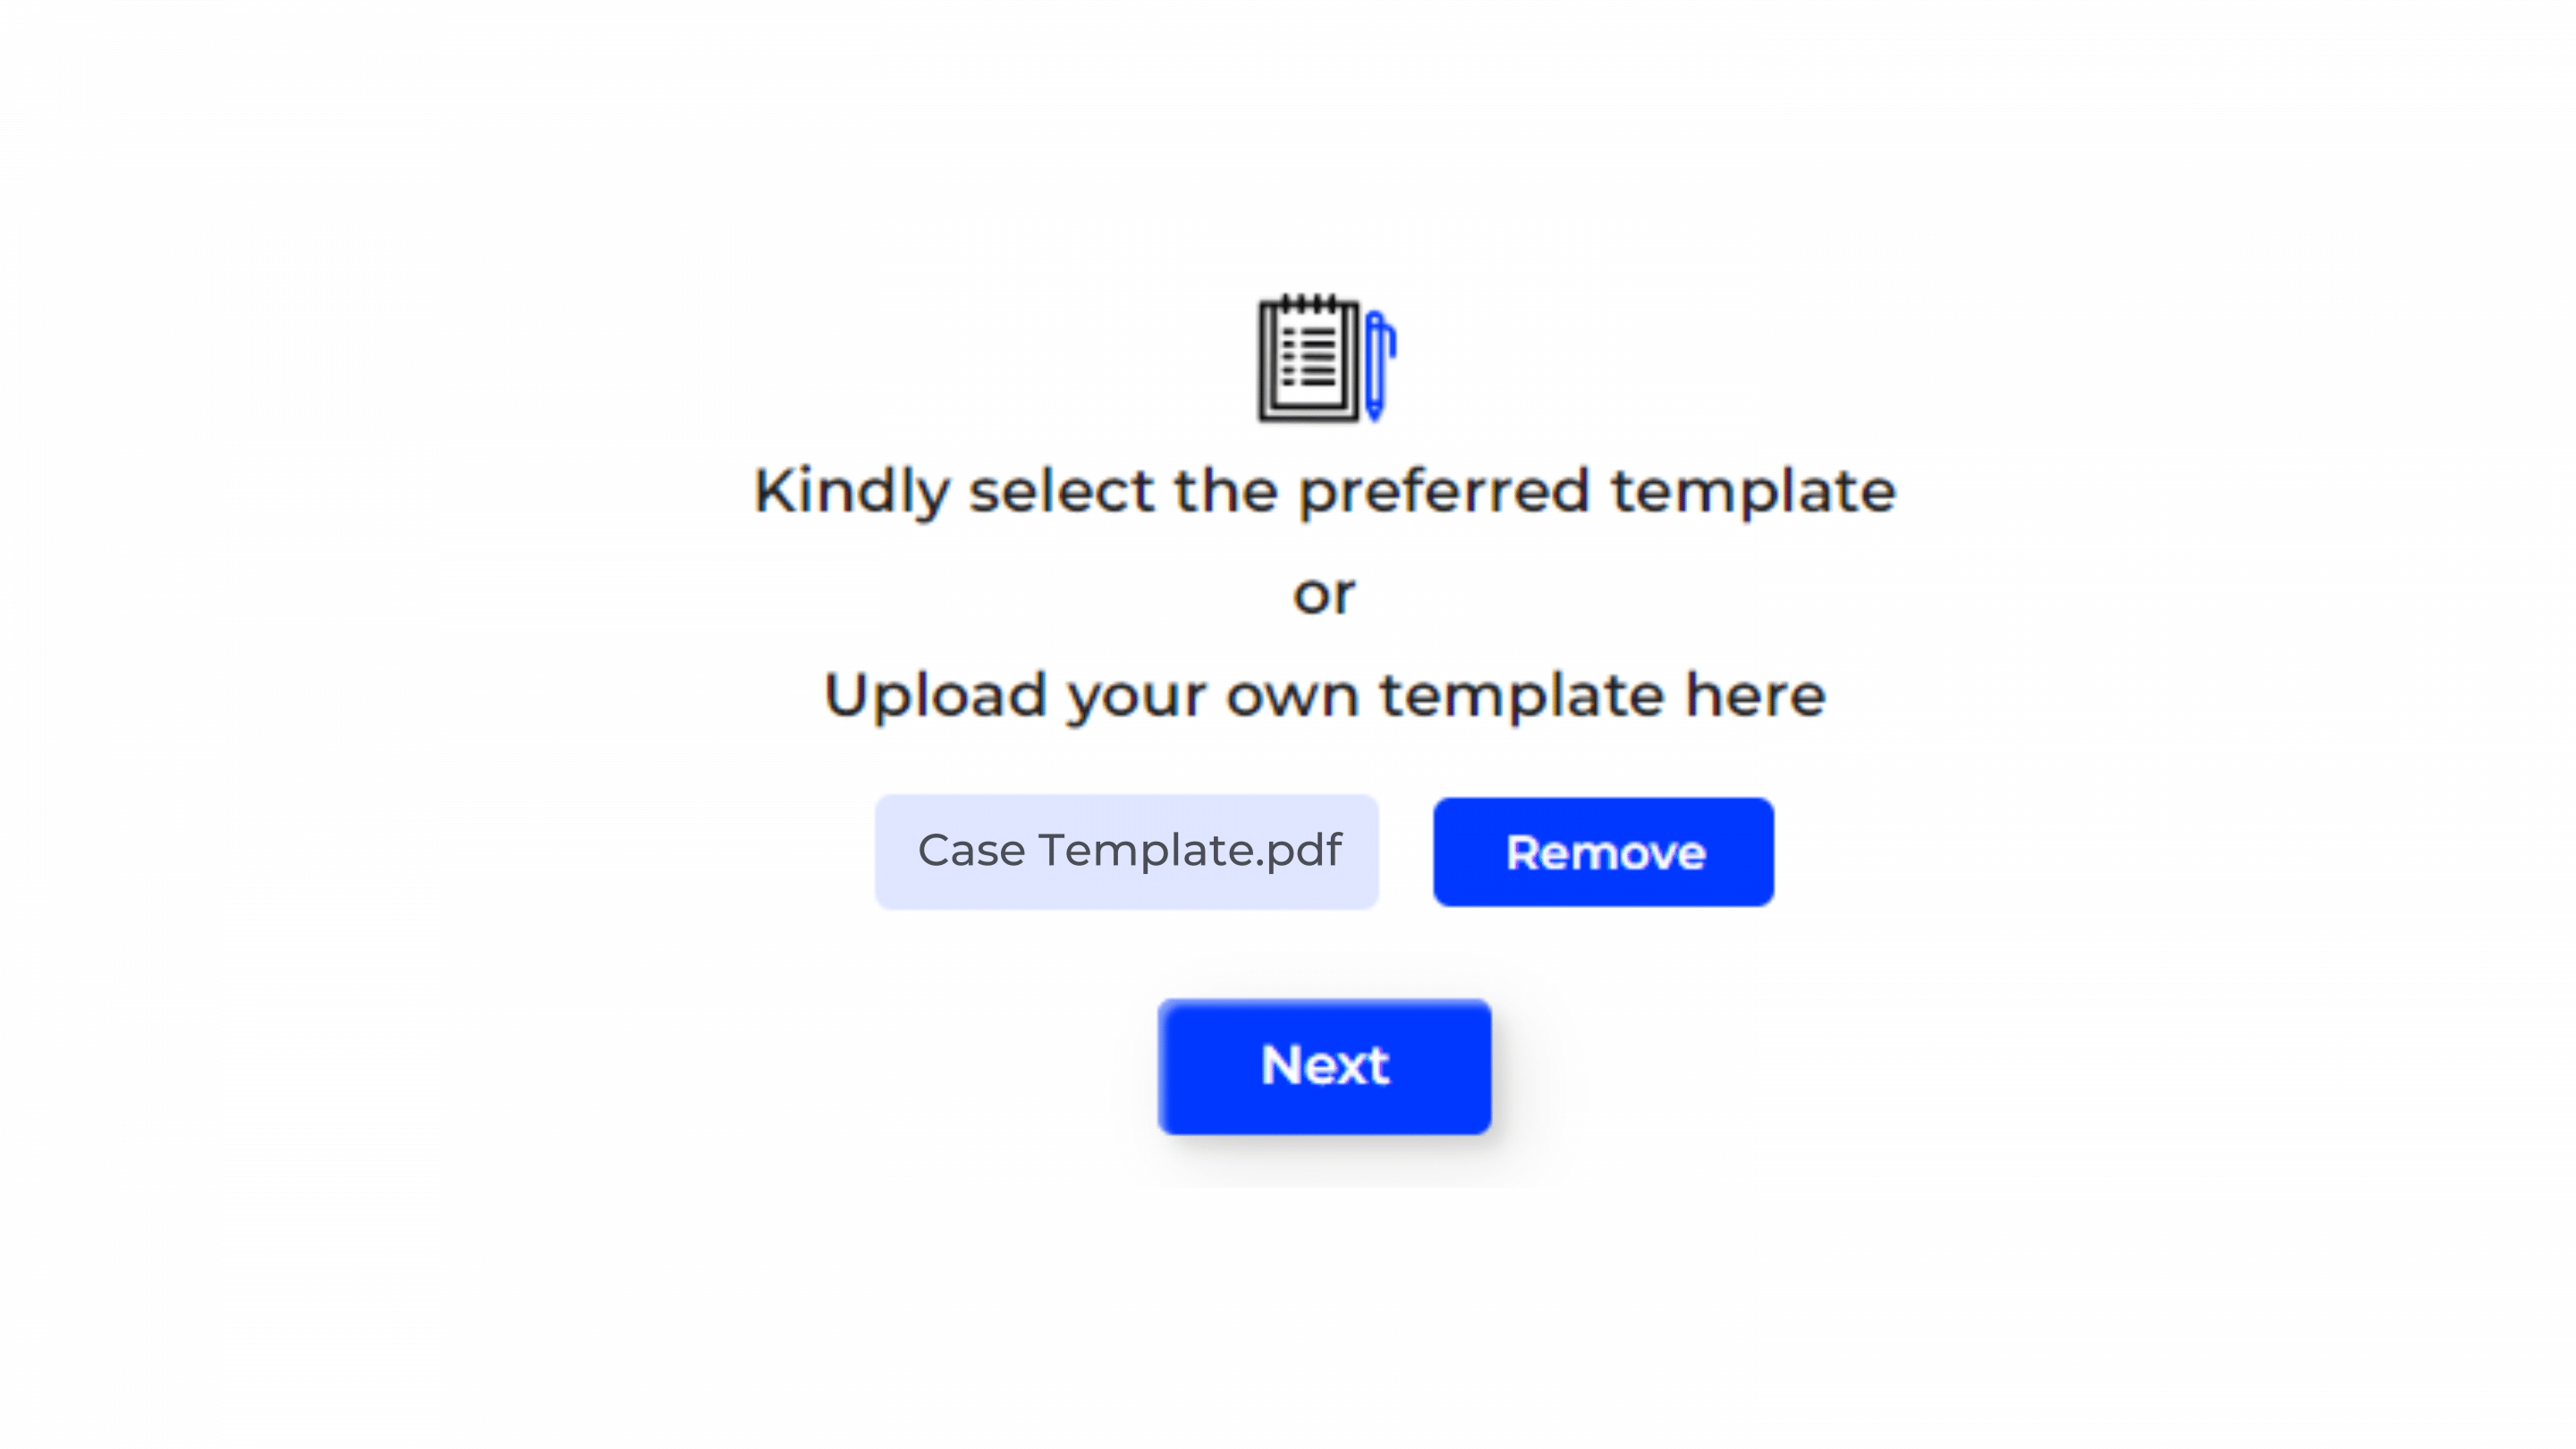
Option 2: Upload Your Own Template
-
- Click on the “Choose File” button.
- Select your own template file from your computer.
- Click “Confirm.”
- Uploading a Template: If you have a specific format that you prefer to use, you can upload your own template. This allows you to maintain your customized documentation style and meet any unique requirements you might have.
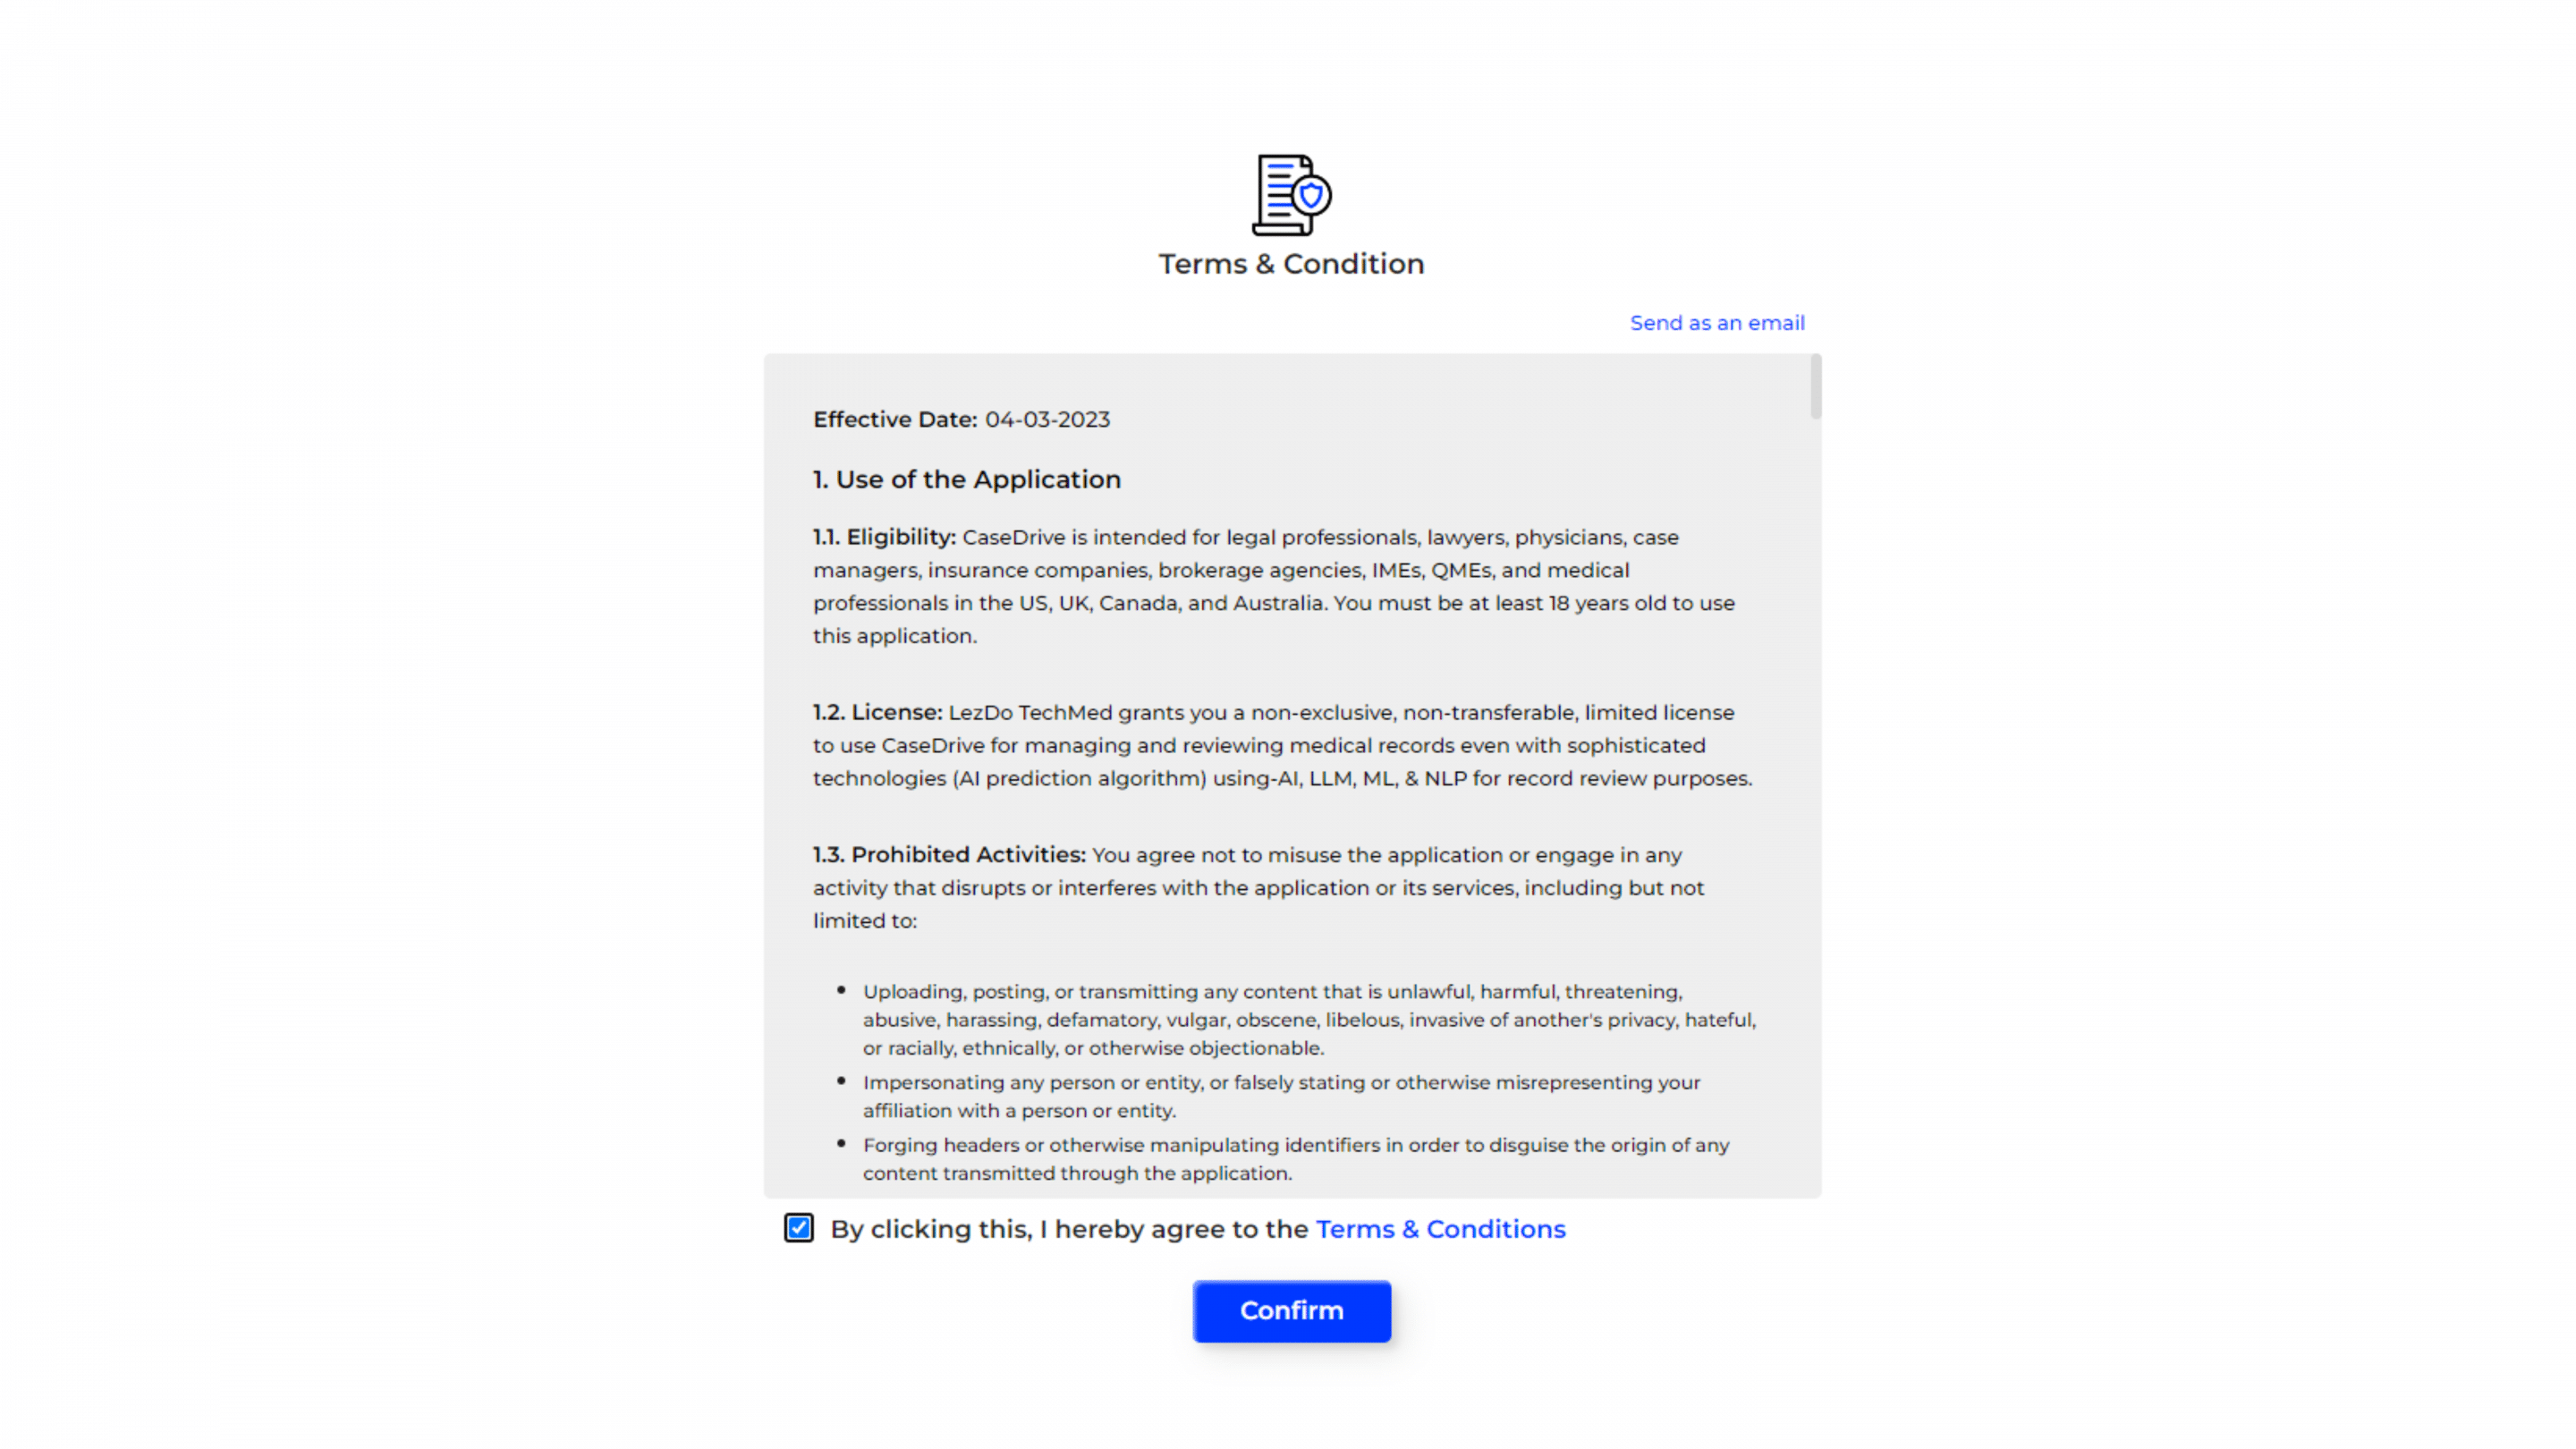
Terms and conditions
After selecting/ uploading your preferred template, please go through the terms and conditions.
- Click “Confirm” to proceed further.
- Want a copy of the terms and conditions in your email? Click “Send Us an Email” and get it in your registered email address.
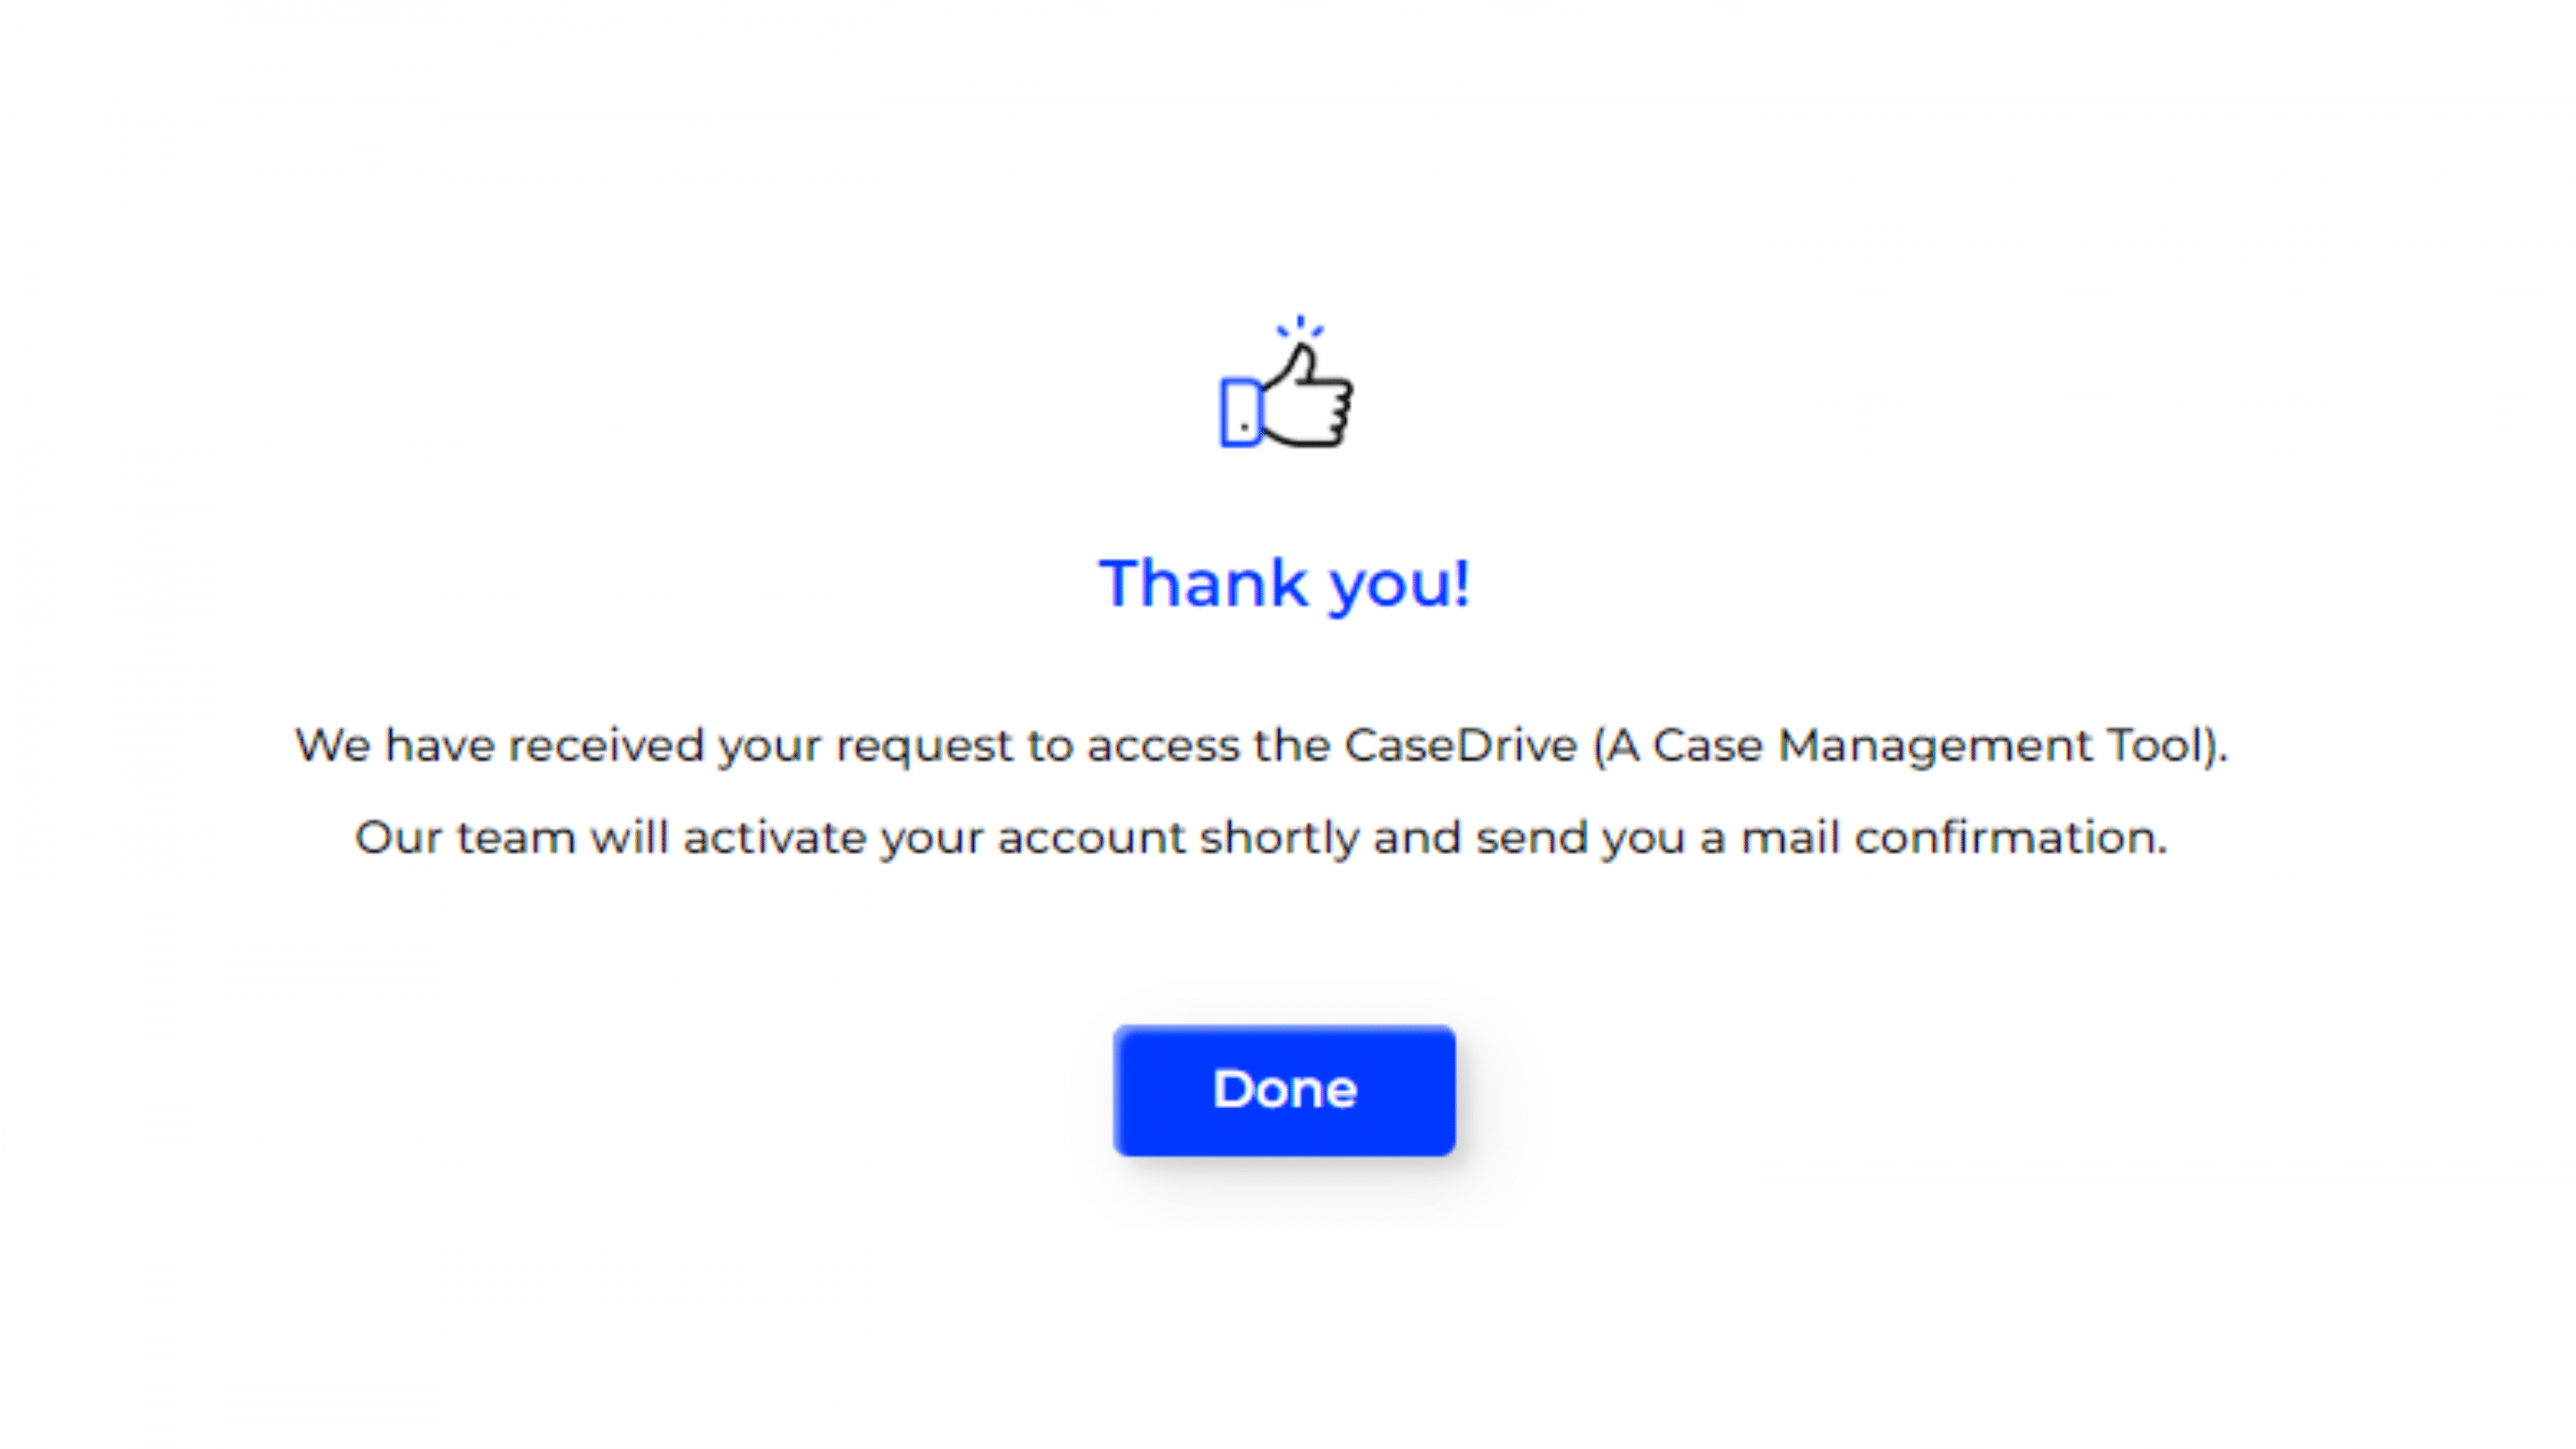
Confirmation
- After confirming your selections, a thank you message will appear, indicating that your request has been received.
- You will receive a confirmation email once your account is activated.
Need to Login your Account? Click Here

