Keep Your Profile Information Up-to-Date
Navigating to “Settings” in the Dashboard
To access your settings, go to the CaseDrive dashboard and locate the “Settings’ icon in the upper right corner of the page.
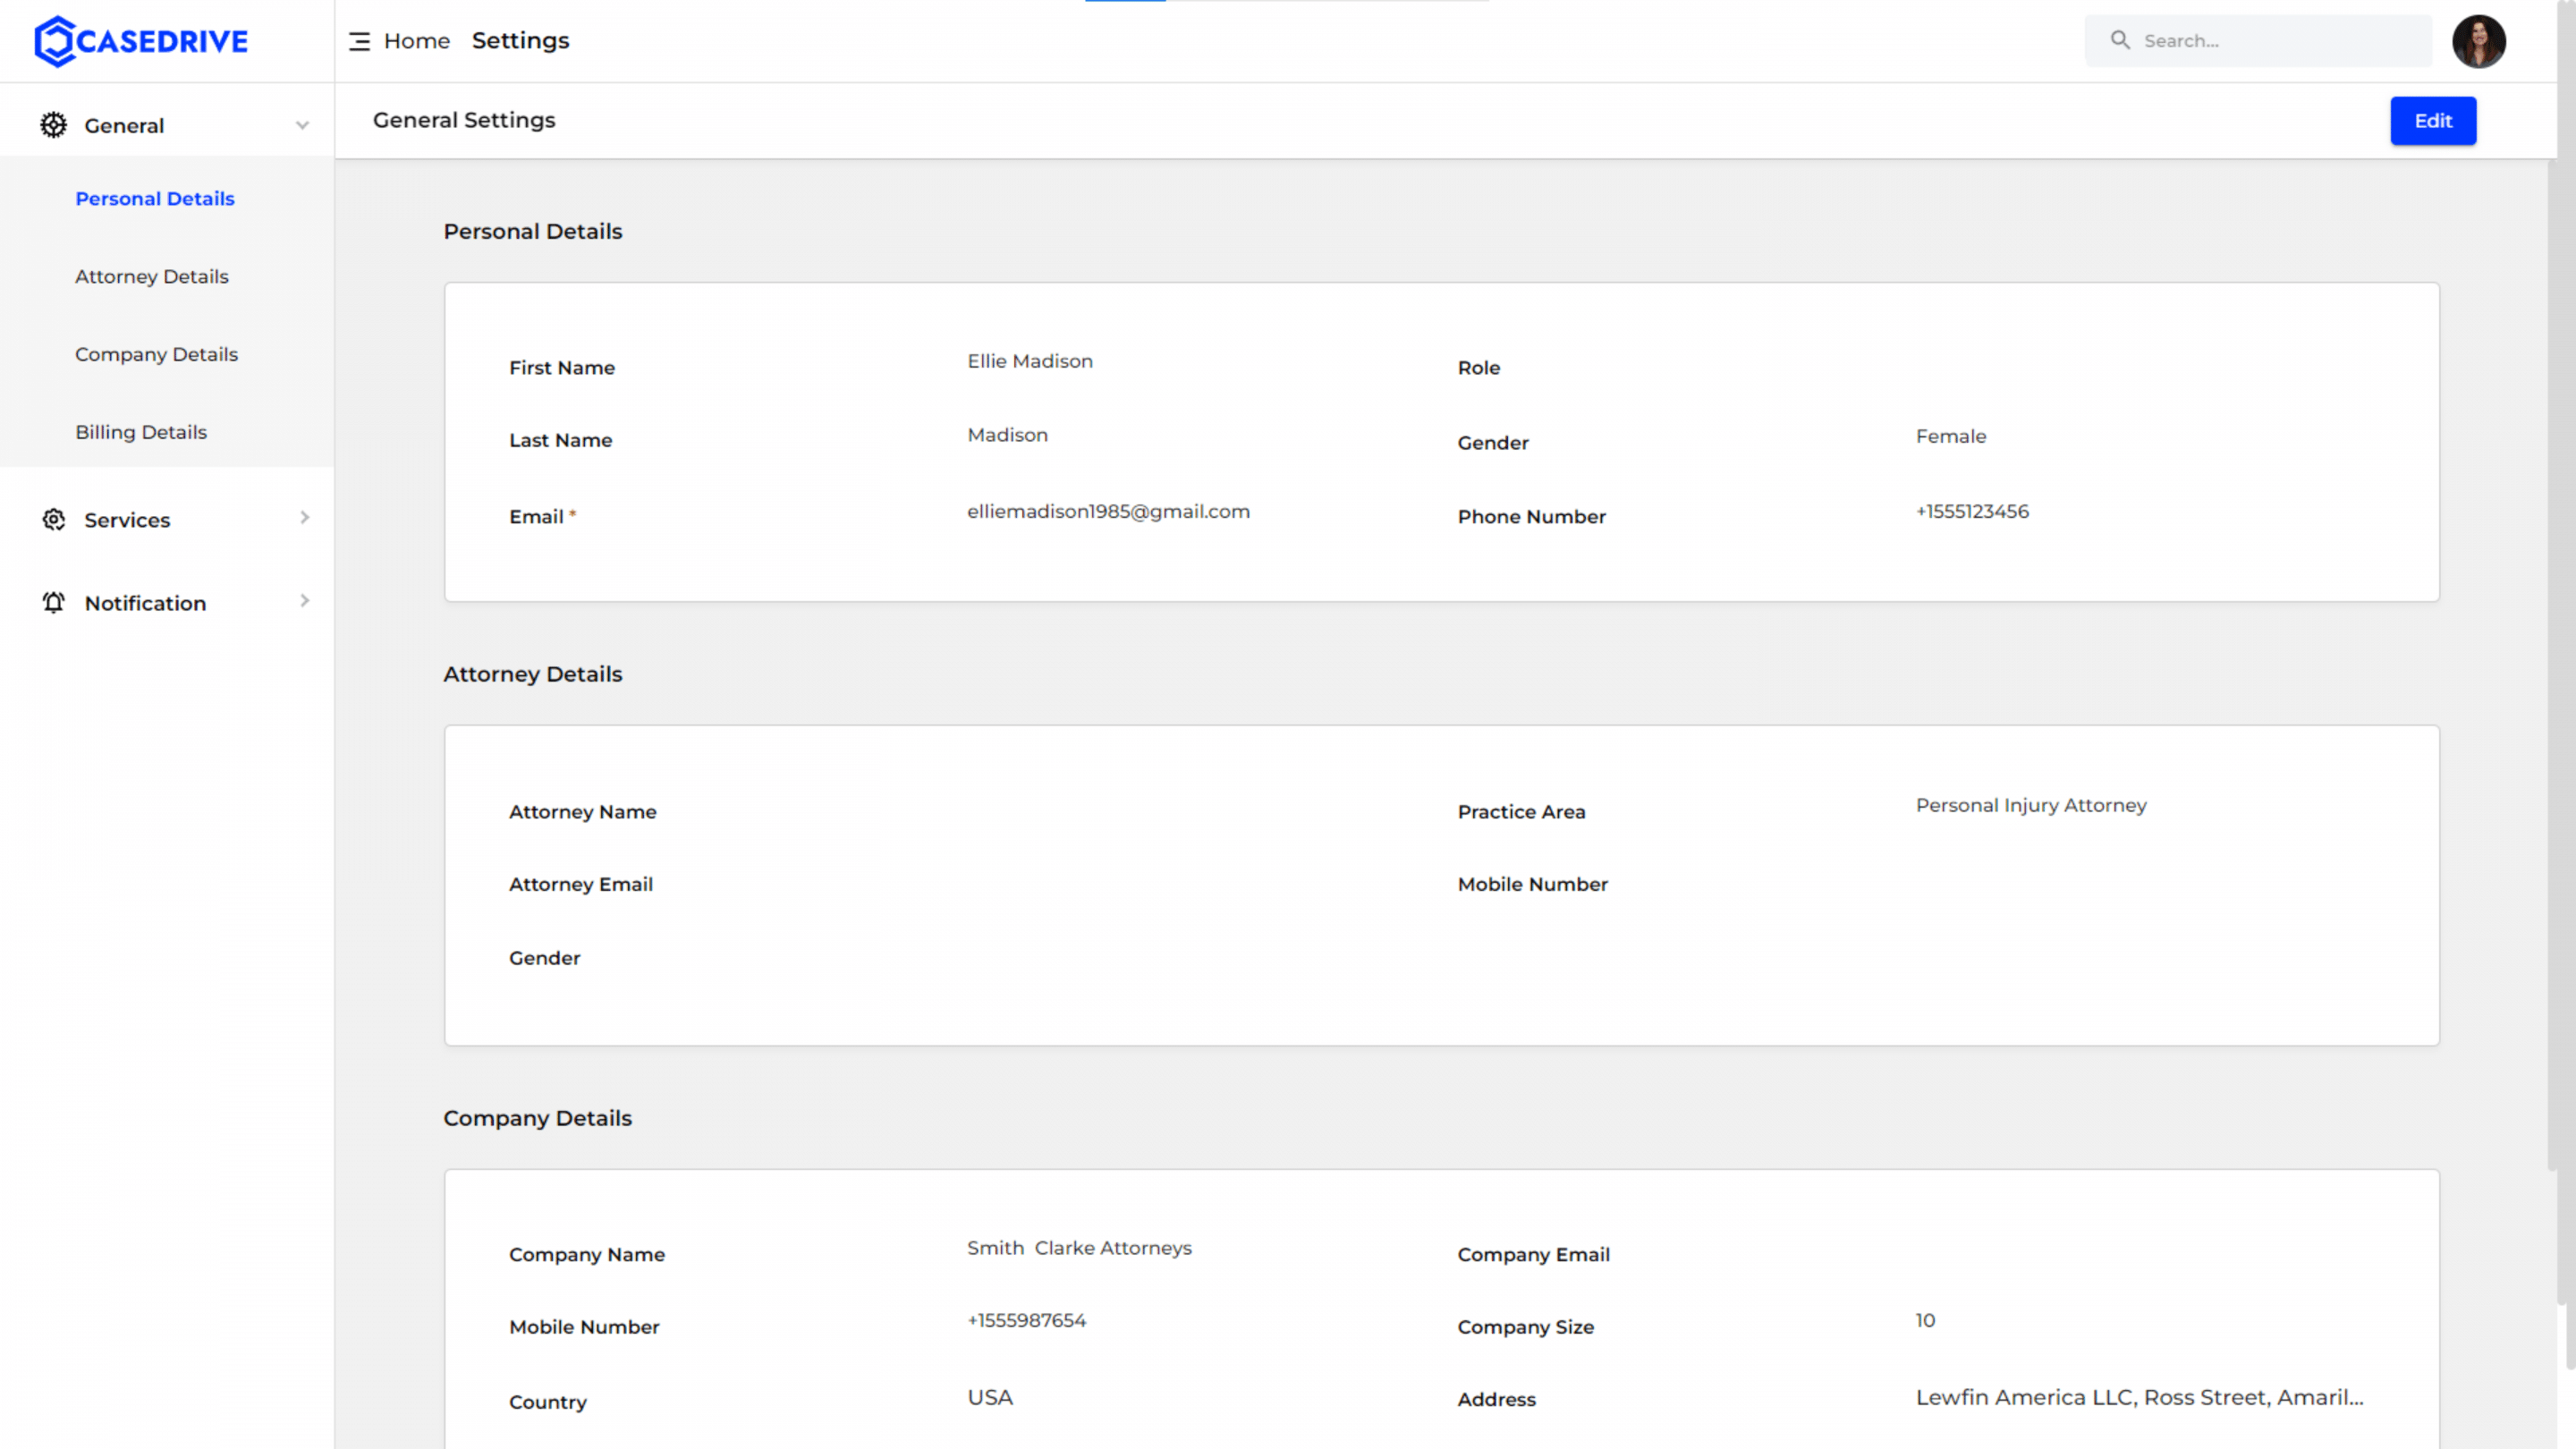
Viewing your Details
On the Settings page, the sections display the information you provided during the sign-up process.
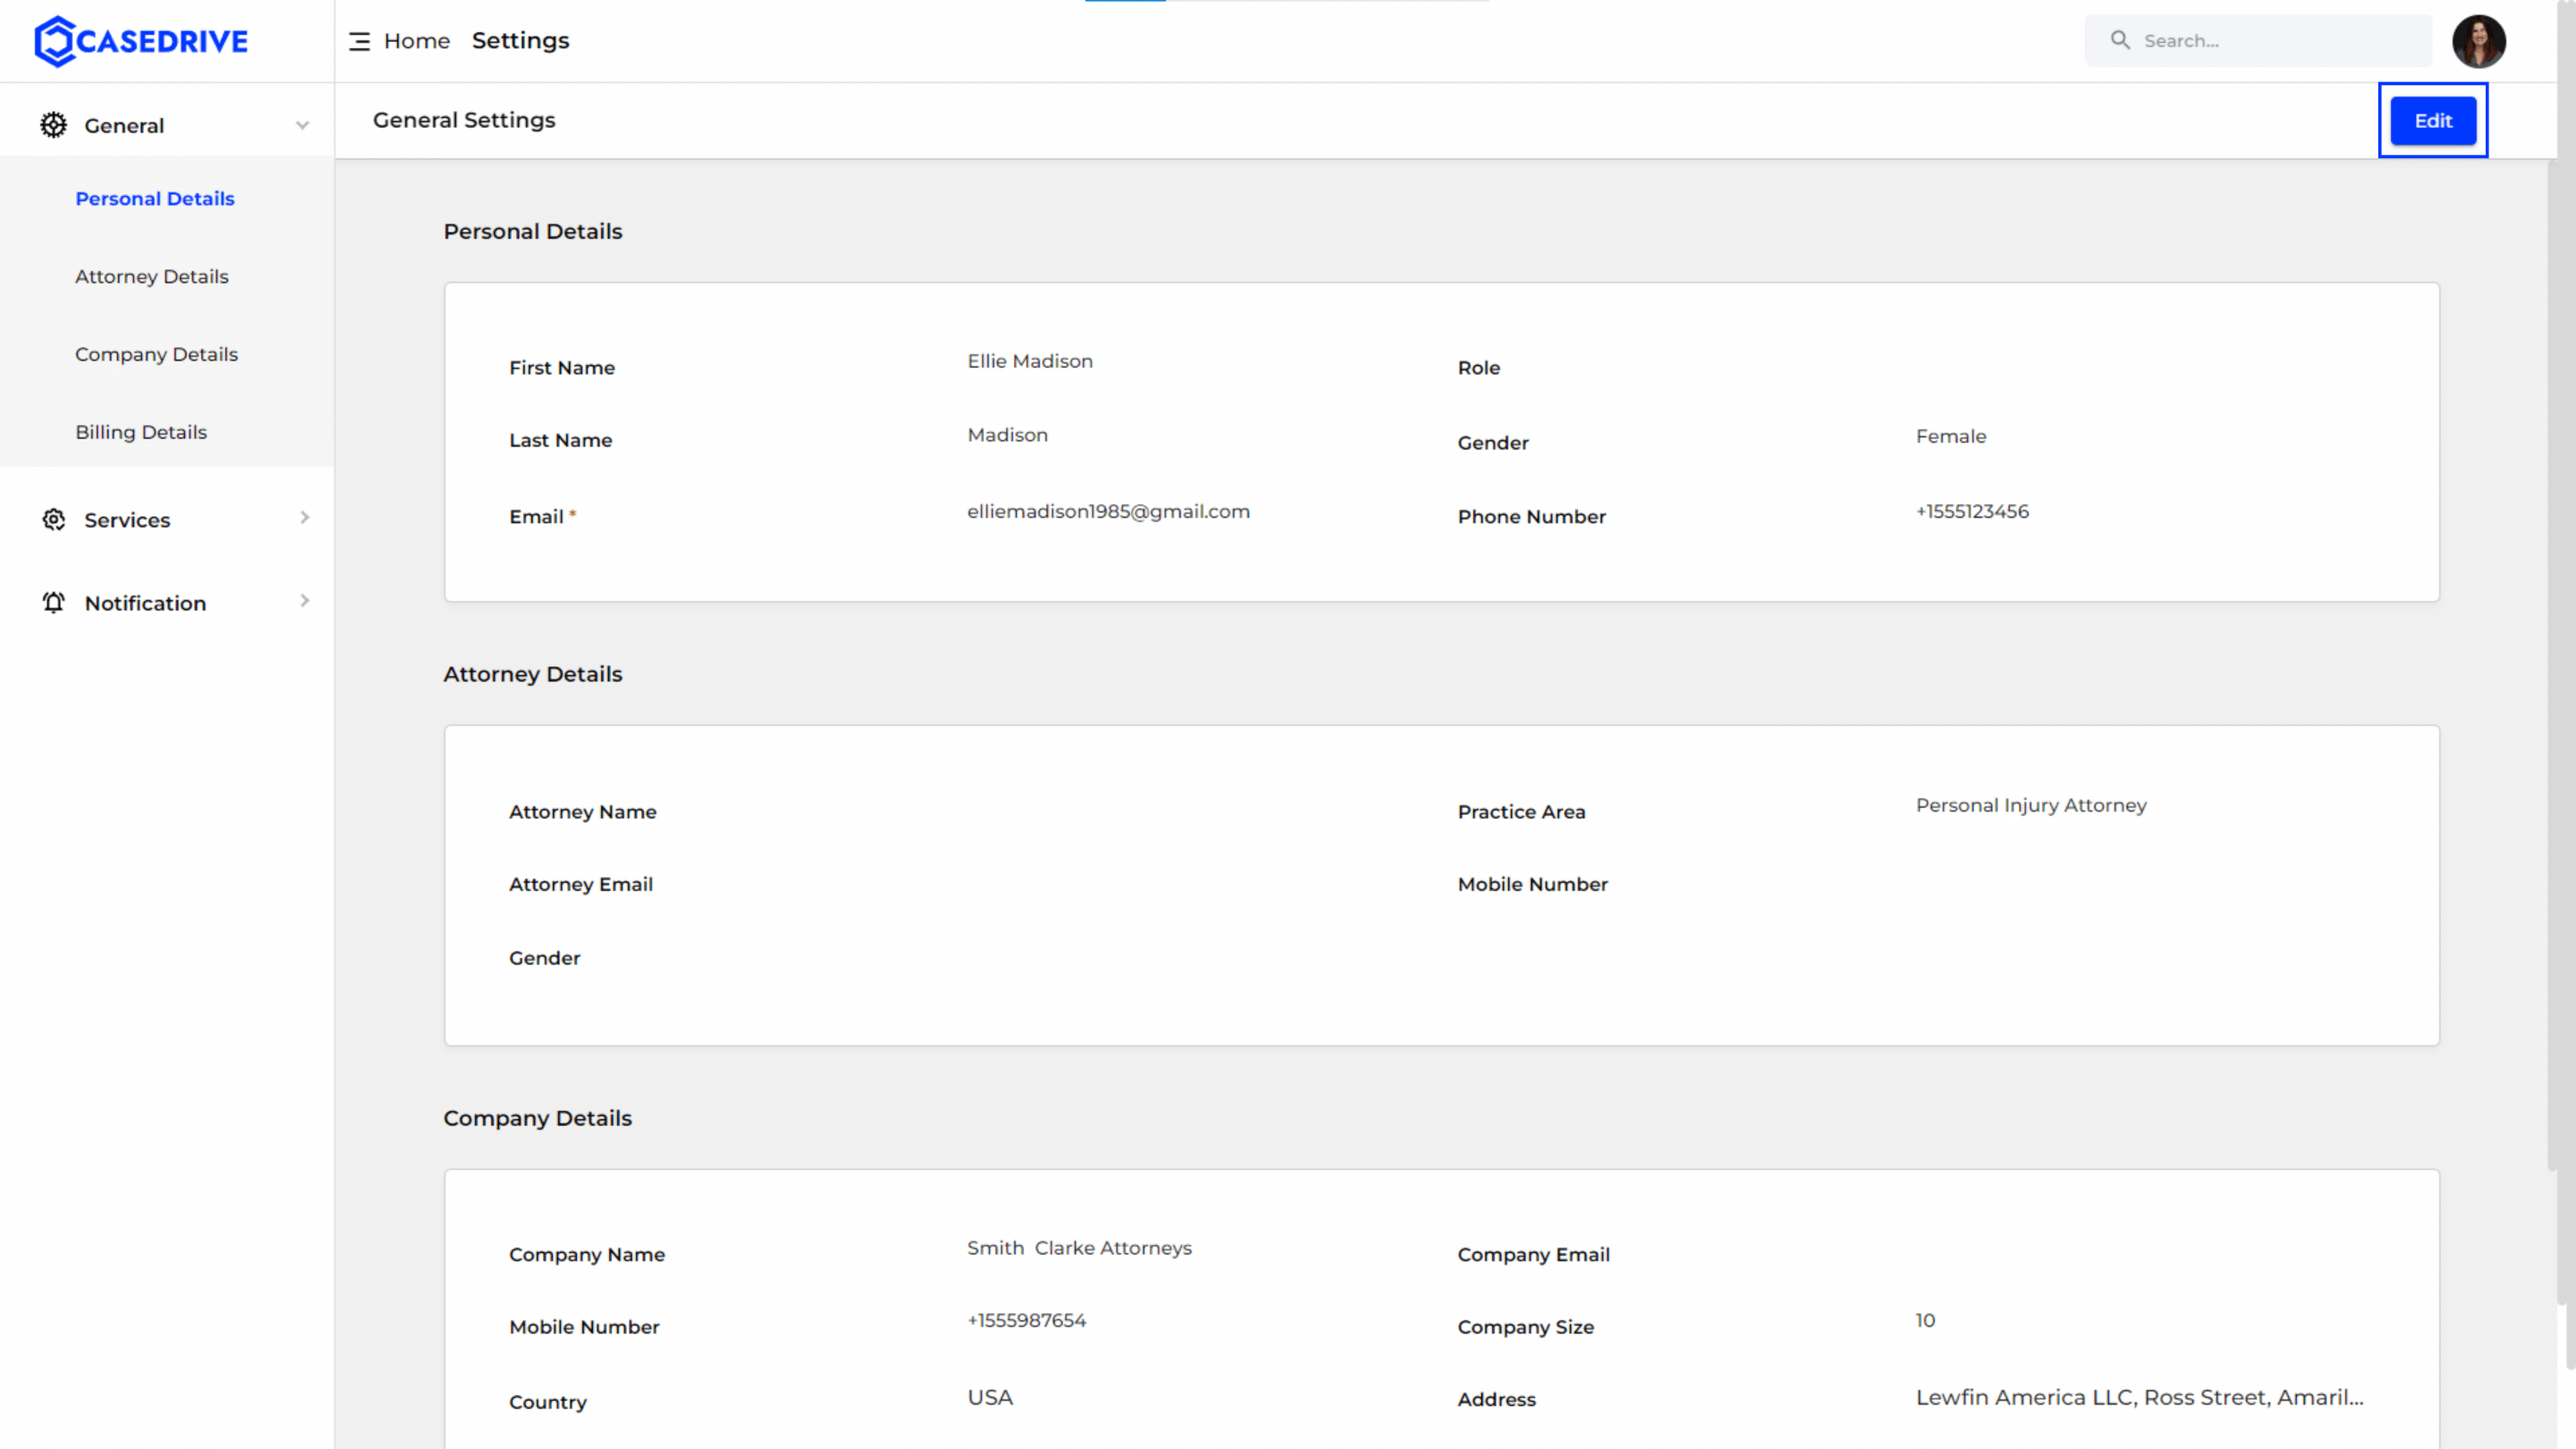
Editing Personal Details
- To edit your personal information, click the “Edit” button located on the right side of the screen.
- This will make the input fields editable, allowing you to update any information.
Saving Modifications
- After making the desired changes to your personal or company details, click the “Save”.
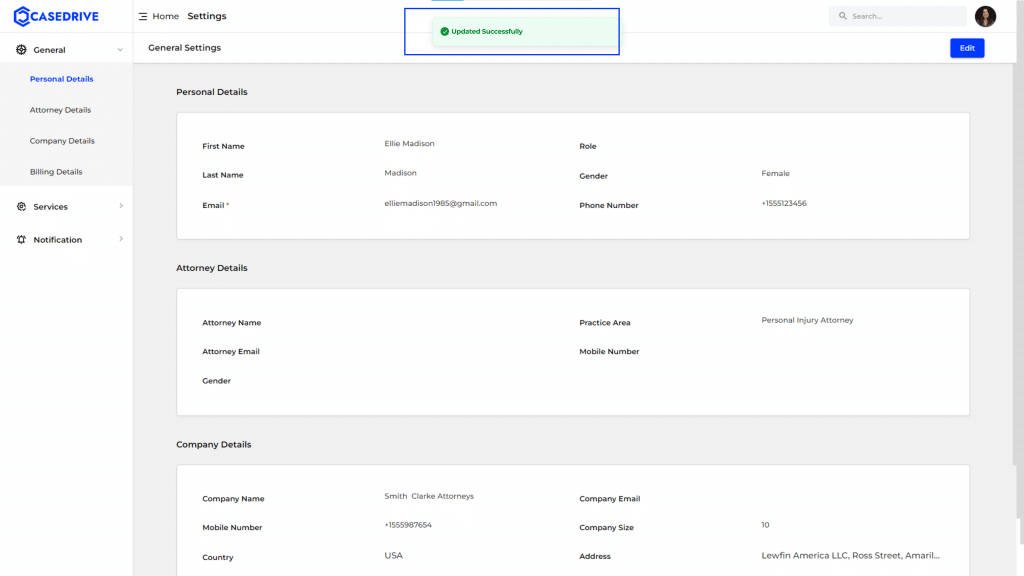
Confirmation of Updated Details
- Once the changes are successfully saved, a green confirmation message stating “Updated Successfully” will appear at the top of the page.
- The modified details will now be visible in their respective fields, reflecting the new information you entered.
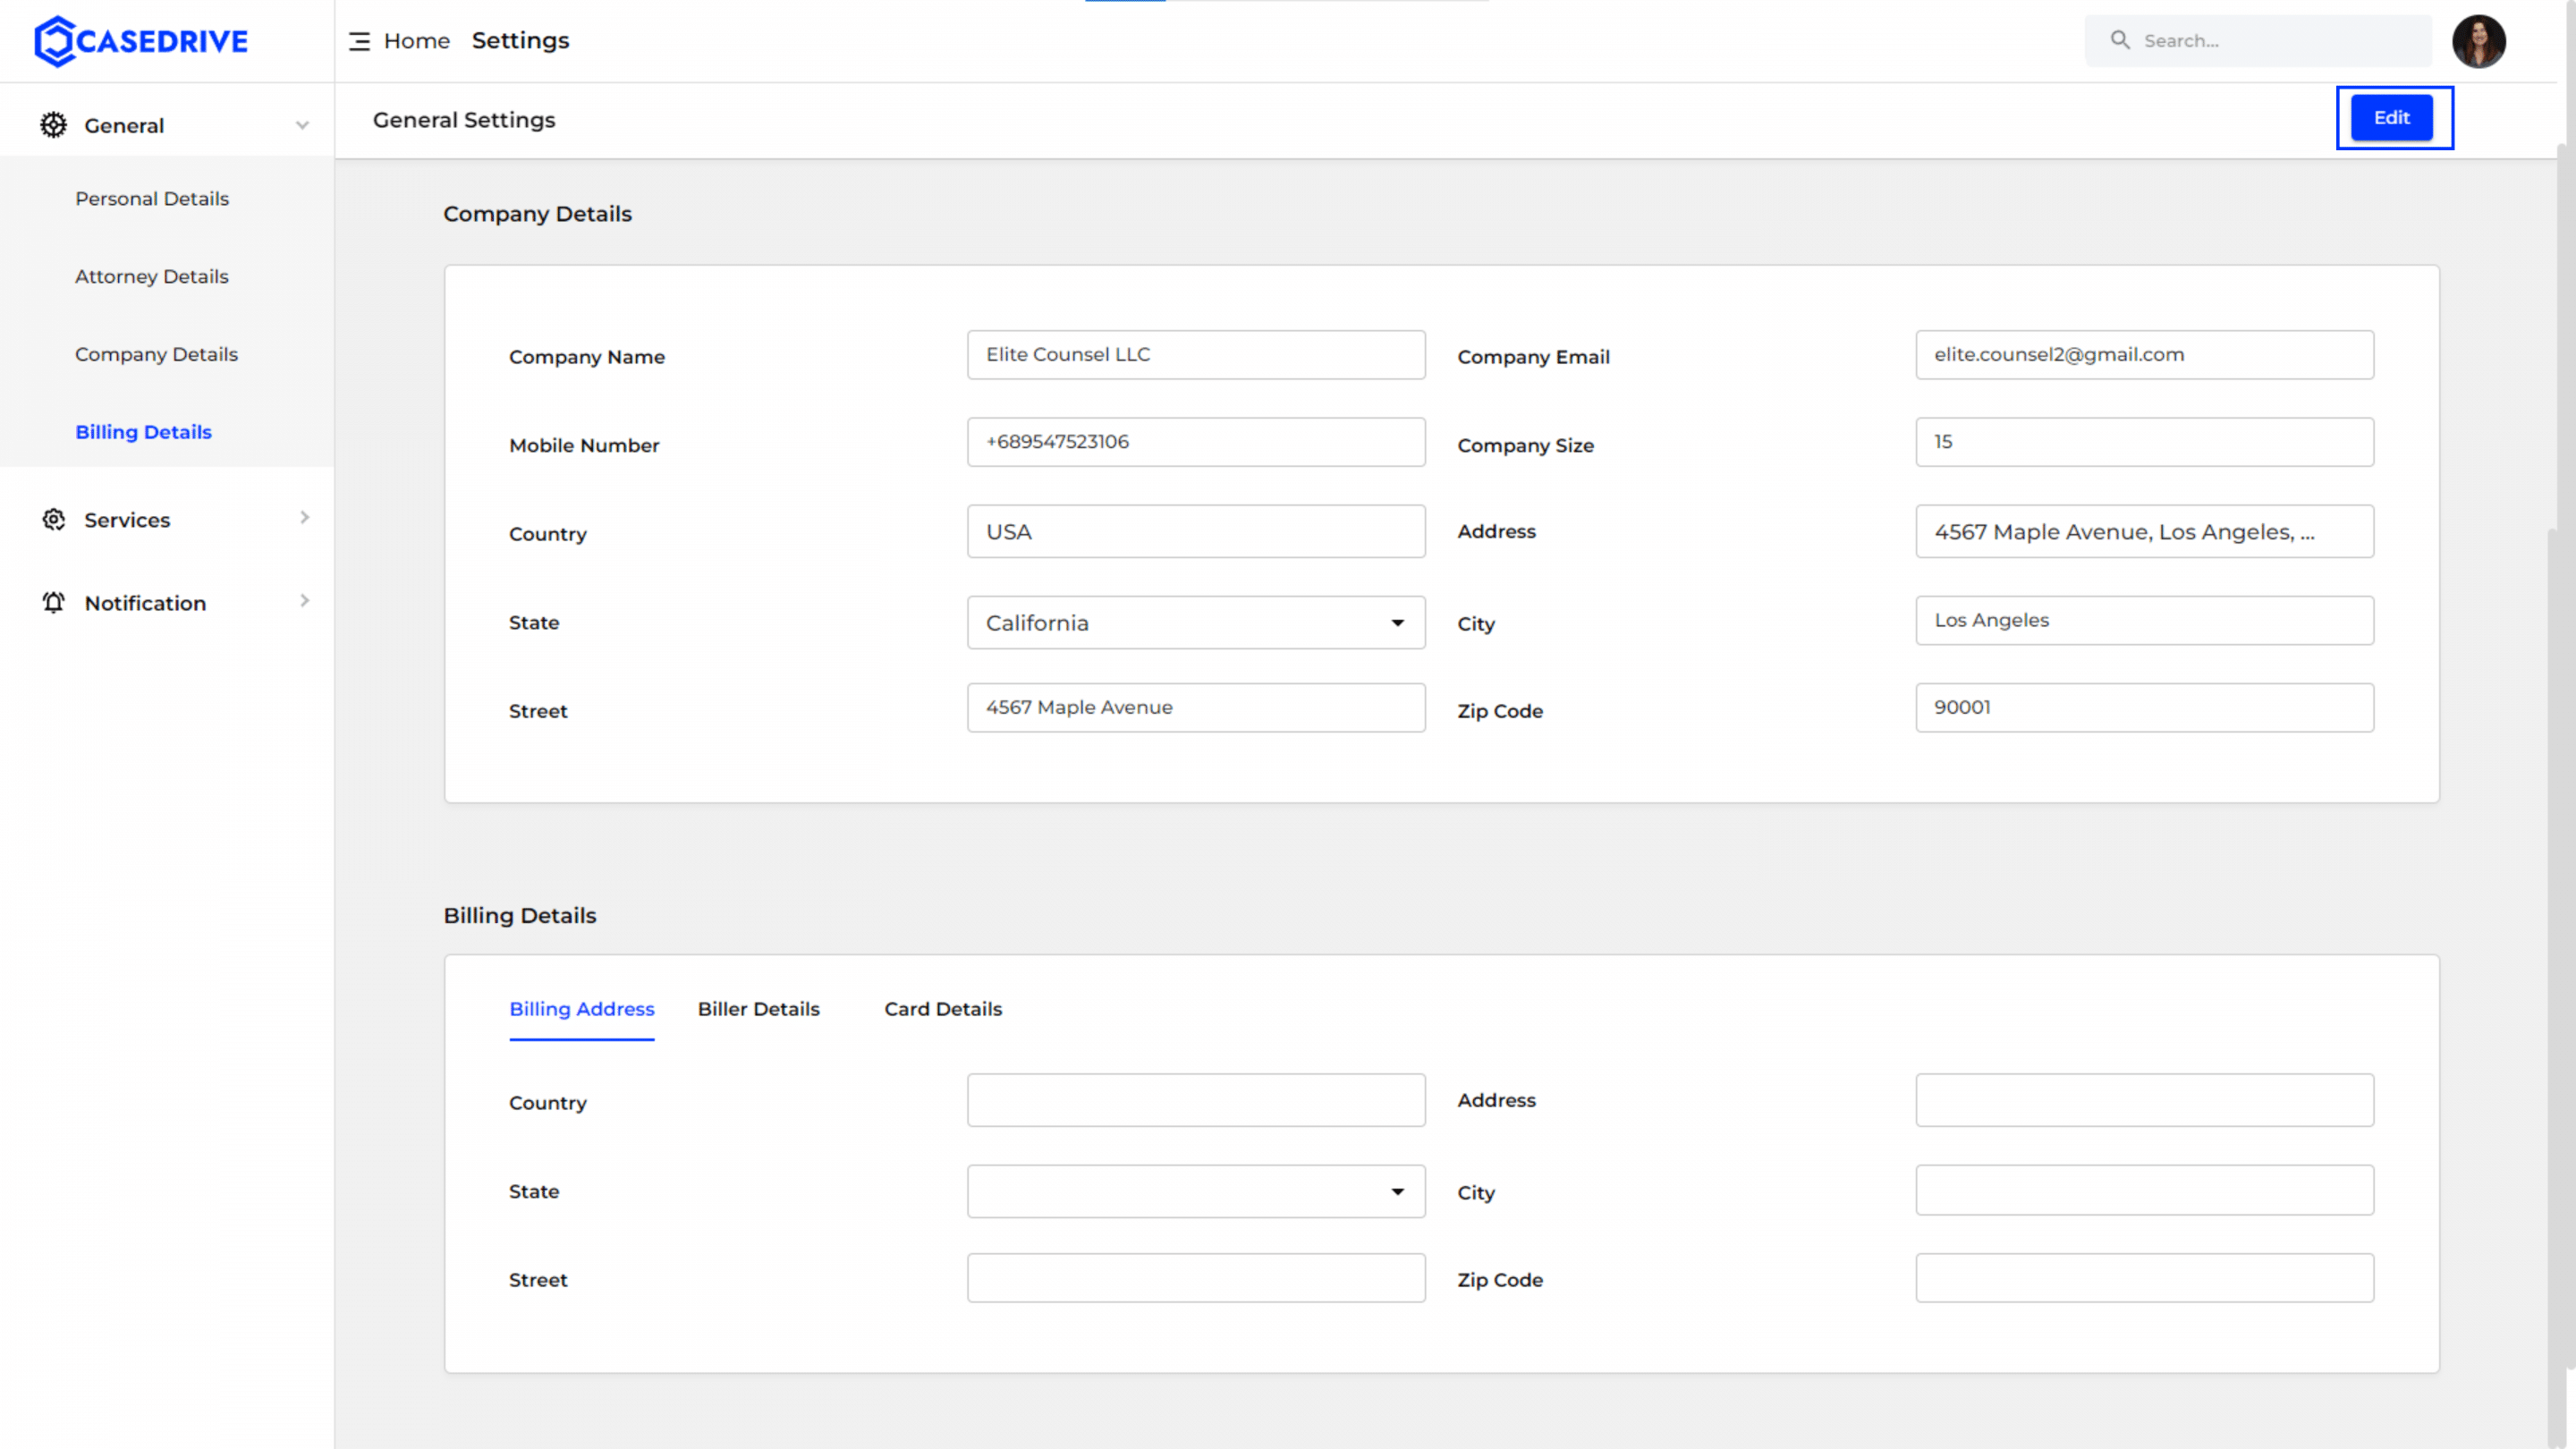
Billing Details
Navigating to “Edit” in Billing
- To edit the billing details, navigate to the “Settings” section from the dashboard at the top right corner. Under “General Settings,” click on the “Billing Details”
- To make any changes, click on the “Edit” button located at the top right corner.
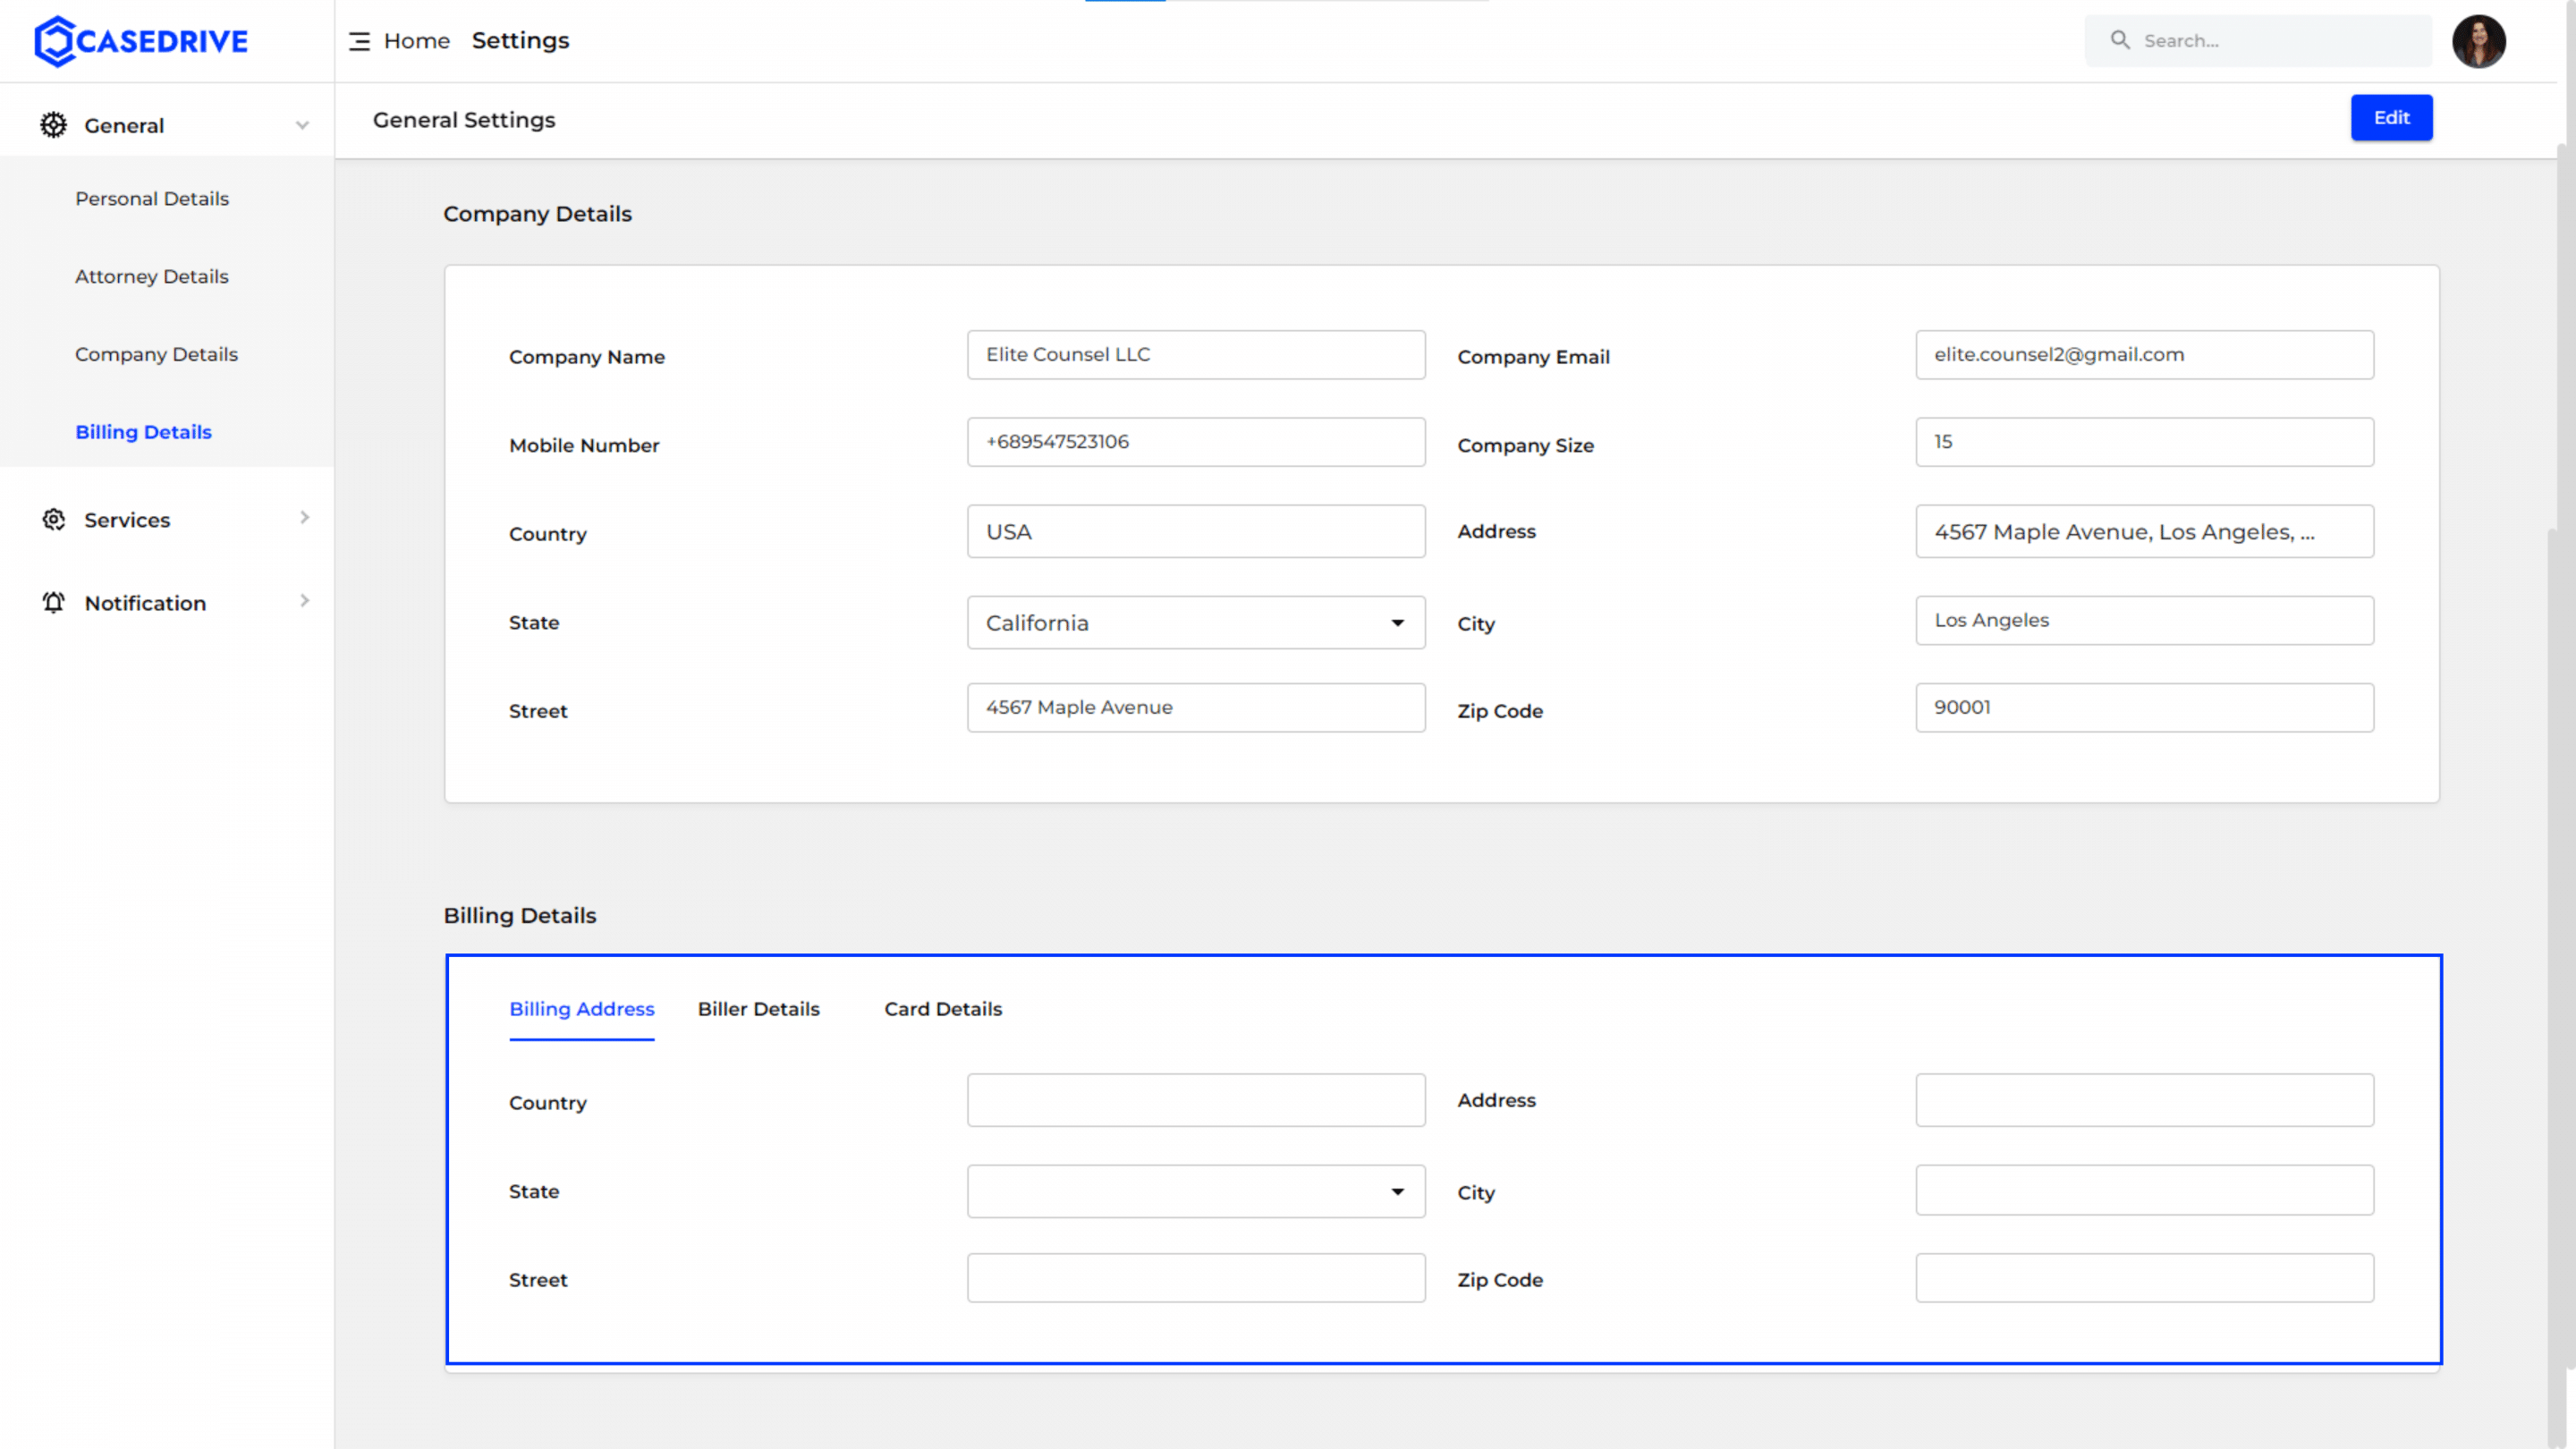
Editing “Billing Address”
- To modify the billing address, navigate to the “Billing Address”
- The Billing Address fields become editable and you can modify the details as needed.
- Click the “Save” button to save the updated billing address information.
It is important to note that if the billing address is not entered, CaseDrive will use the company address provided for billing.
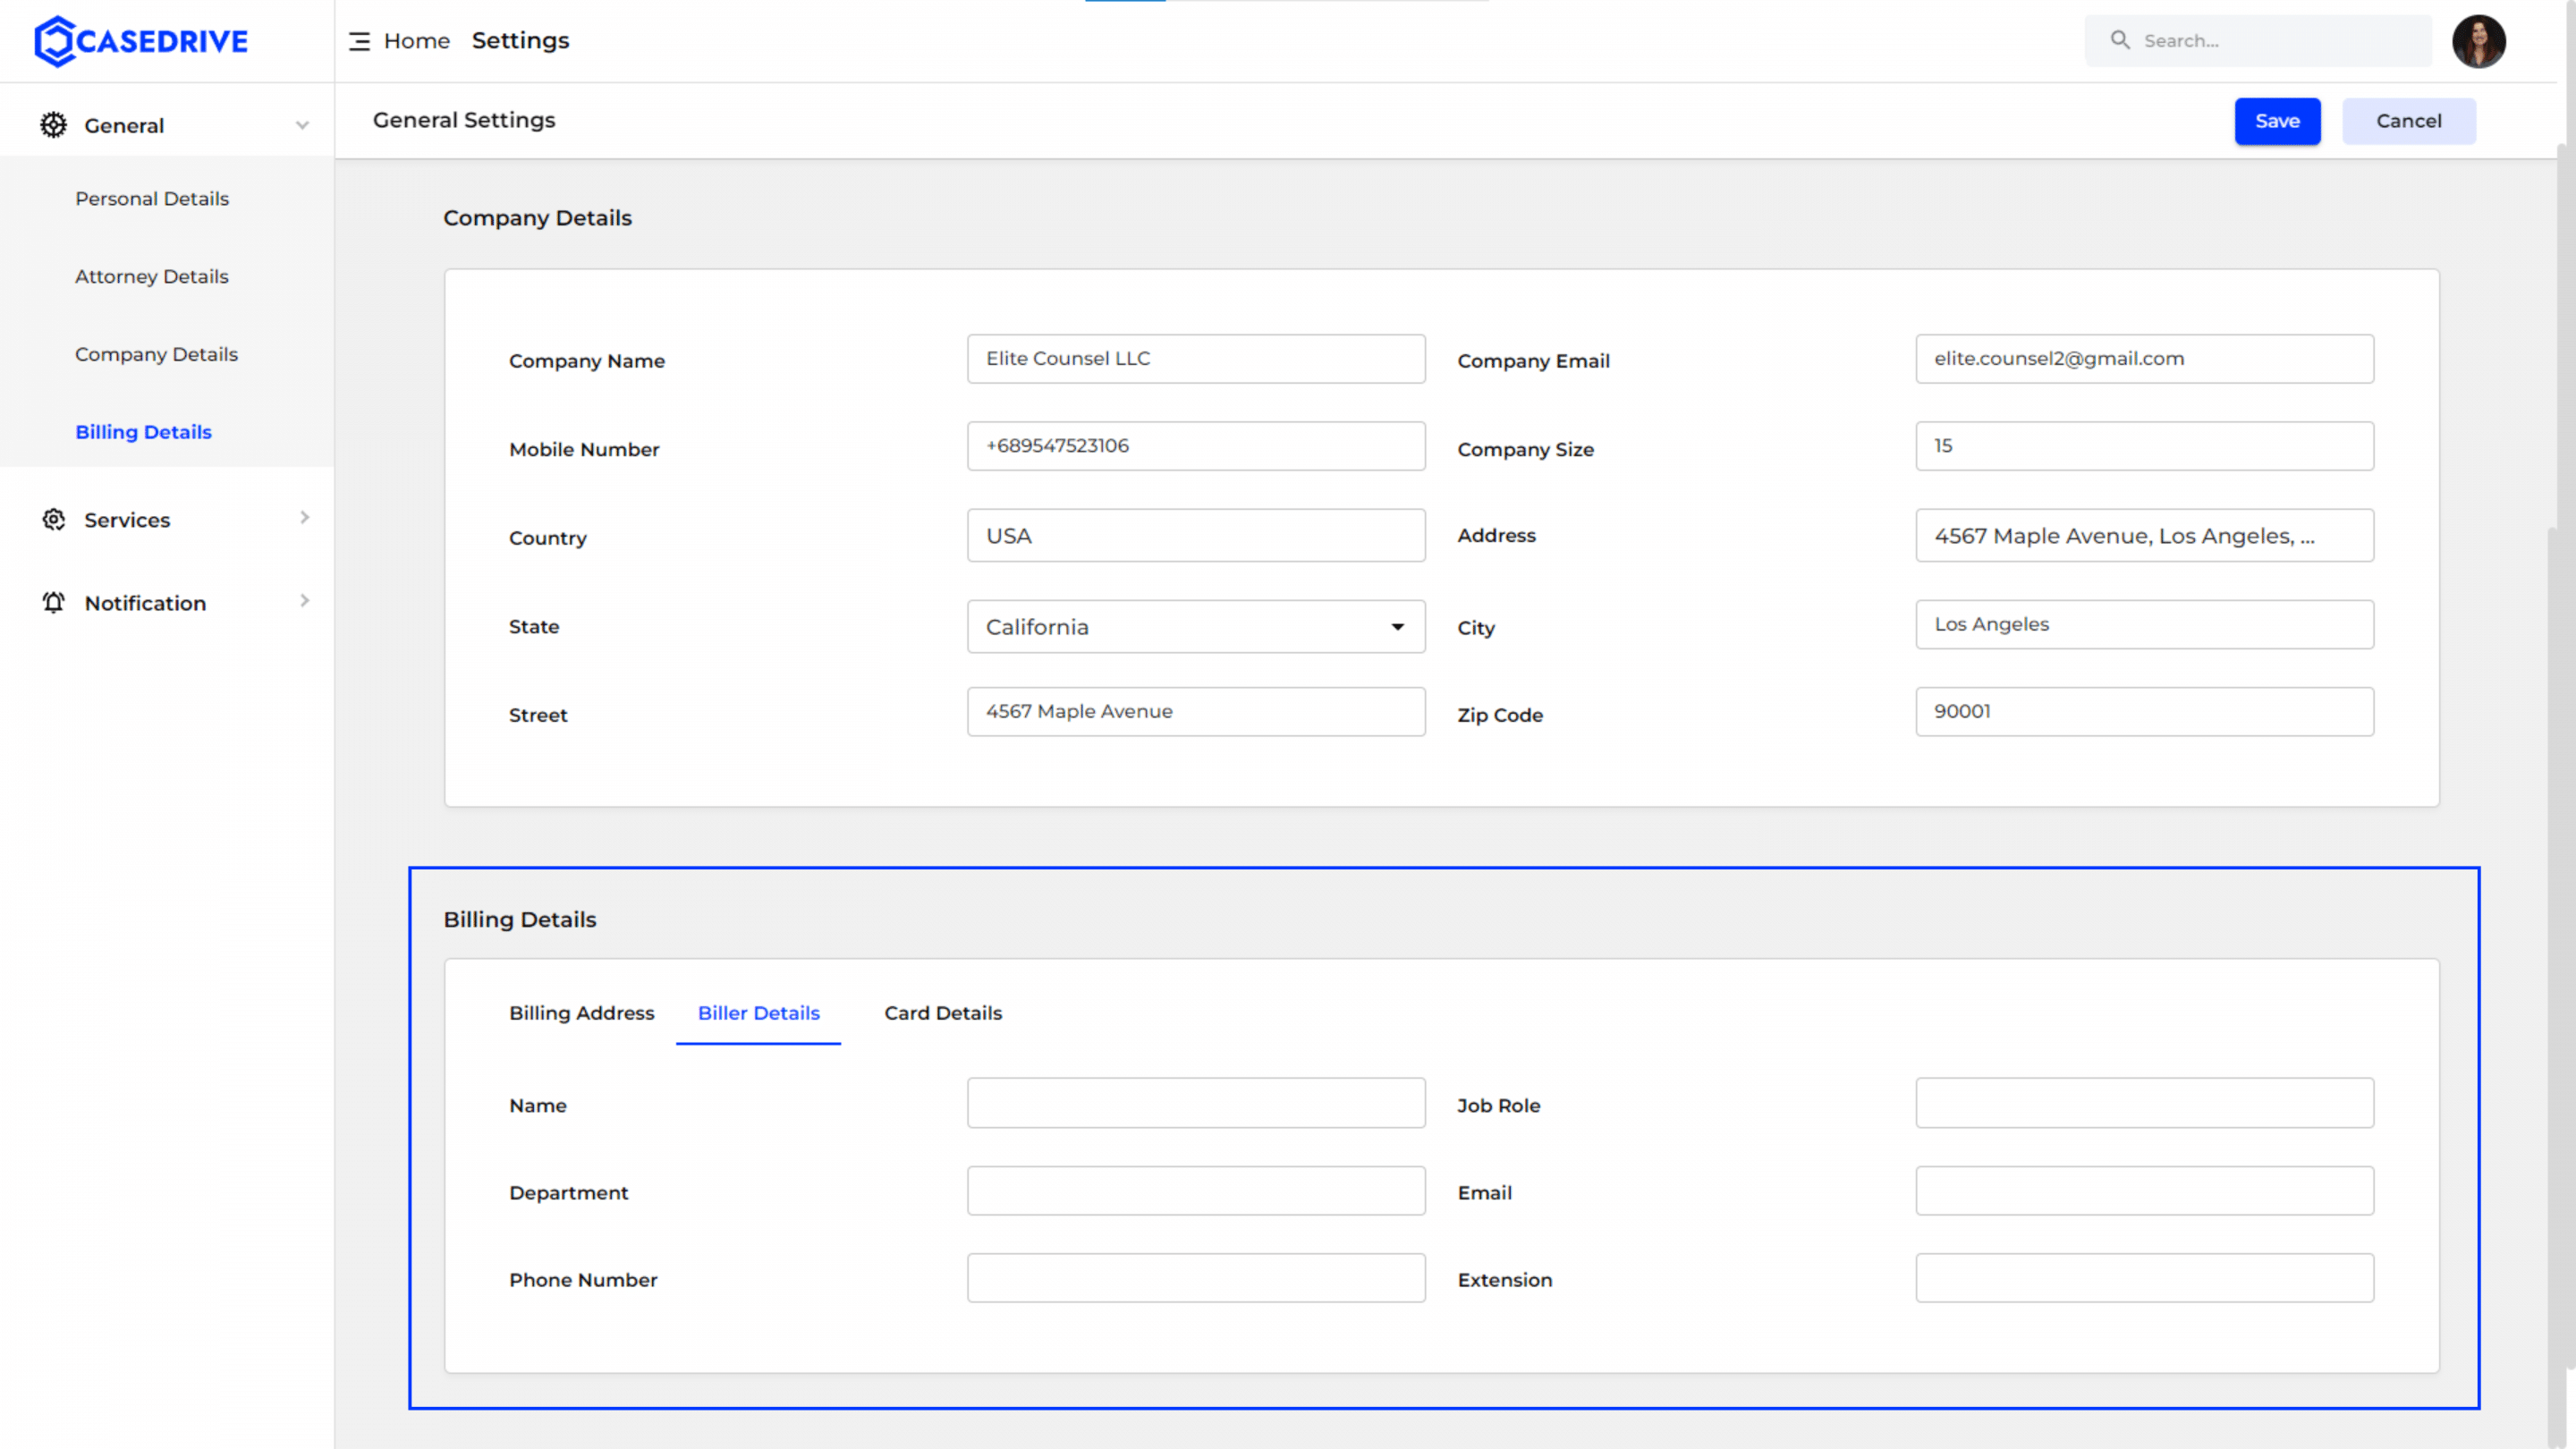
Editing “Biller Details”
- To modify the biller details, navigate to the “Biller Details”
- The Biller Details fields become editable and you can modify the details as needed.
- Click the “Save” button to save the updated biller details information.
CaseDrive will ensure that a copy of the bill is sent directly to the provided biller email address.
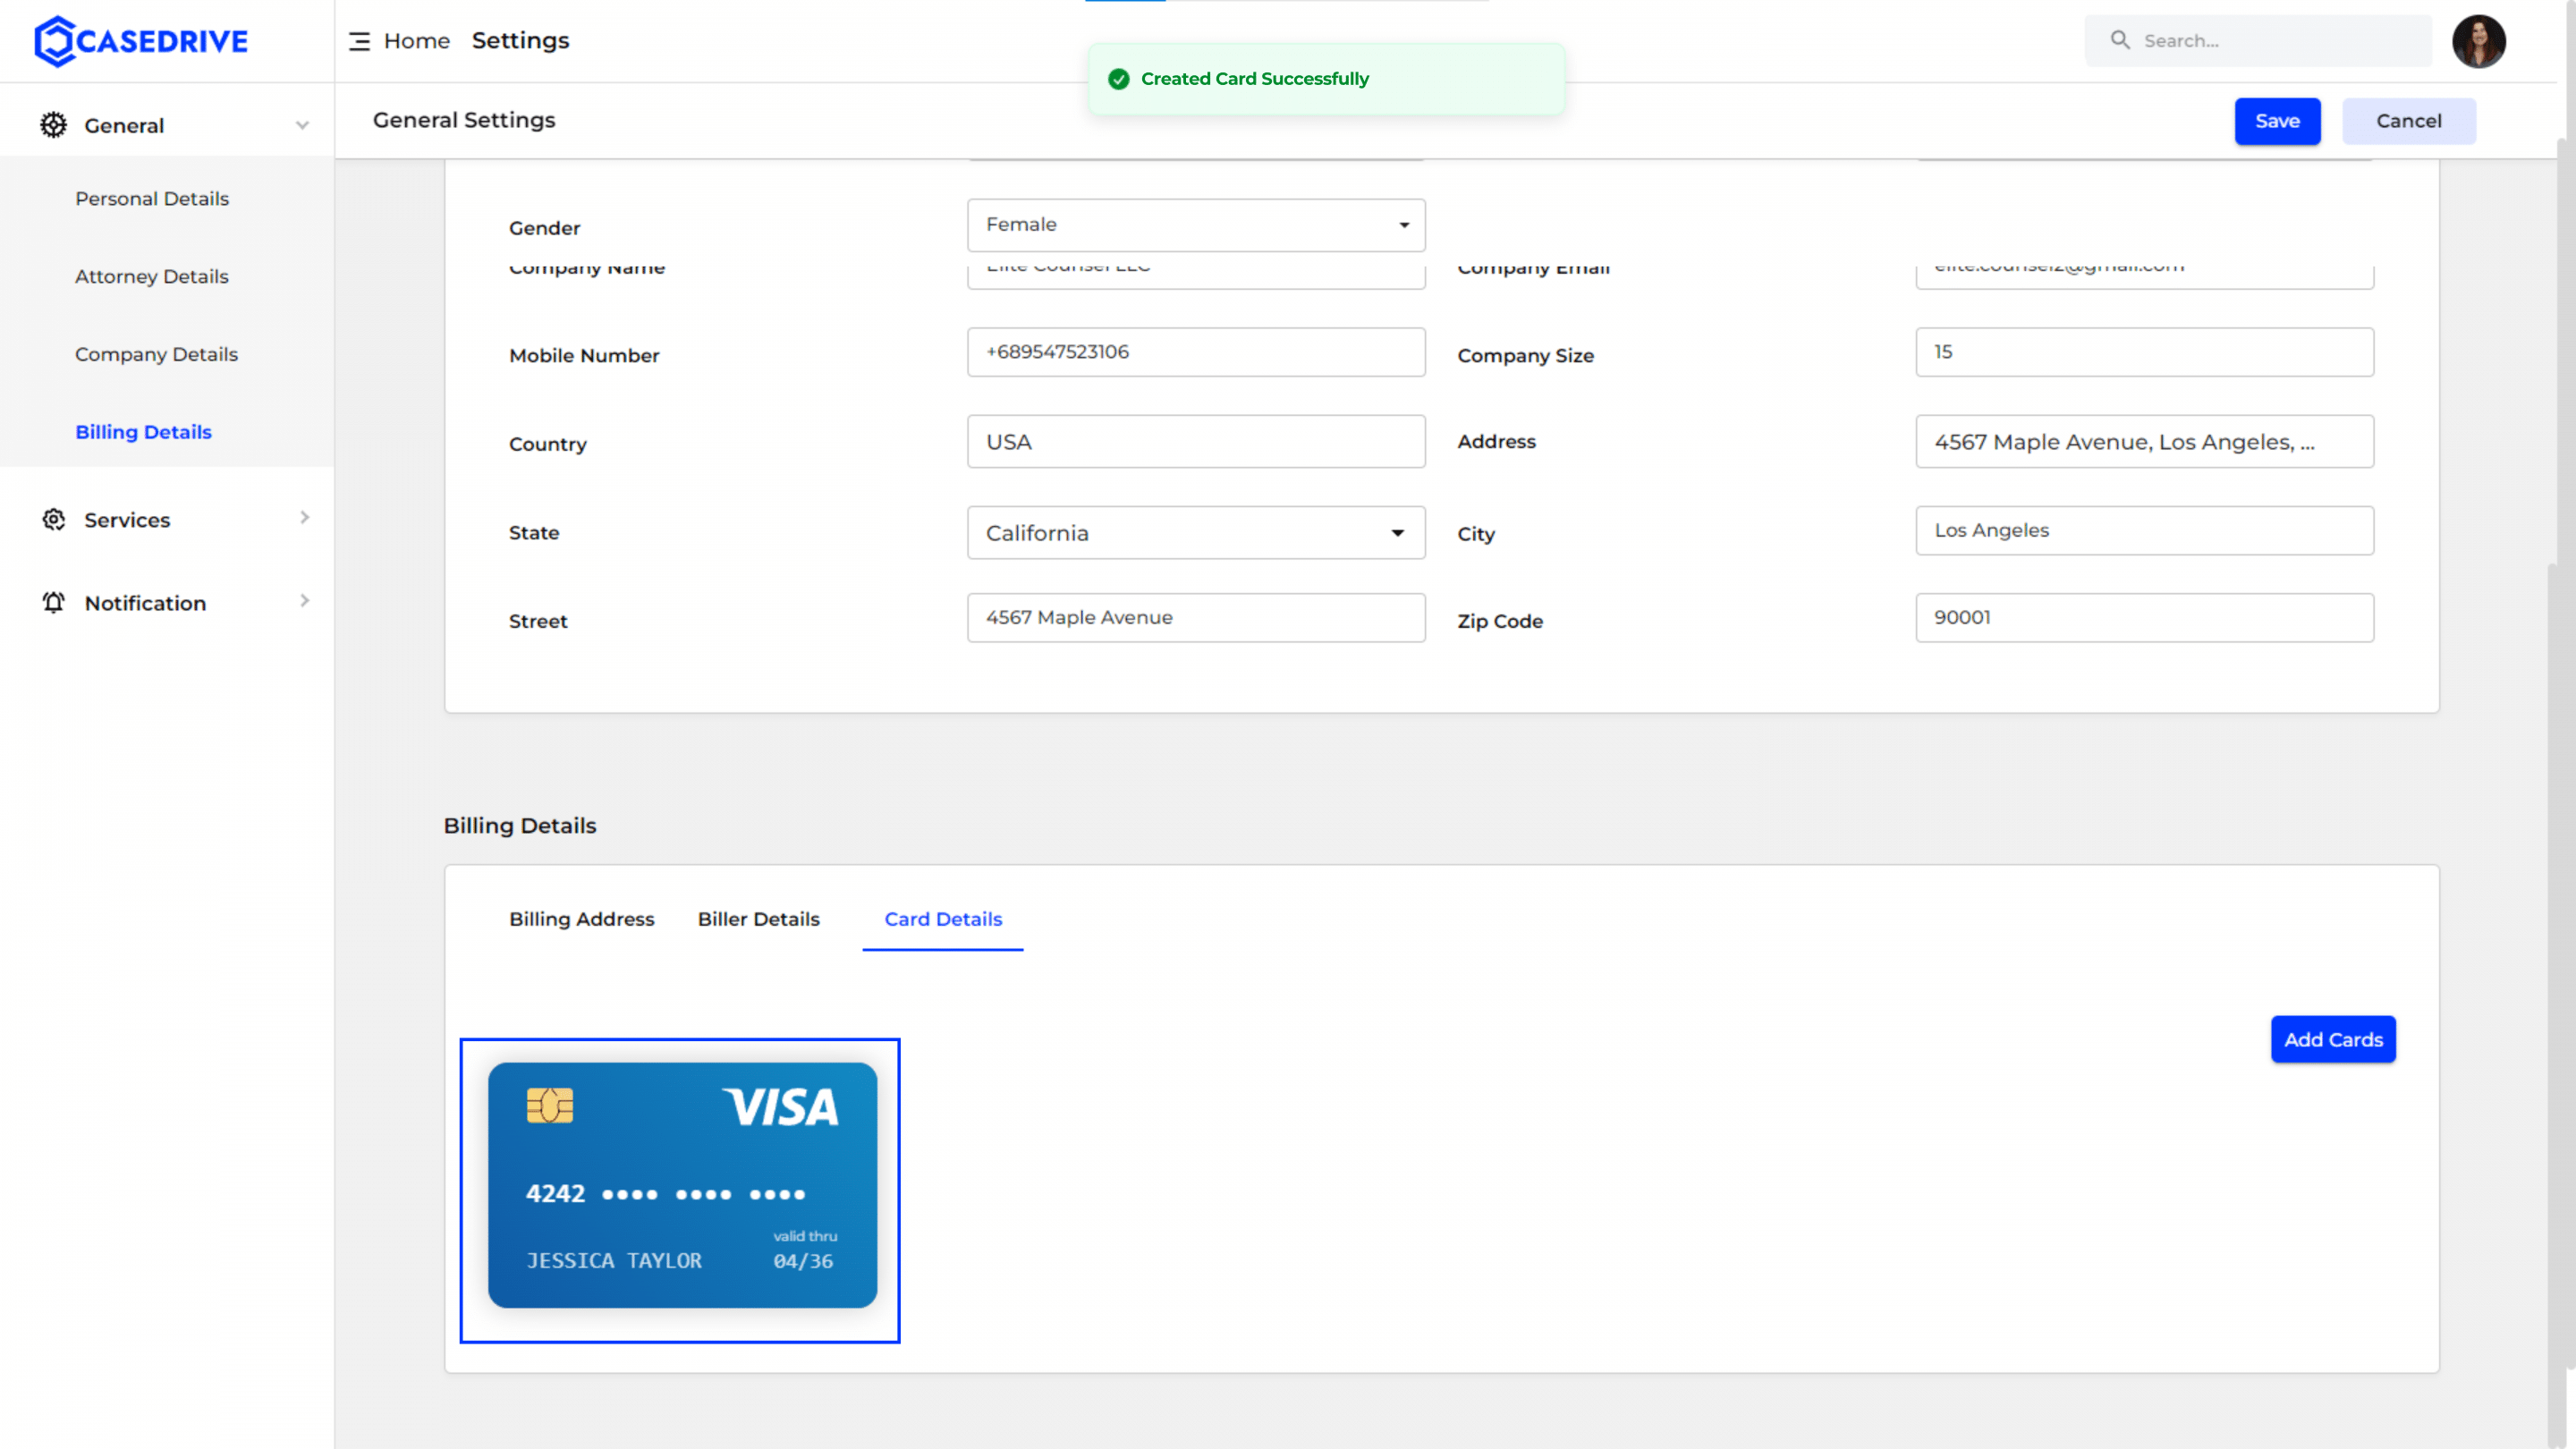
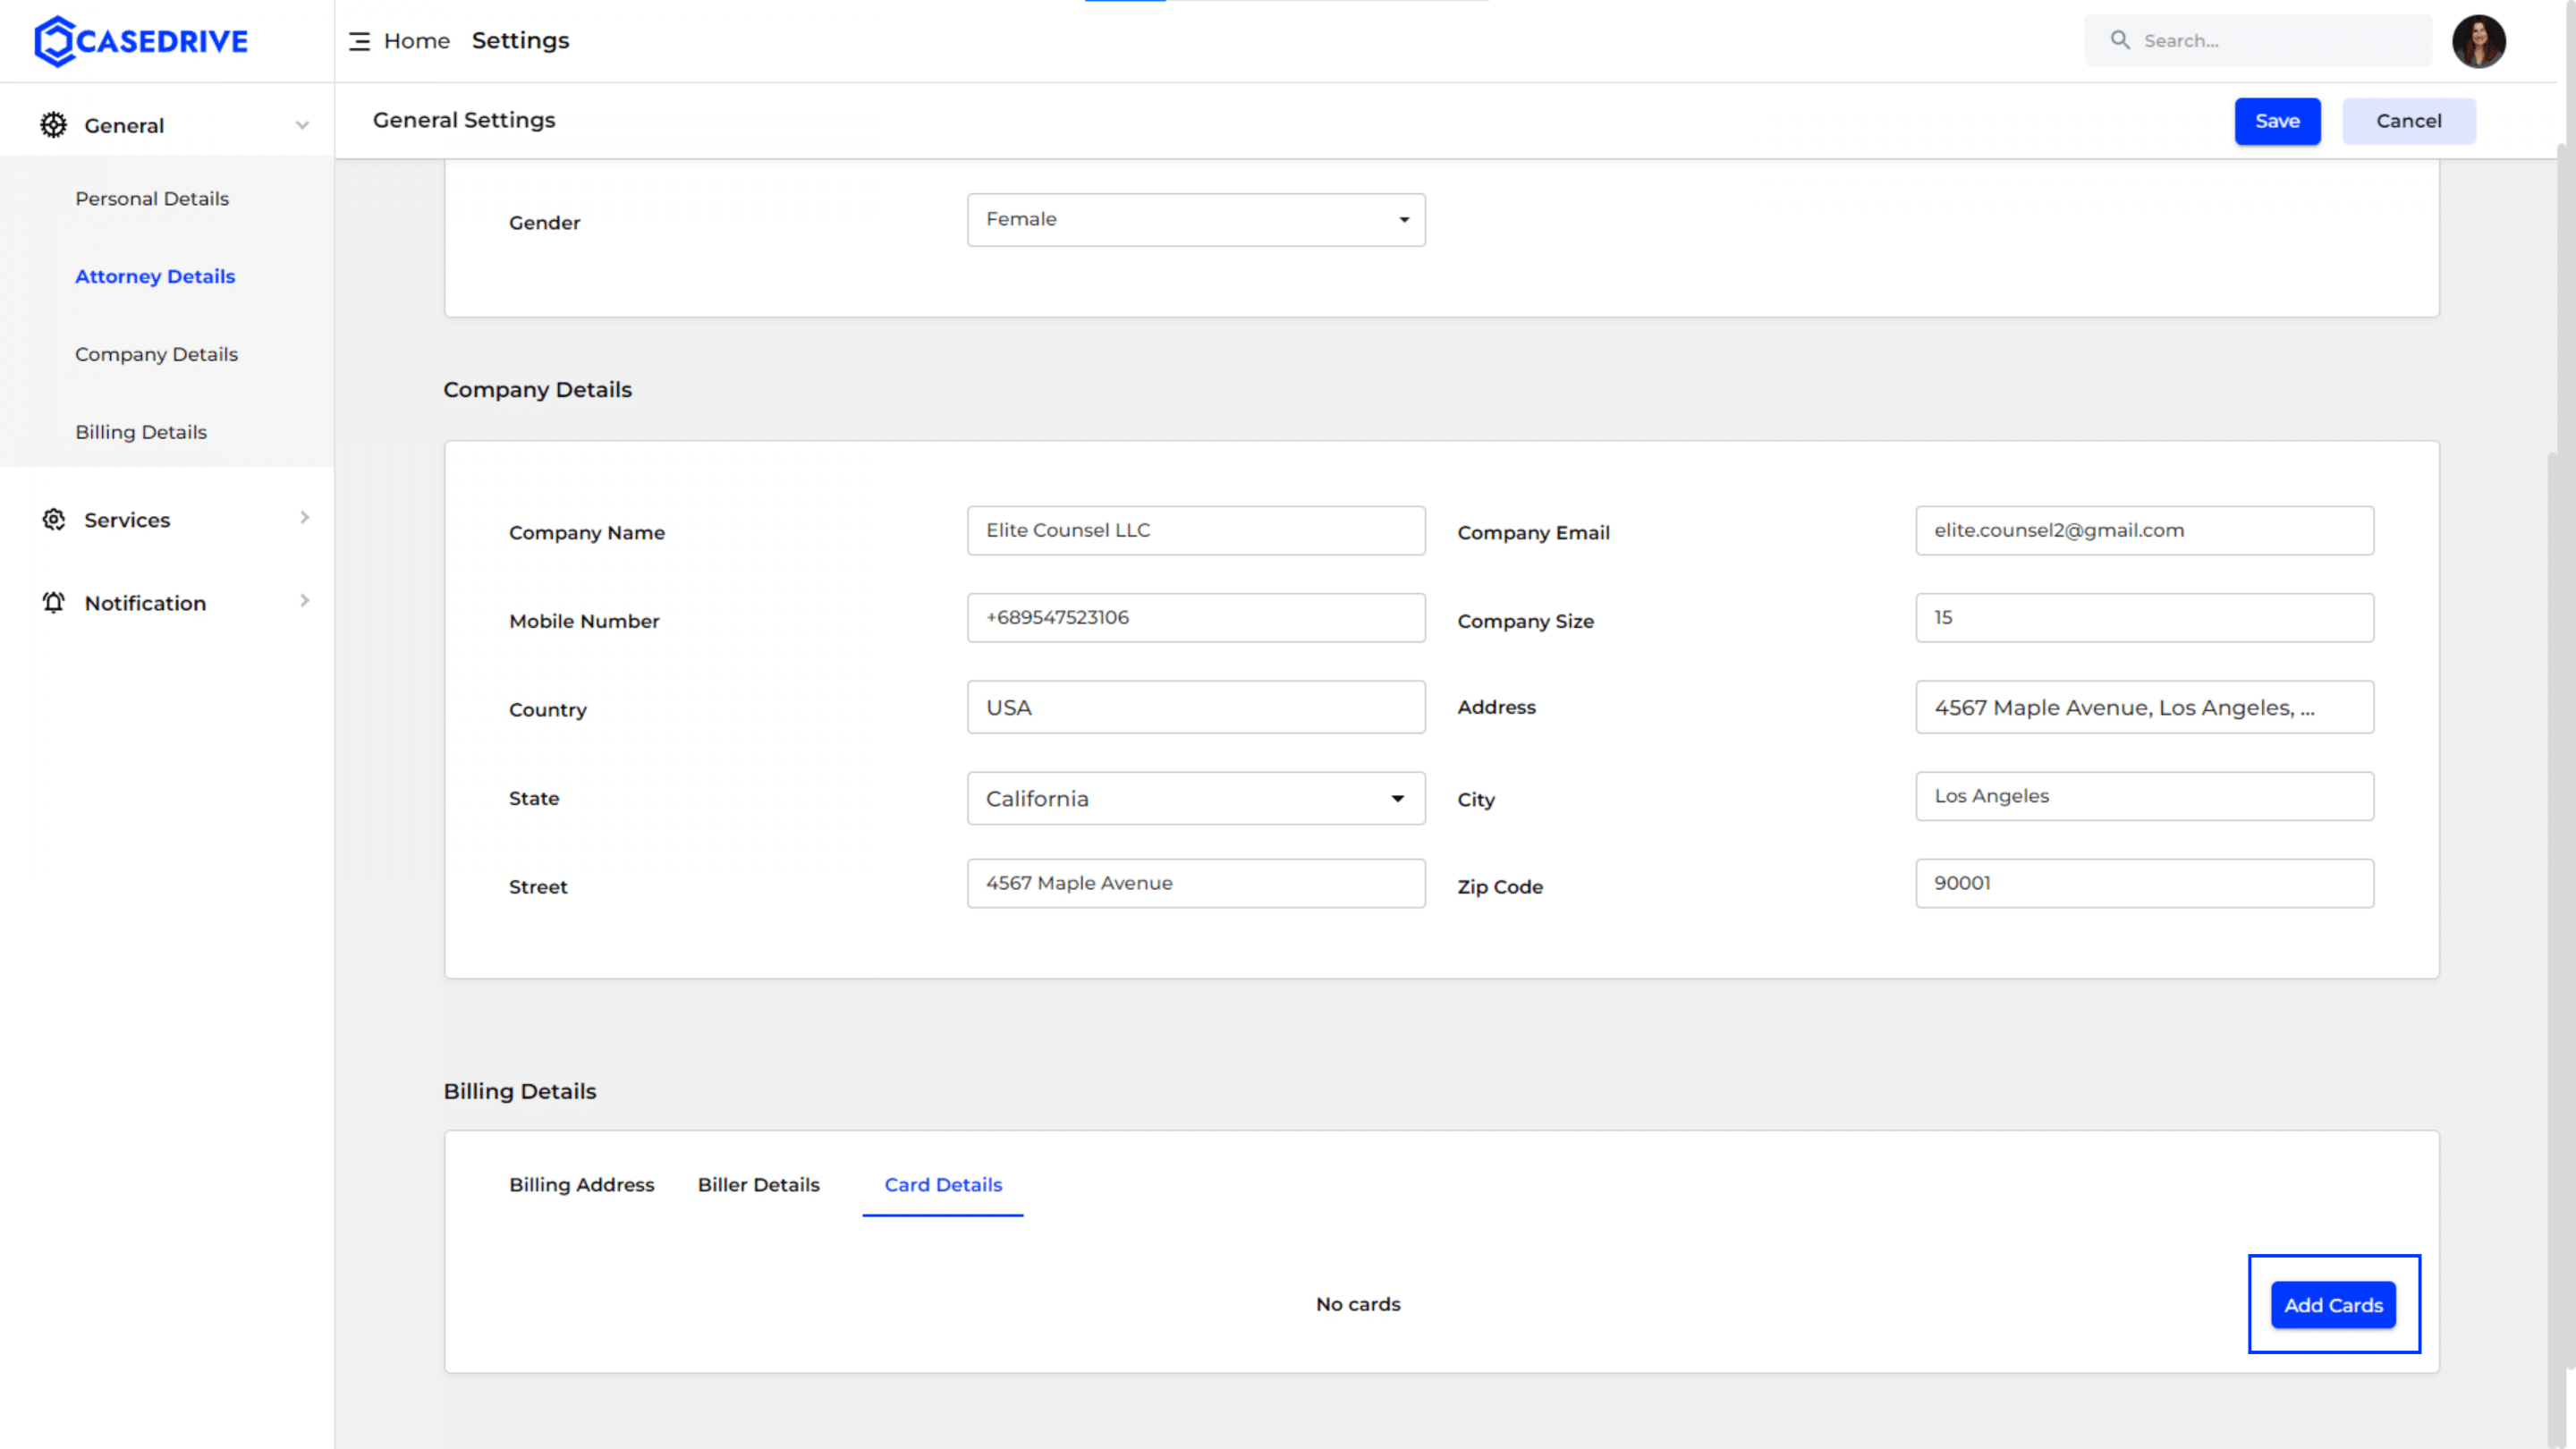
Editing “Card Details”
- To modify the card details, click on the “Card Details”
- You can view the existing card information and make necessary updates as required.
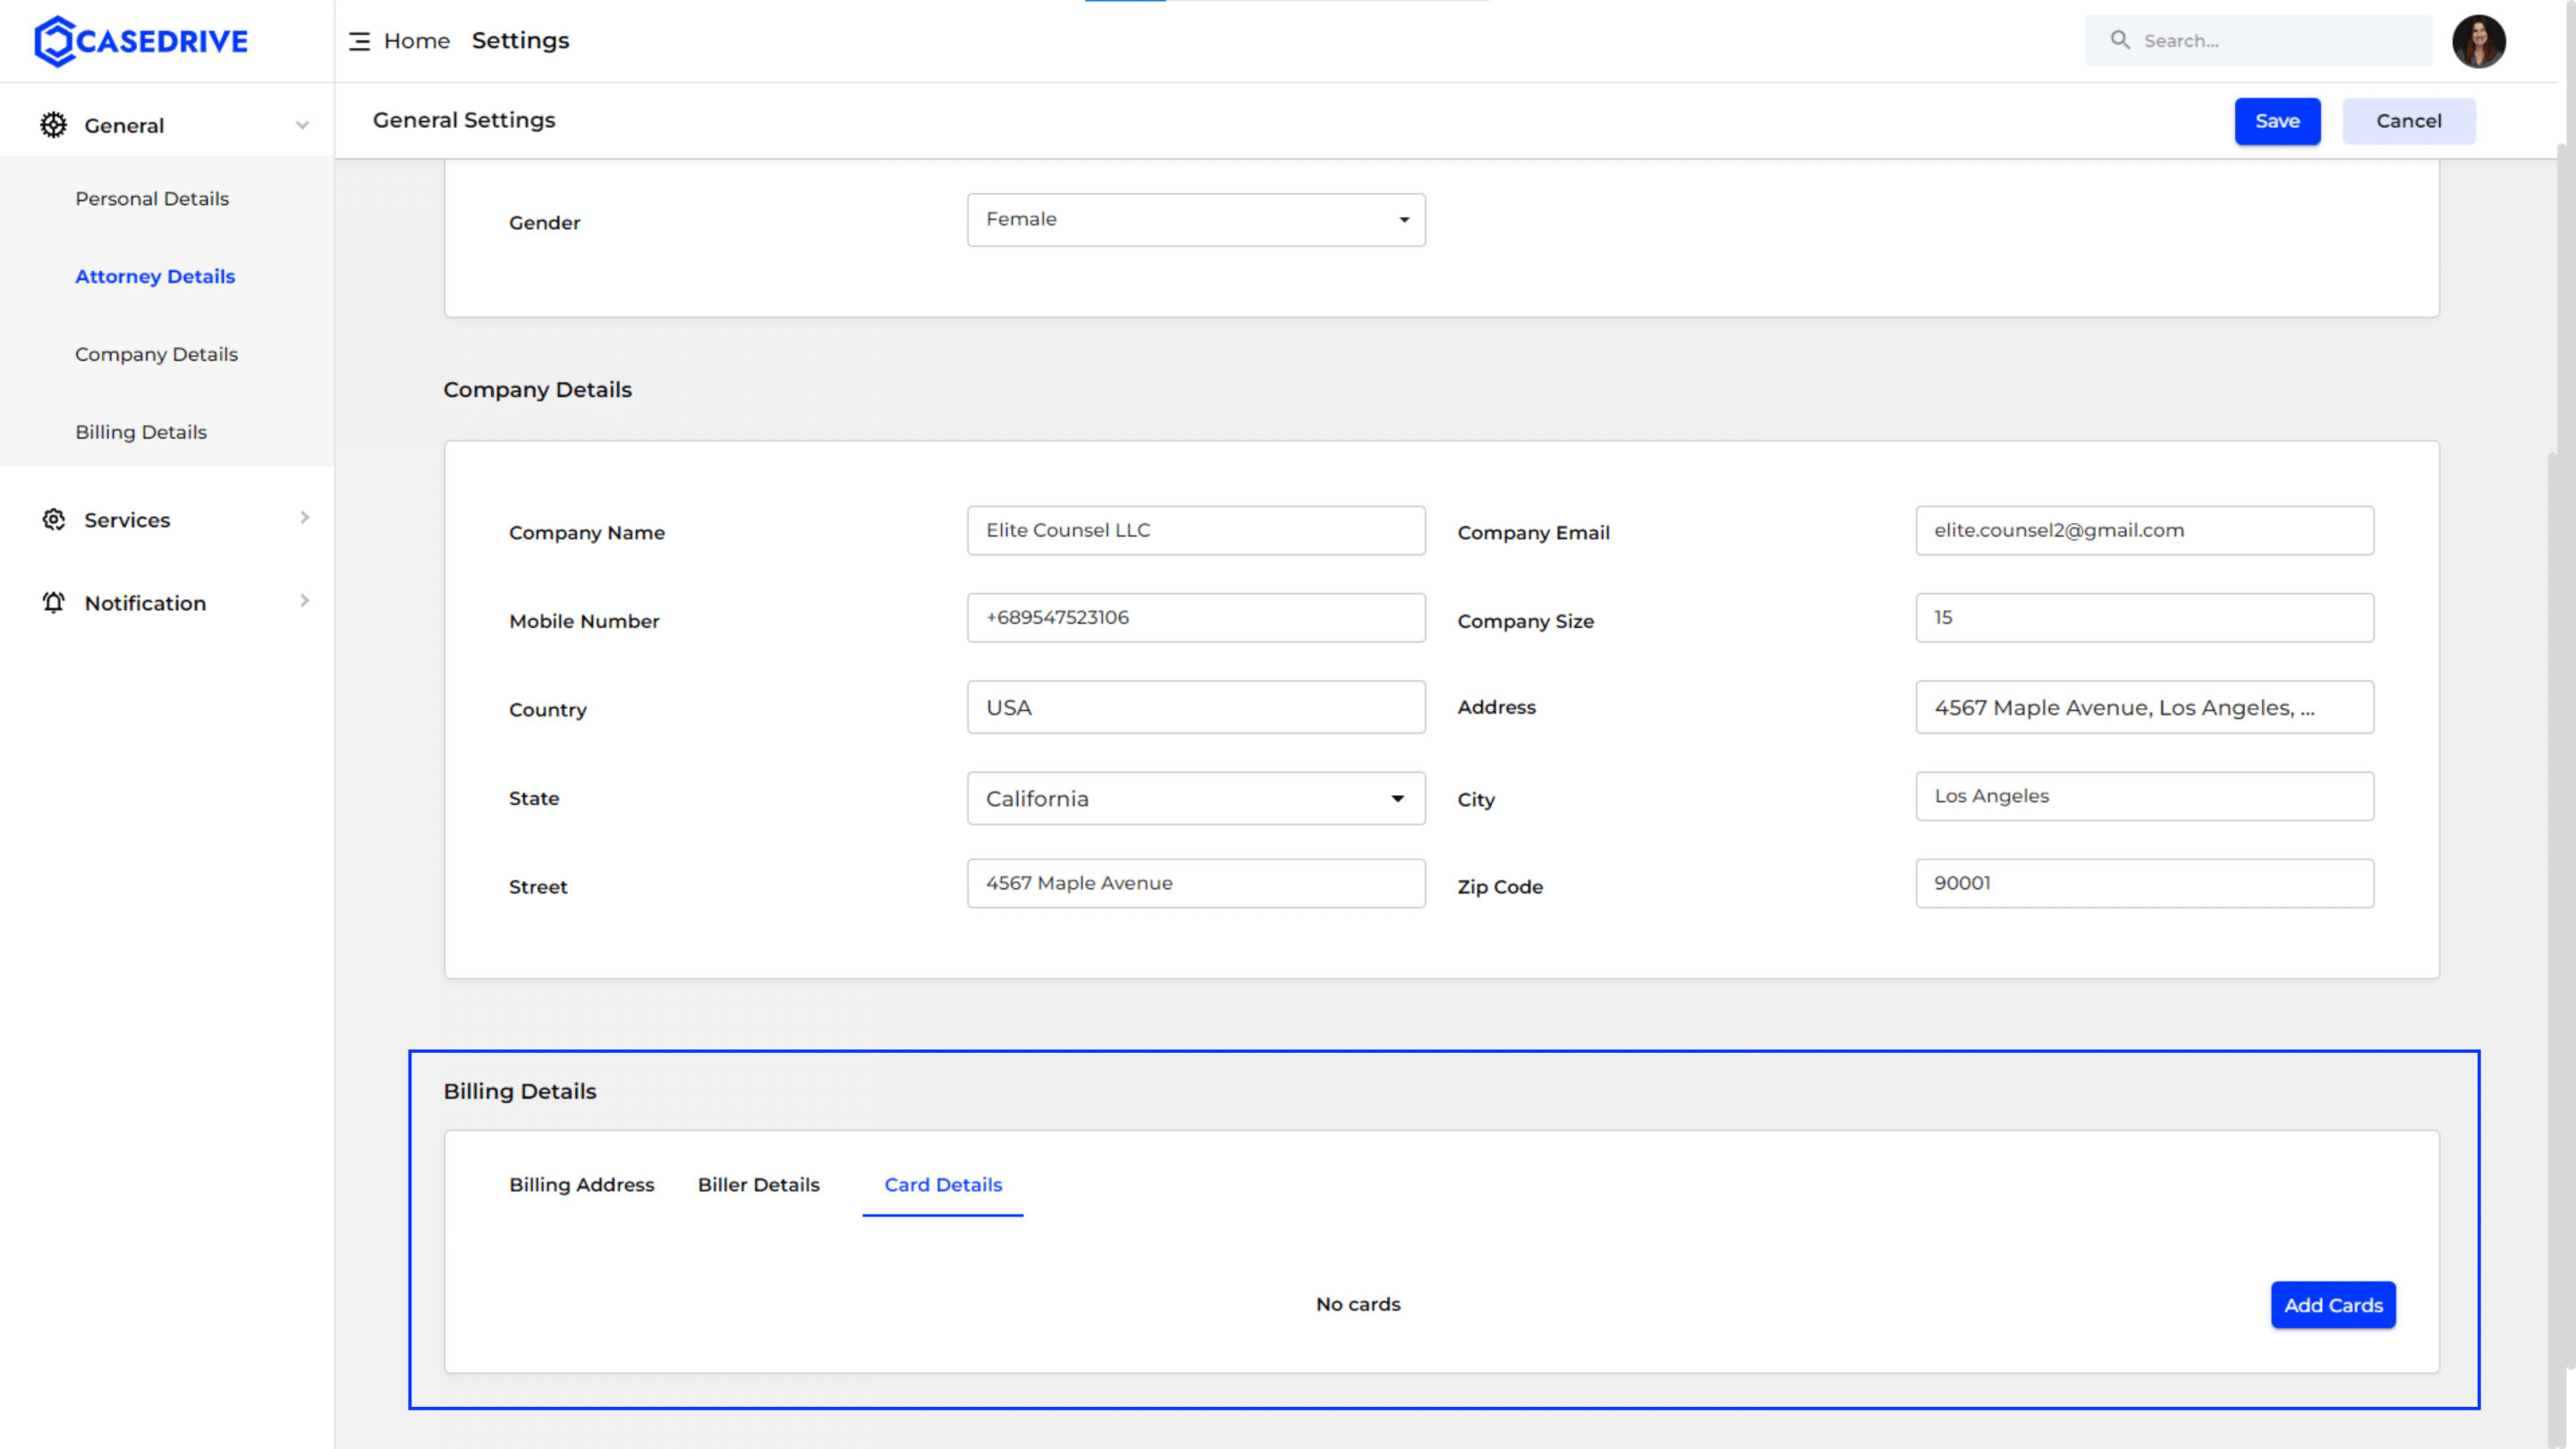
Adding Cards
- To add a new card, click the “Add Cards”
This feature allows users to add multiple cards to their account for billing purposes.
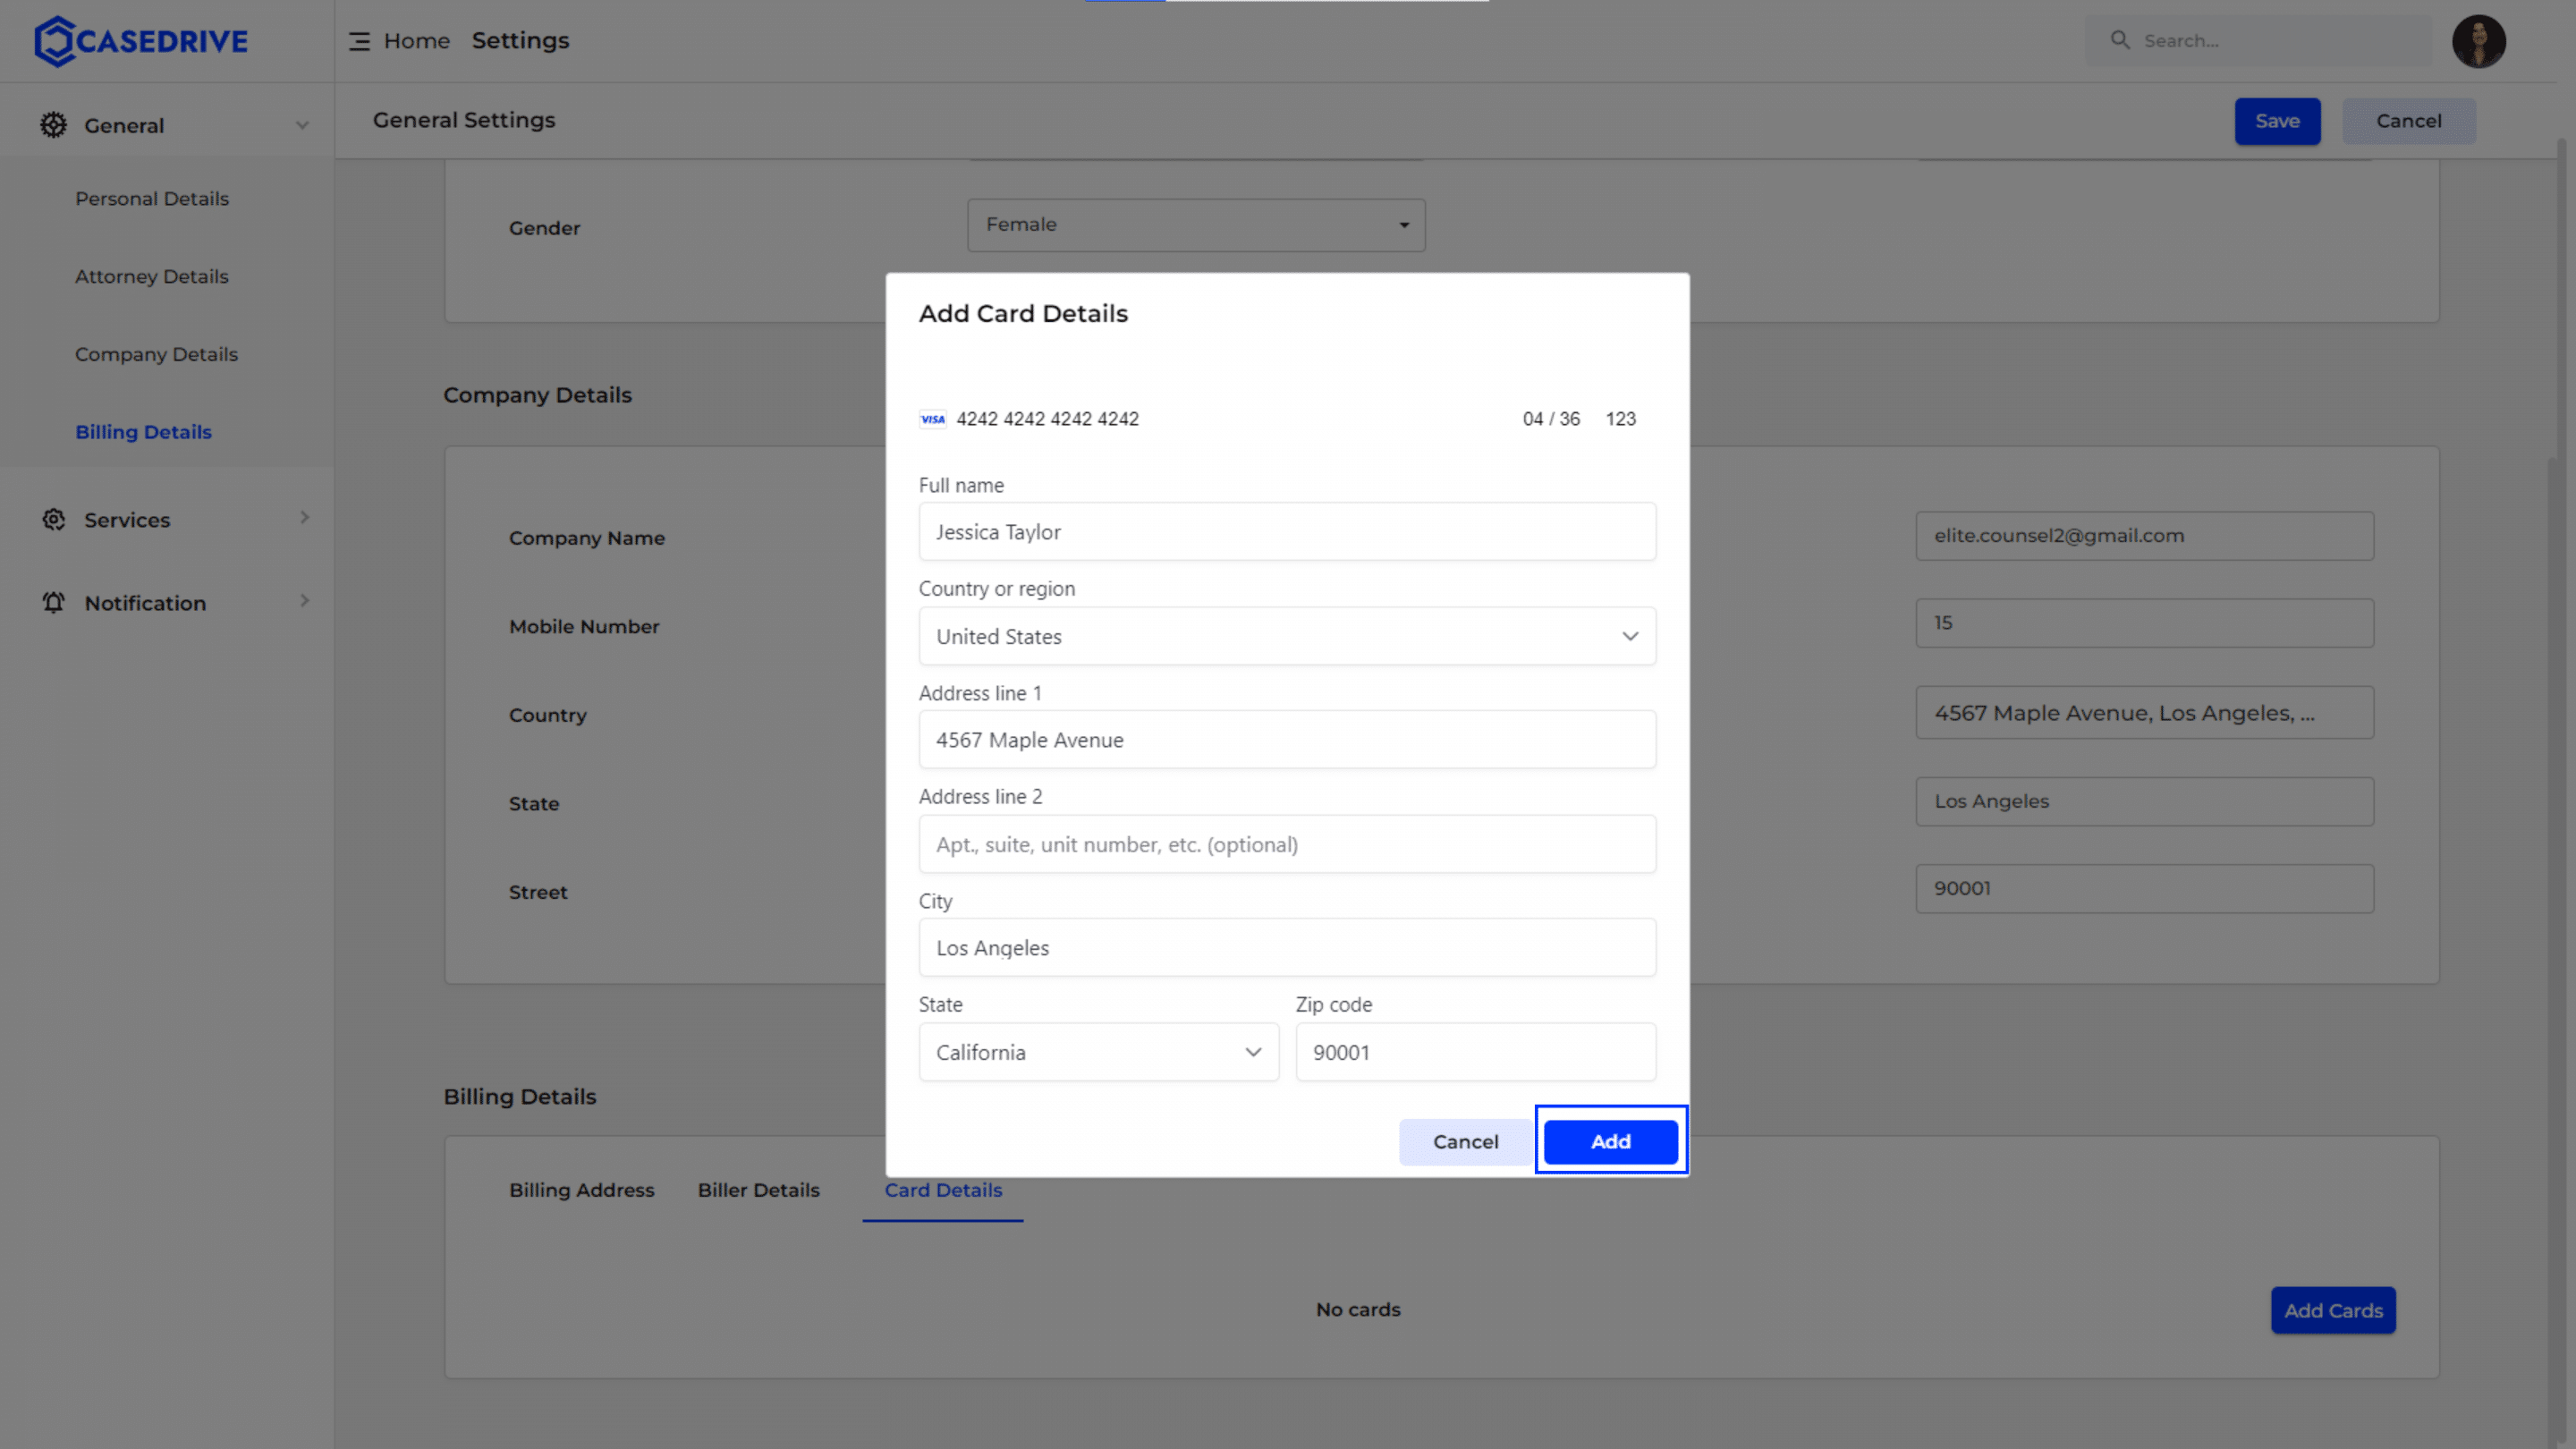
Adding Card Details
- After clicking “Add Cards,” a new screen will appear for adding card details.
- You will need to fill in the Full Name, Card Number, Expiration Date, CVV, Country or Region, Address Line, City, State, and Zip Code.
- Click the “Add” button to save the new card details.
Card Added Confirmation
- Once a card is successfully added, a confirmation message saying “Card Created Successfully.” will appear, indicating that the card has been successfully added to your billing options.
- The added card will appear under the “Card Details” section and ready to be used for any CaseDrive transactions.