Case Queries
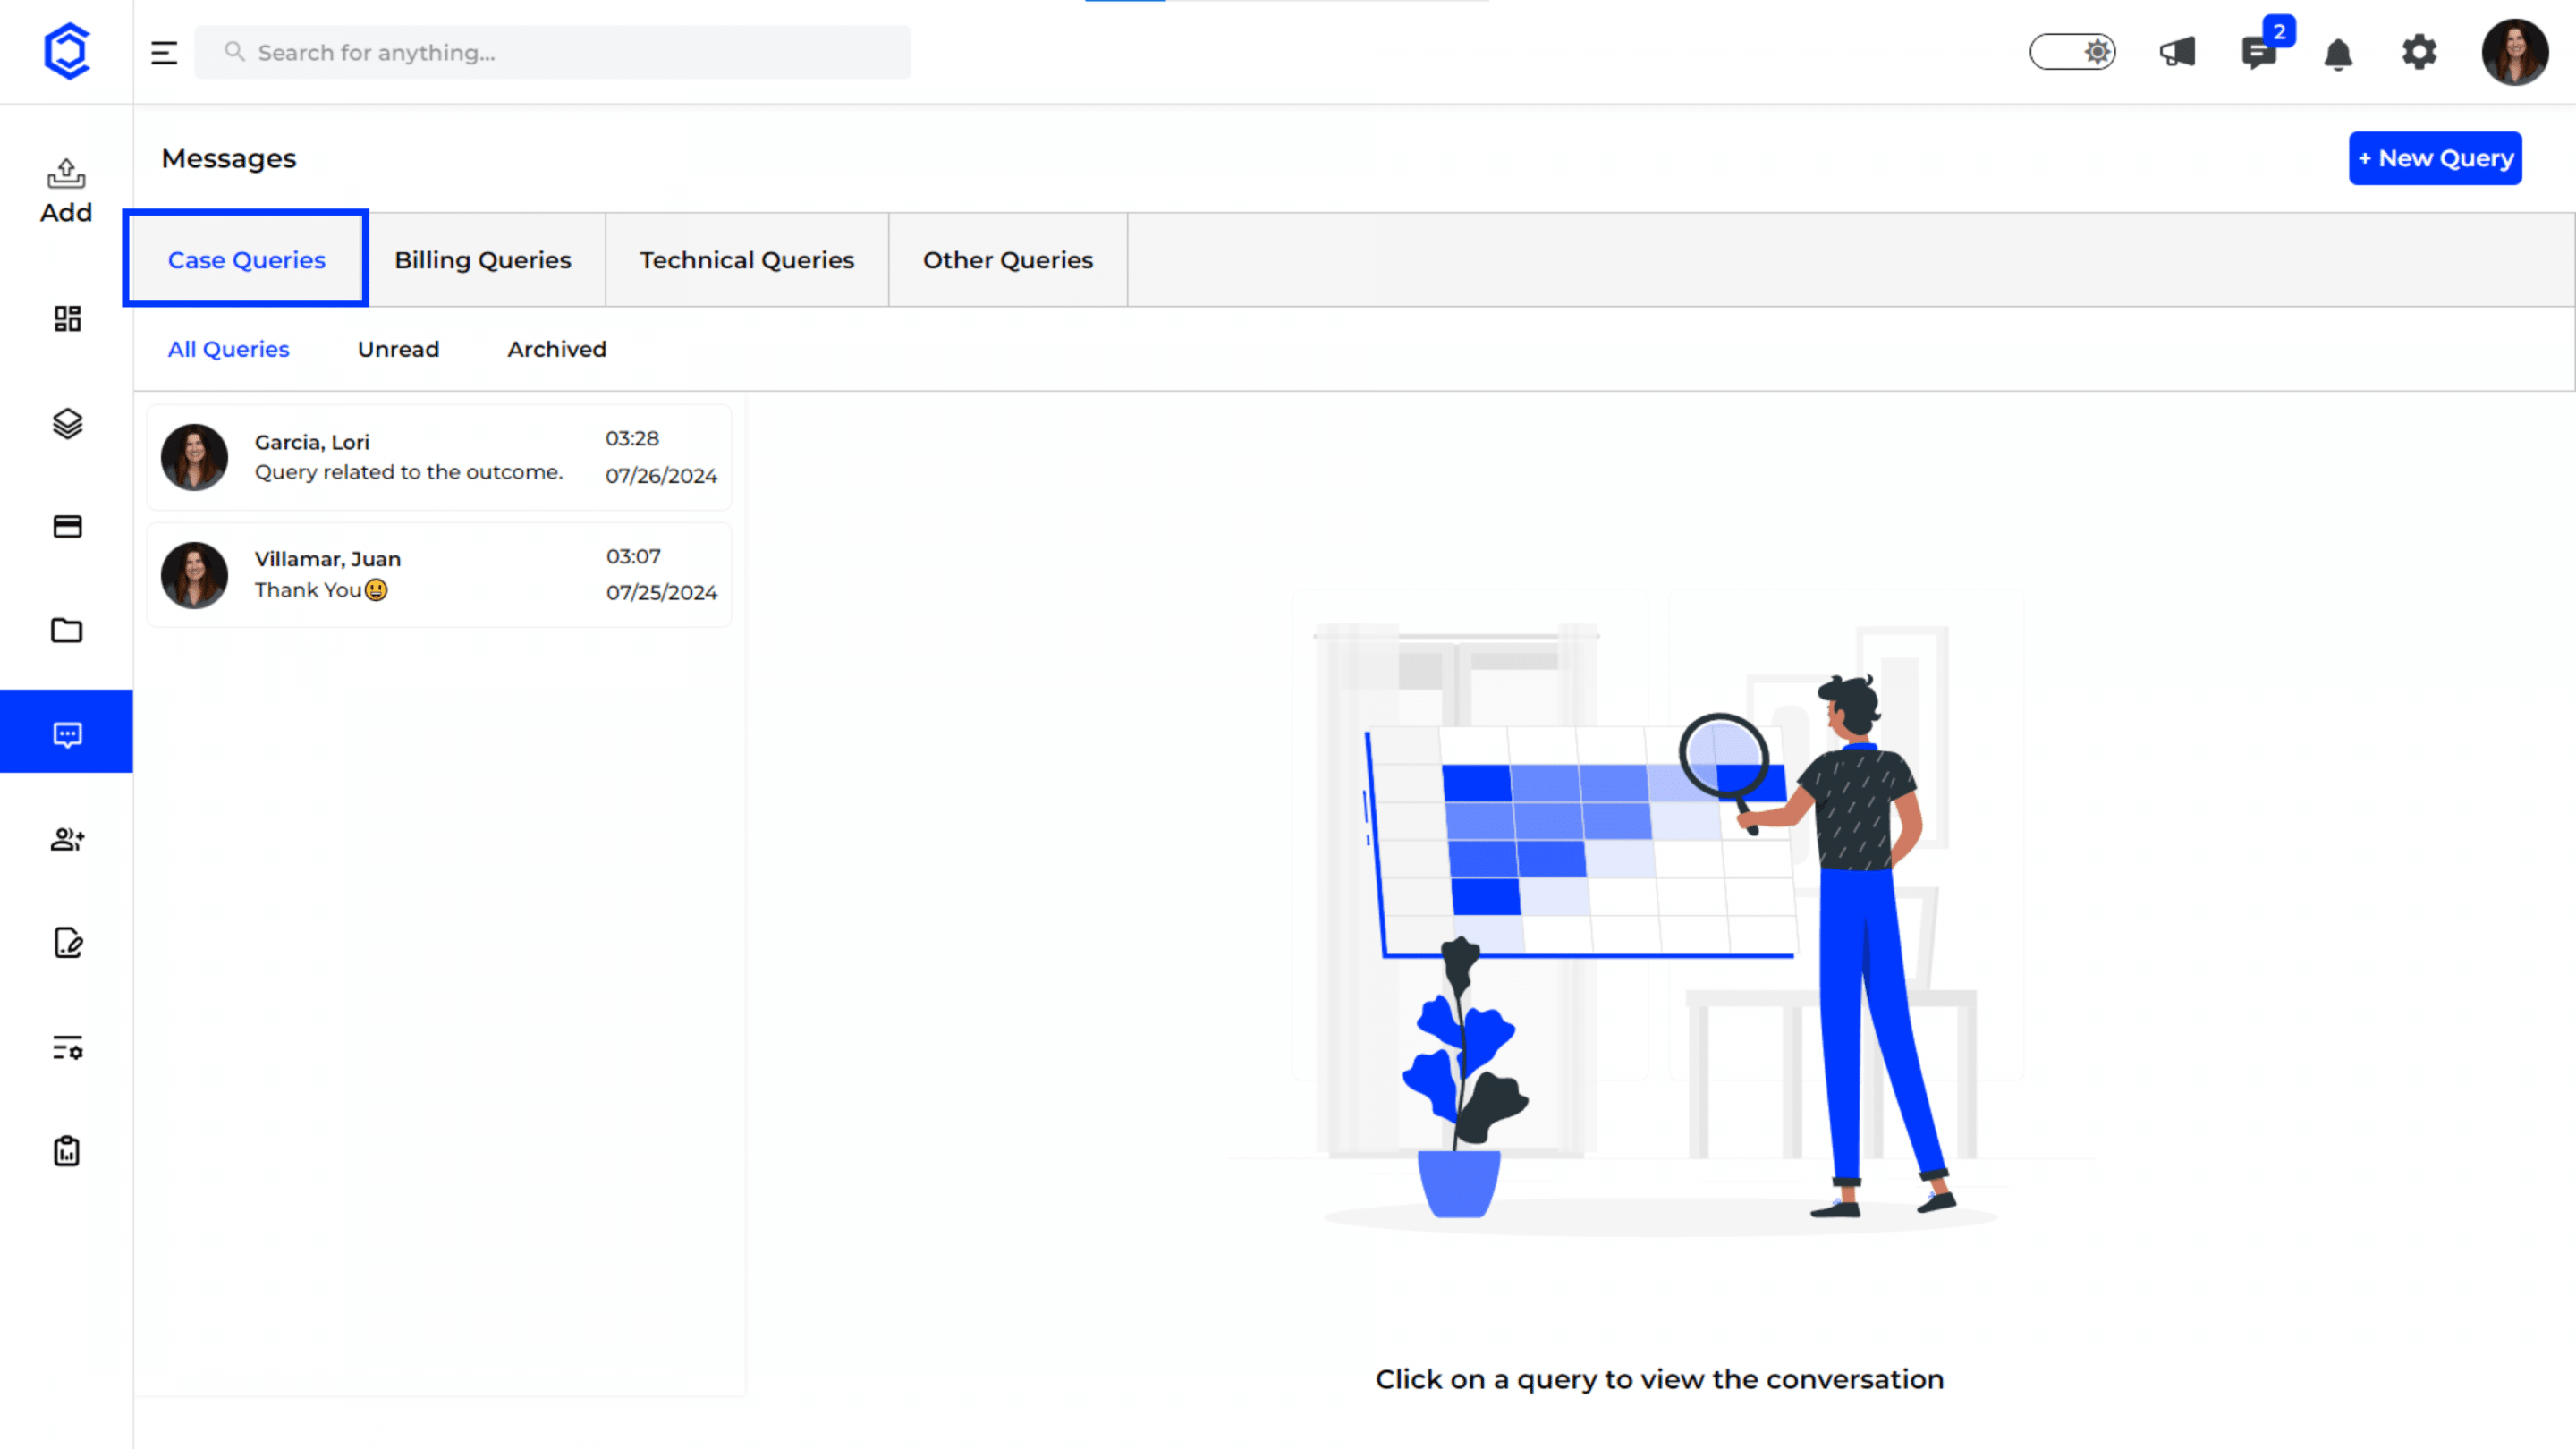
Navigating to Case Queries:
Click on the “Messages” tab on the left-hand sidebar and select “Case Queries”. This will display all queries related to your cases.
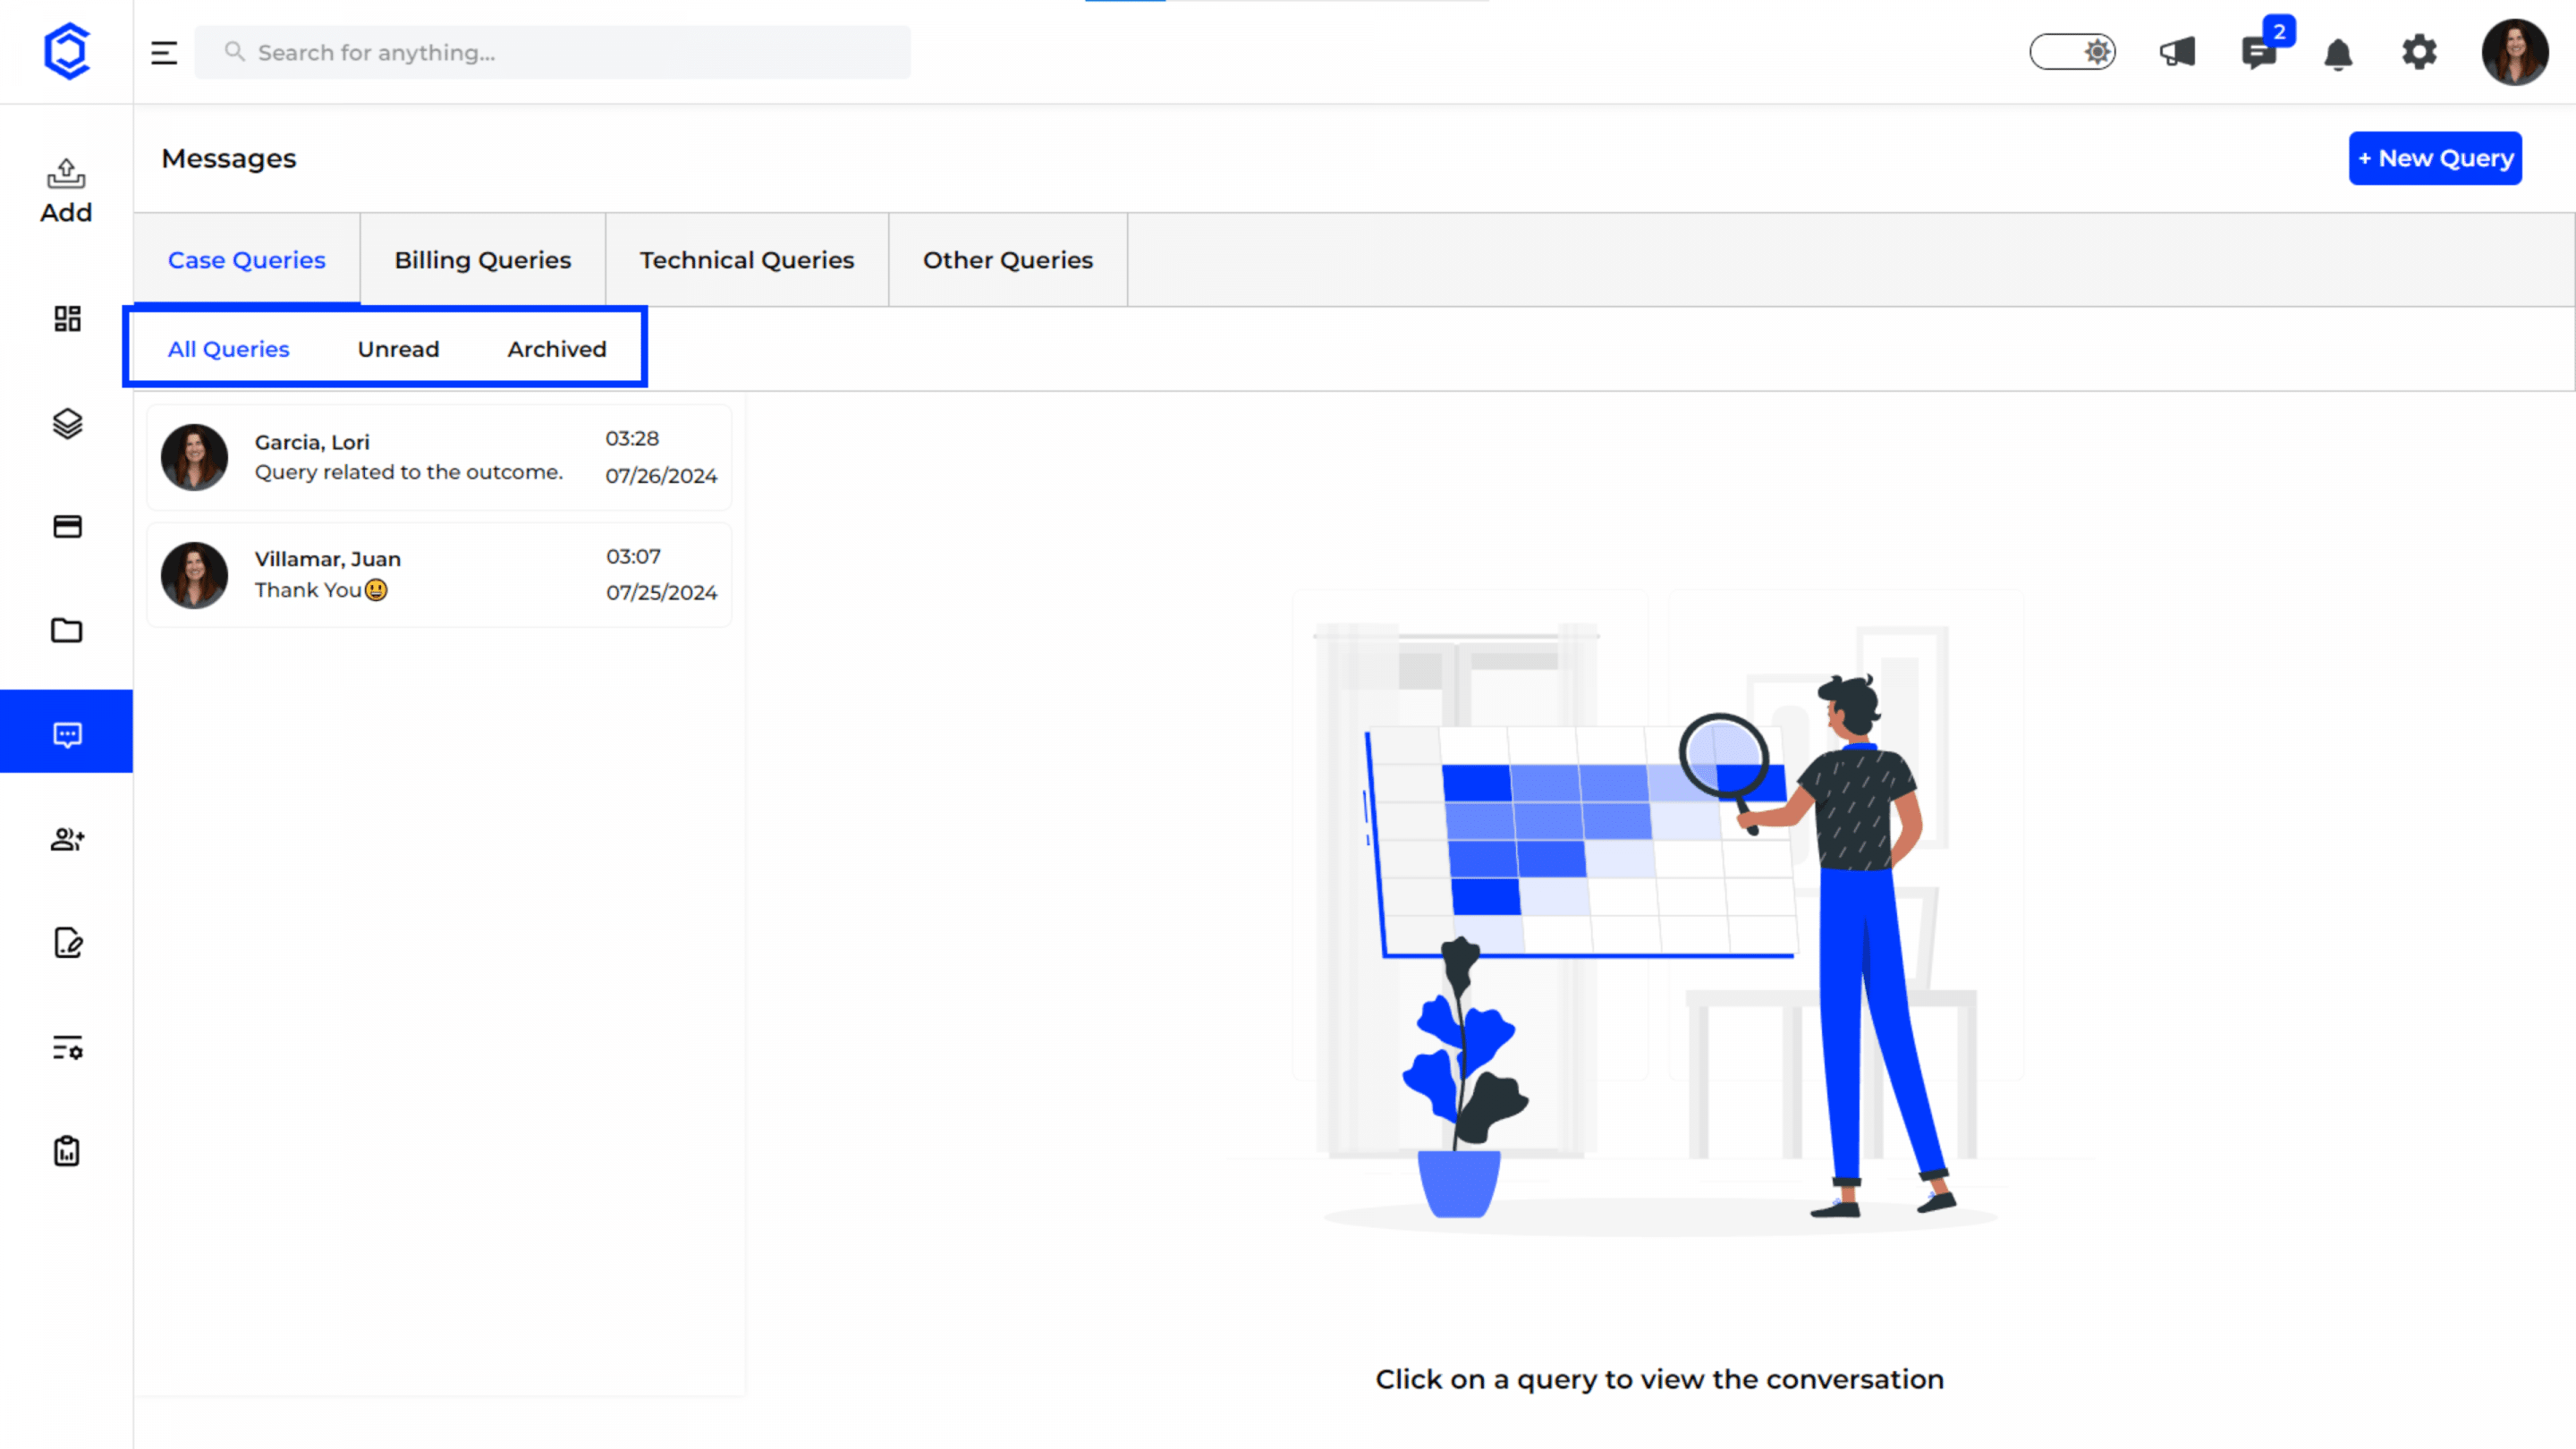
Features of Case Queries
All Queries: This tab displays all case-related queries, giving you a comprehensive view of all communications.
Unread Queries: This tab filters and shows only the queries that are new and unread, allowing you to prioritize addressing these first.
Archived Queries: This tab contains all the queries that have been resolved and archived for future reference.
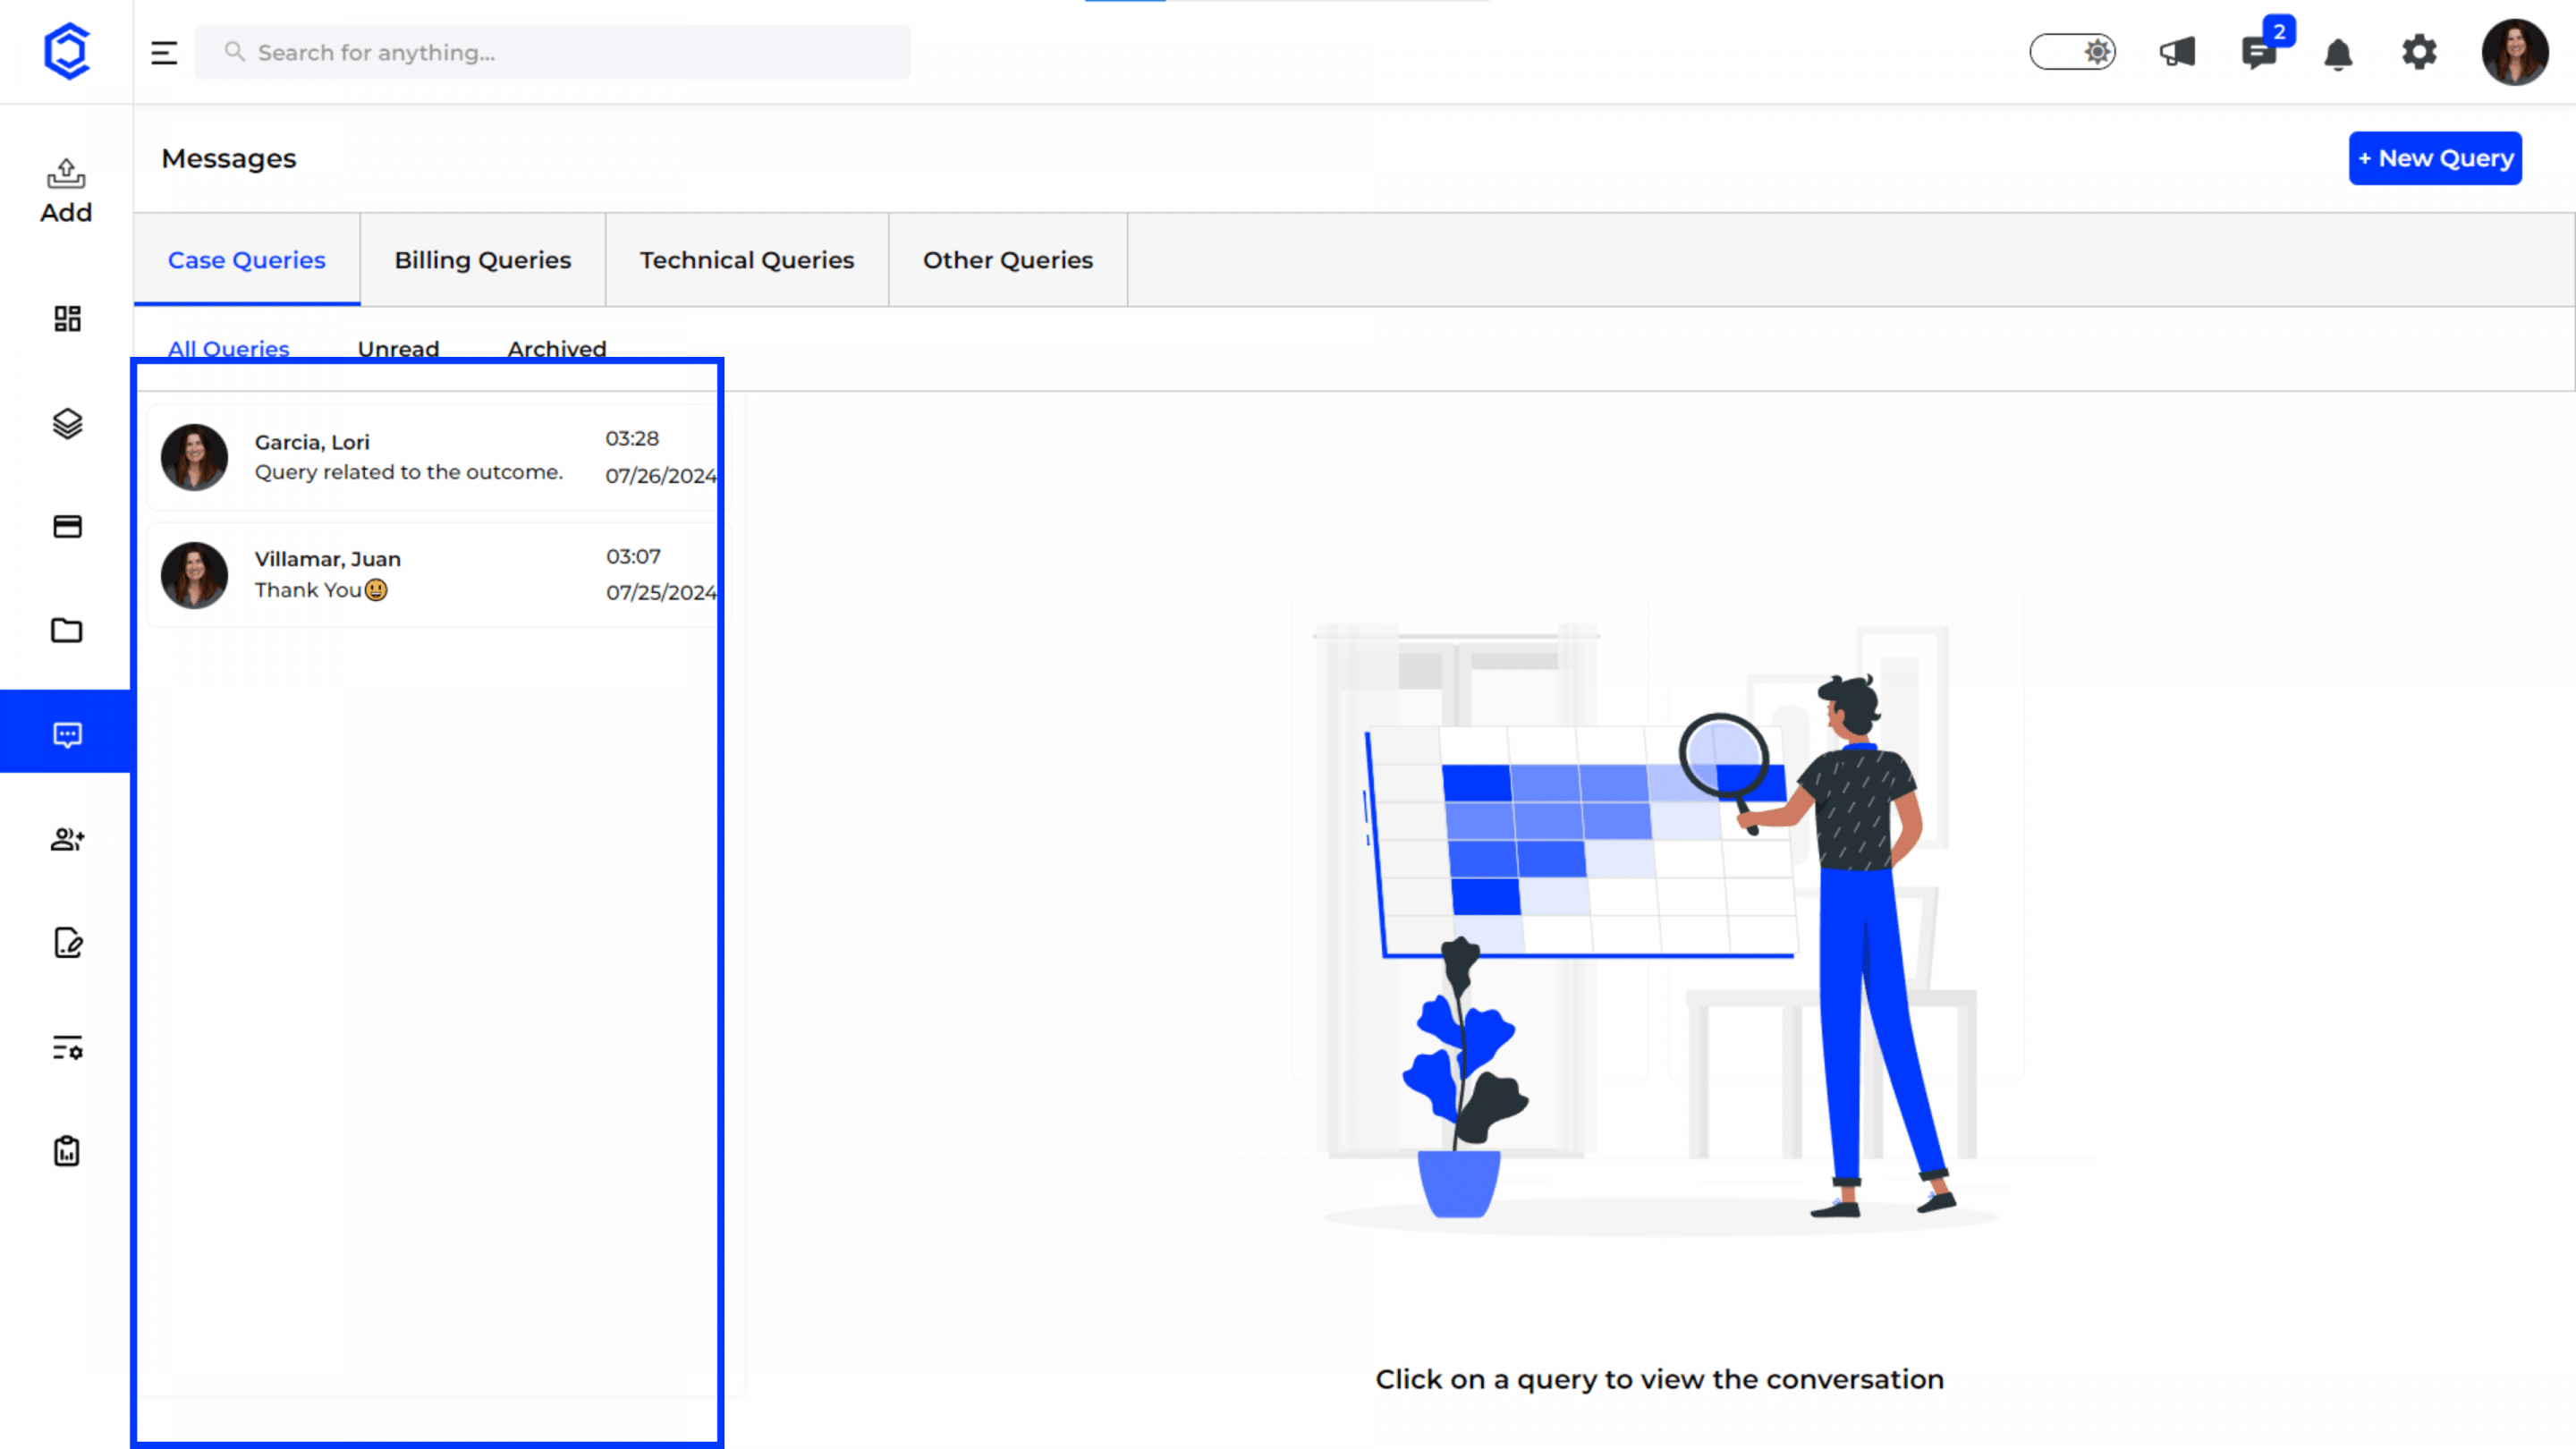
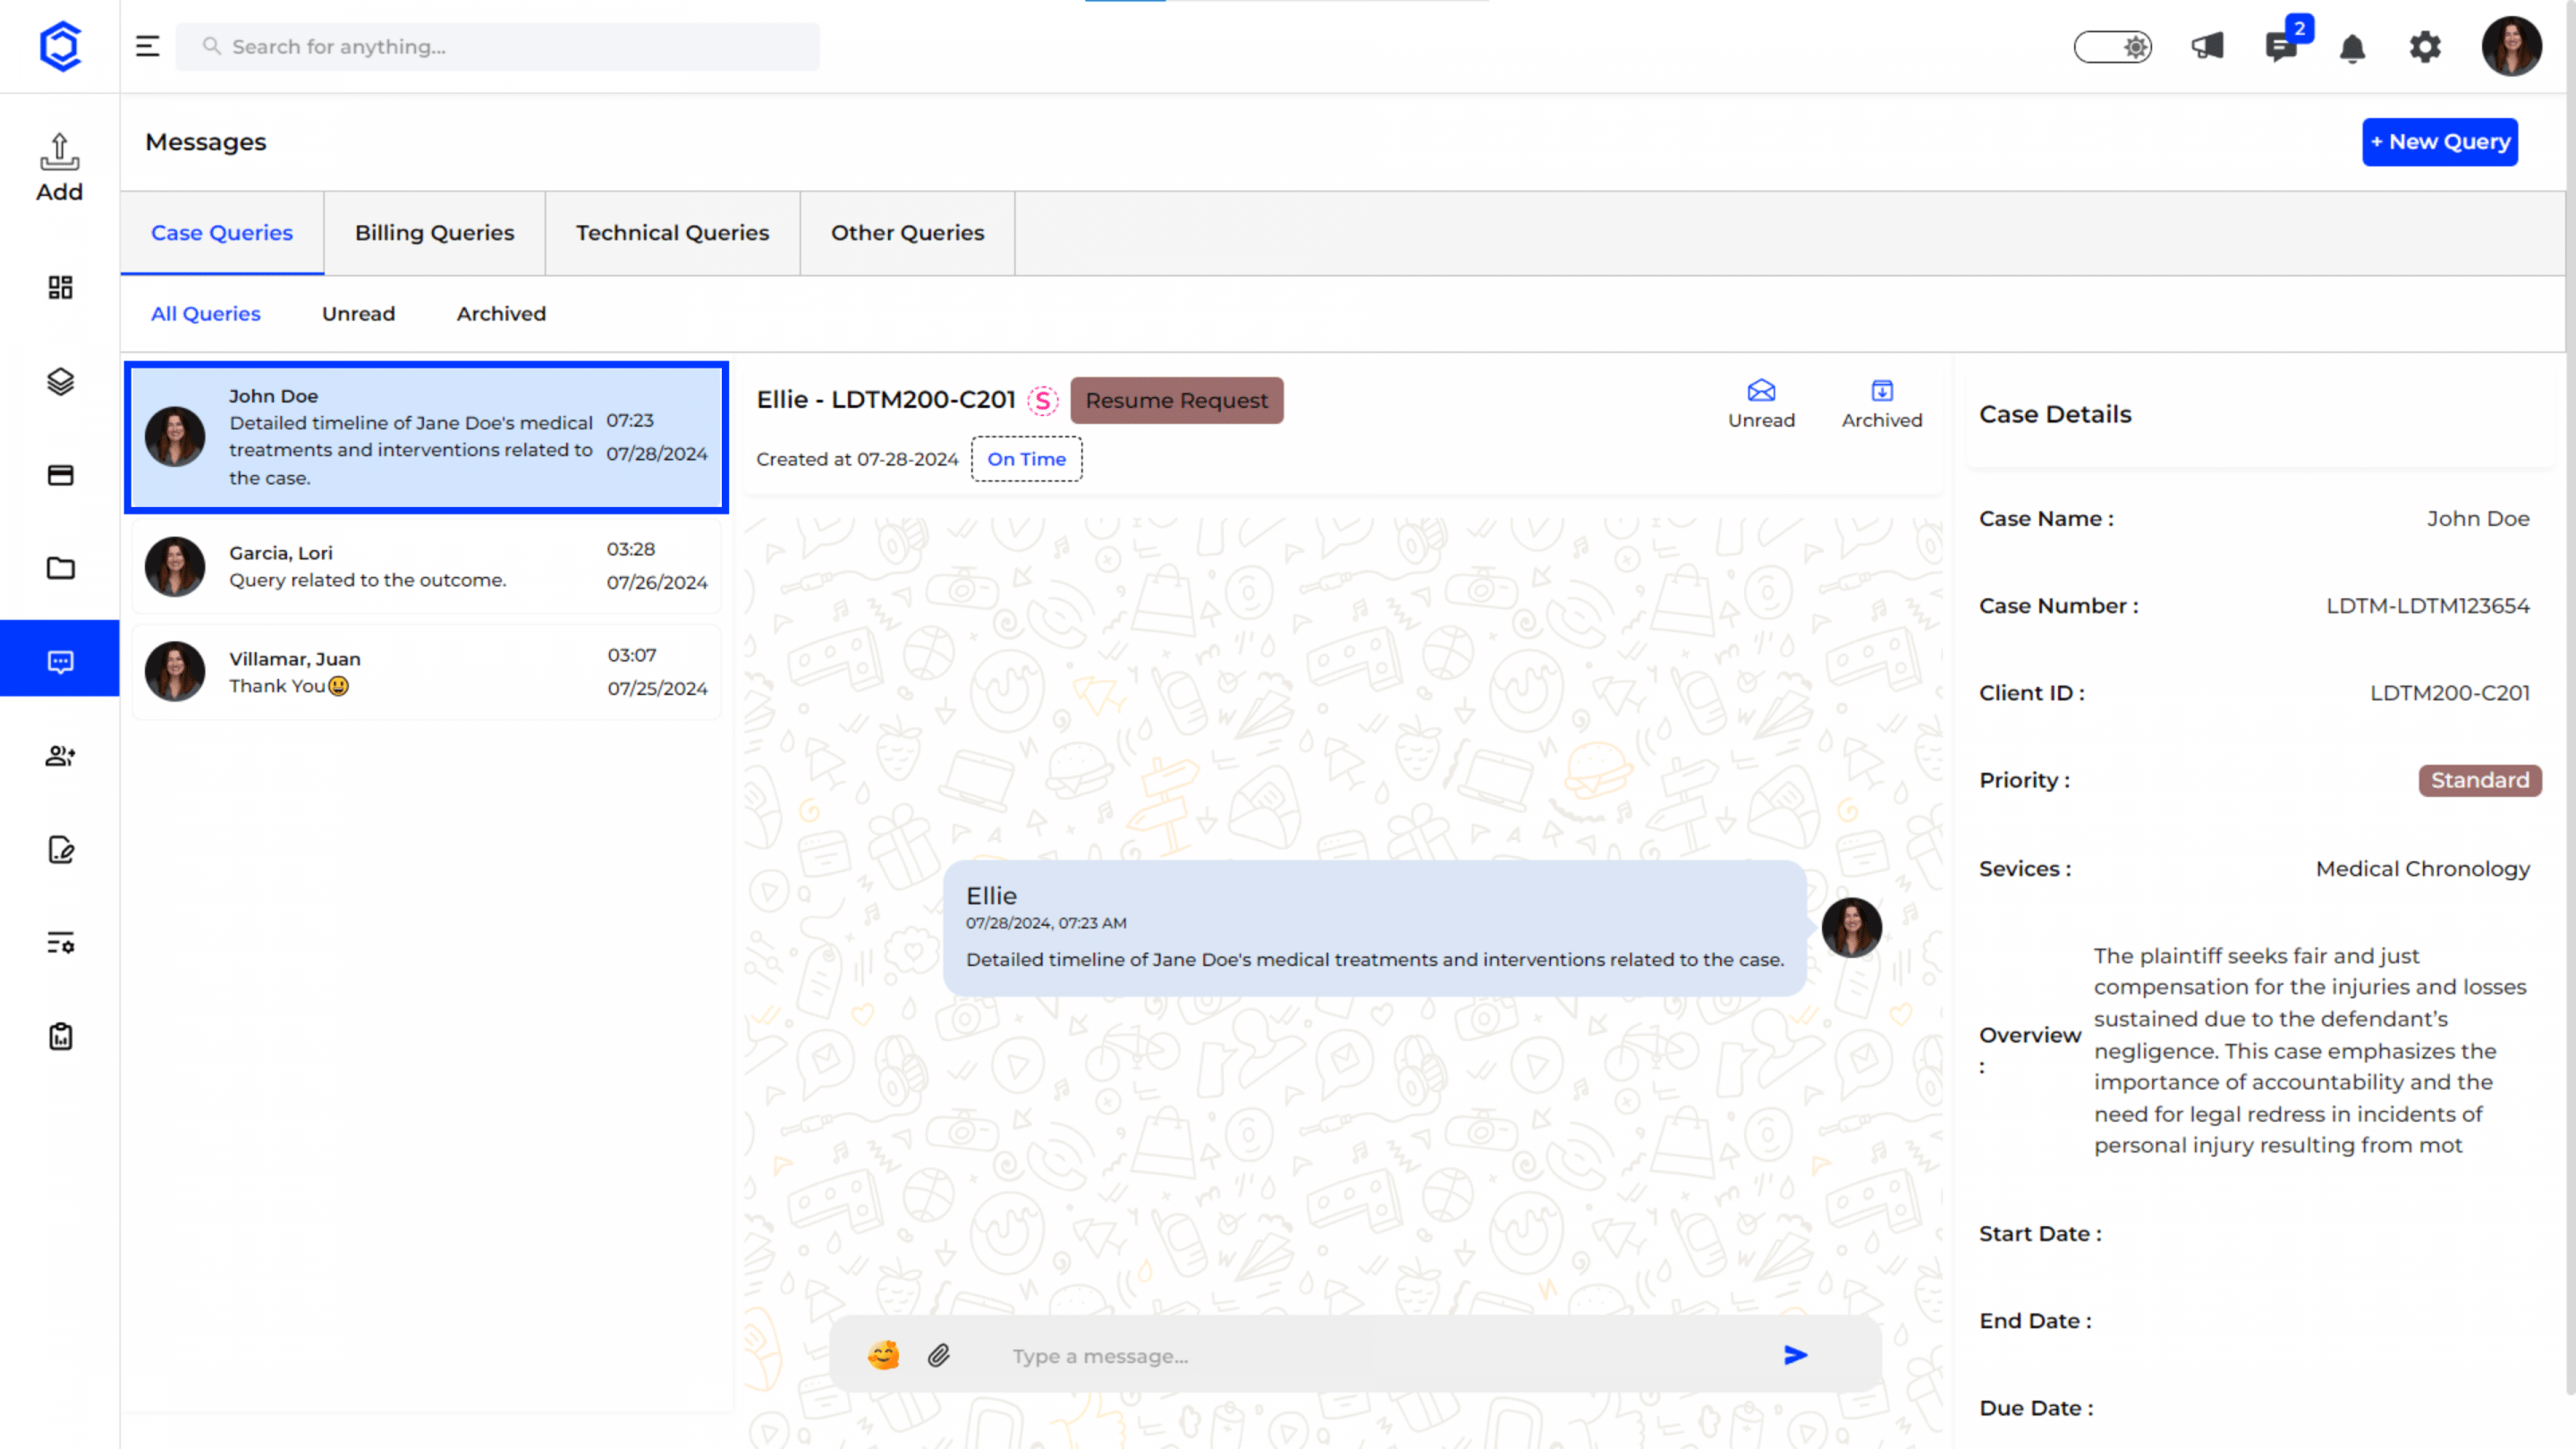
Case Query Details
Query List: On the left side, you can see a list of all case queries. Each entry includes the query title, case name, and the latest message preview, helping you quickly identify and access specific queries.
Query Conversation: The central part of the screen displays the conversation related to the selected query. You can view all messages exchanged regarding the query here. Use this space to type and send your responses.
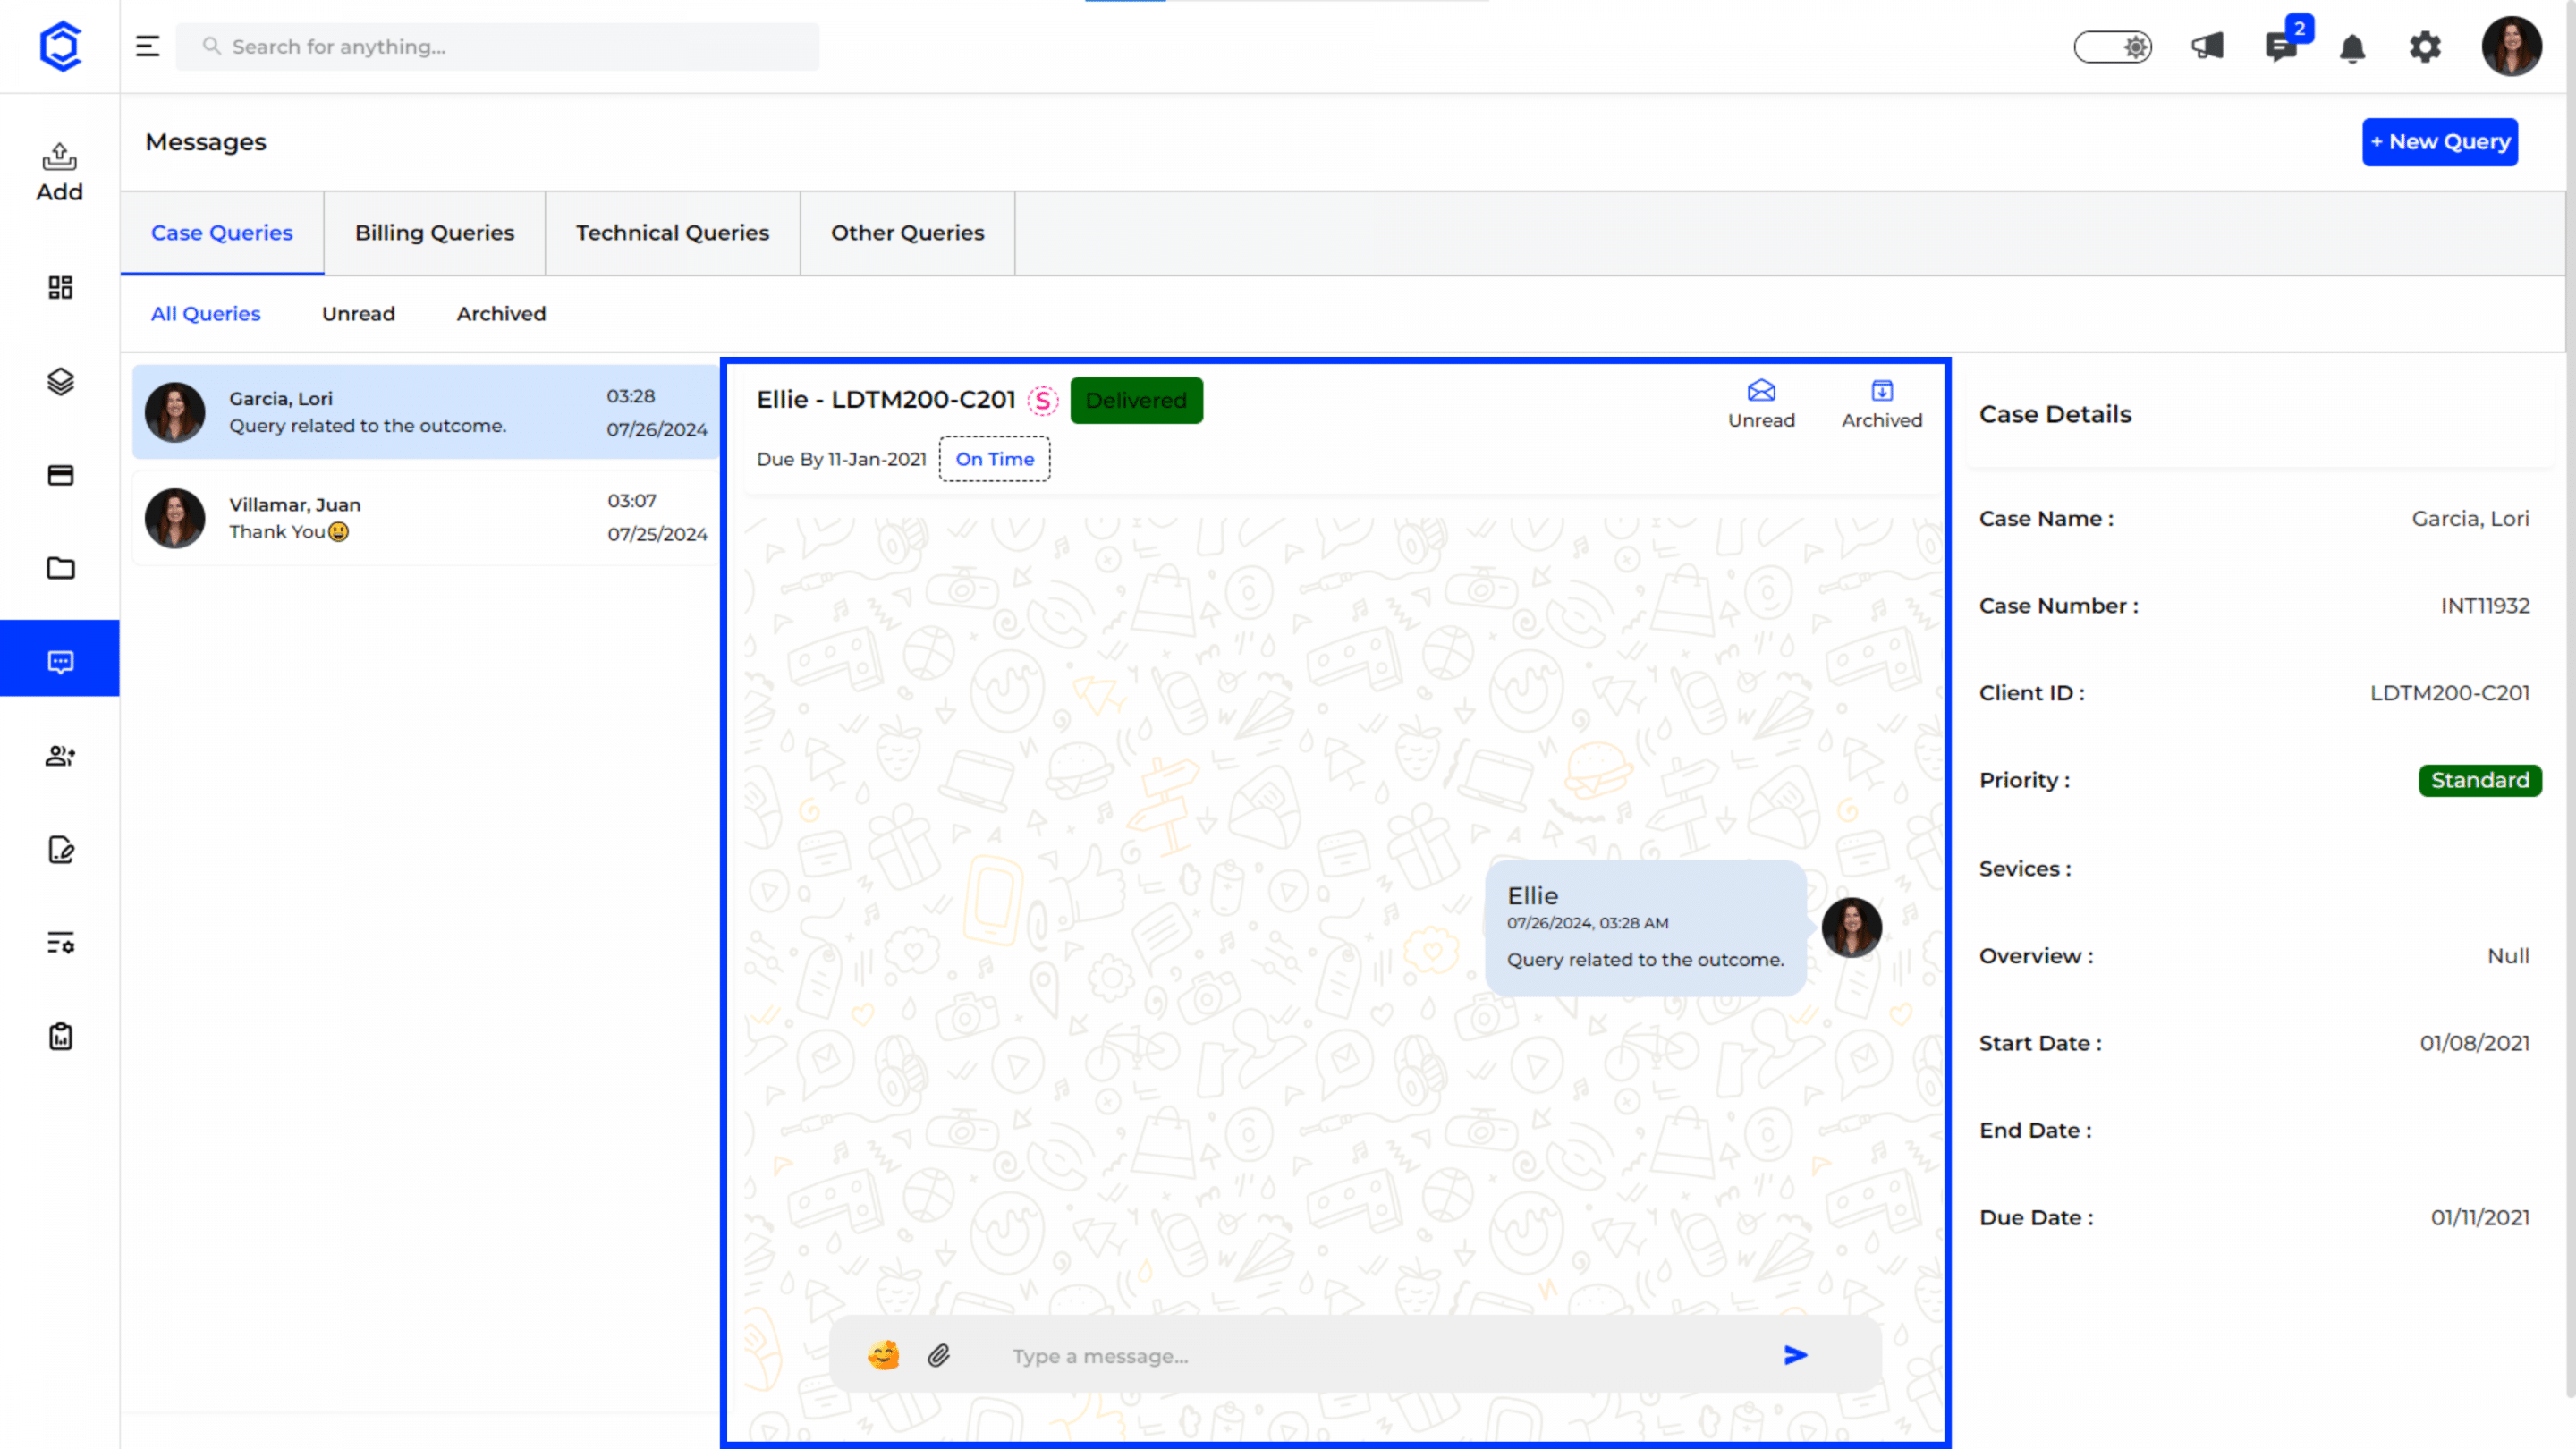
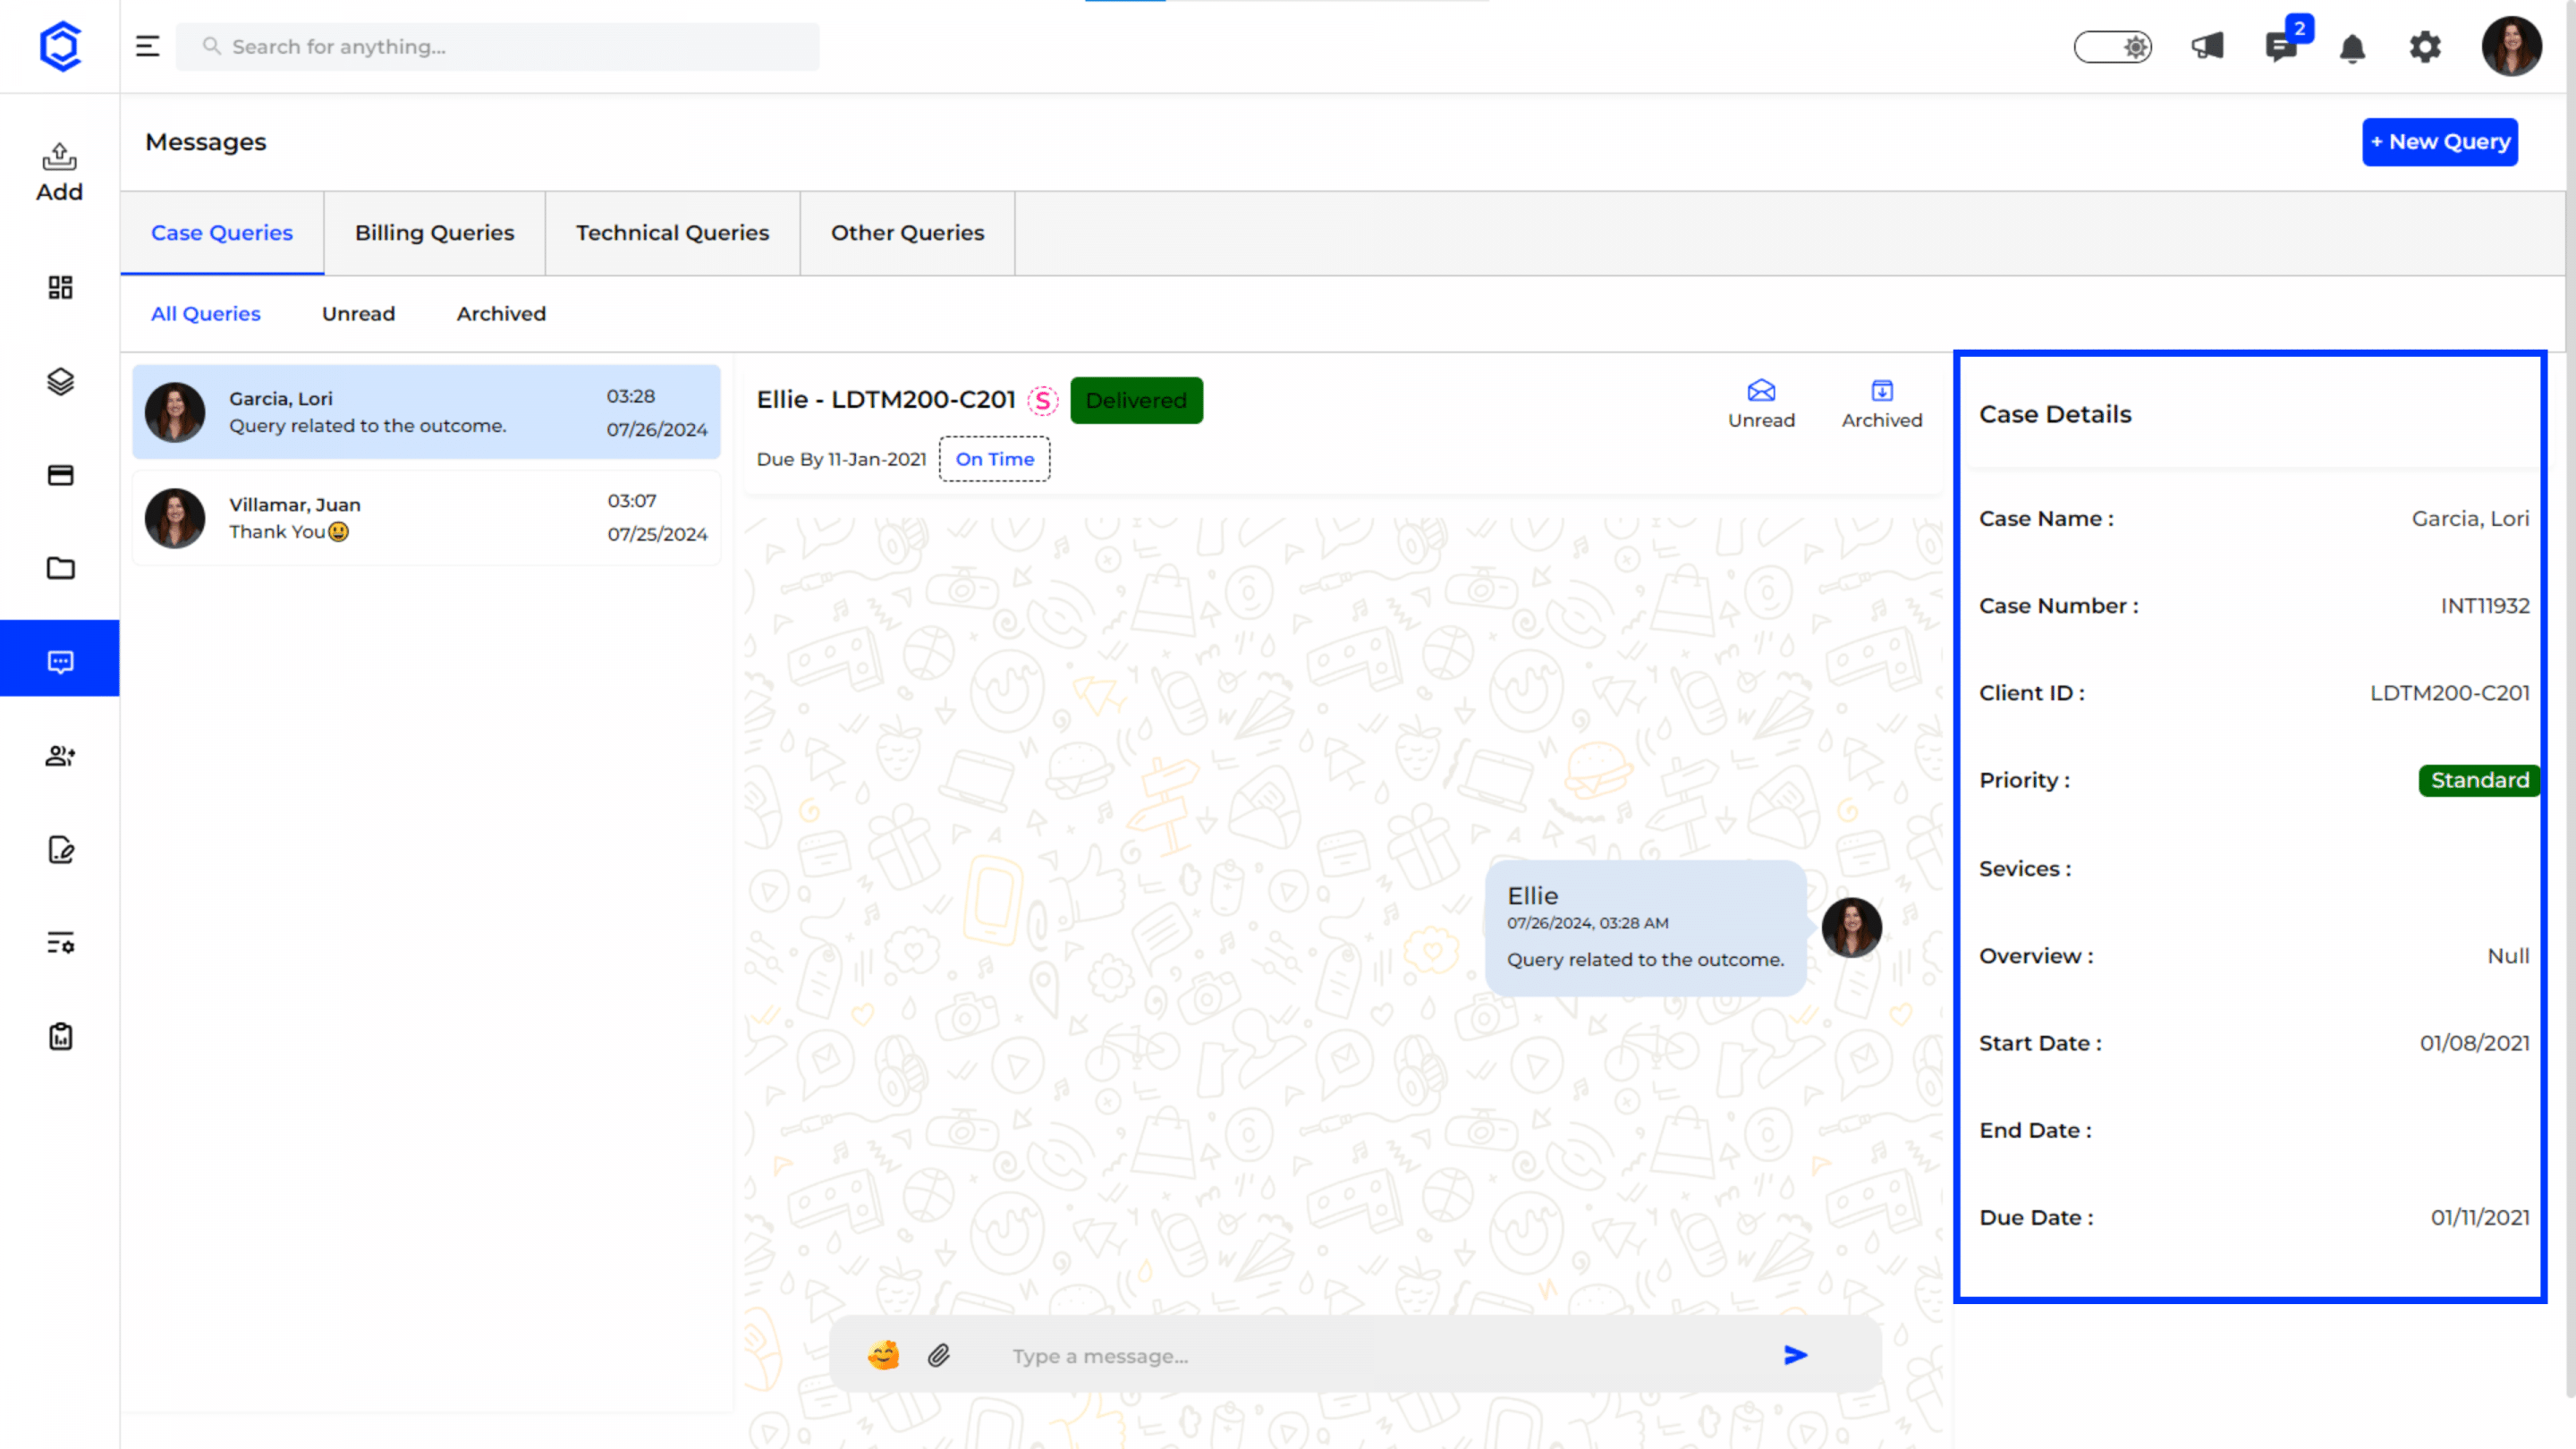
Case Details
- Case Information: On the right side, detailed information about the selected case is displayed. This includes:
- Case Name: The name of the case related to the query.
- Case Number: A unique identifier for the case.
- Client ID: The identifier for the client associated with the case.
- Priority: Indicates the urgency of the query (e.g., high, medium, low).
- Services: Lists the services involved in the case.
- Overview: A brief description of the case, providing context and background information.
- Start Date: The date when the case started.
- Due Date: The deadline for the case.
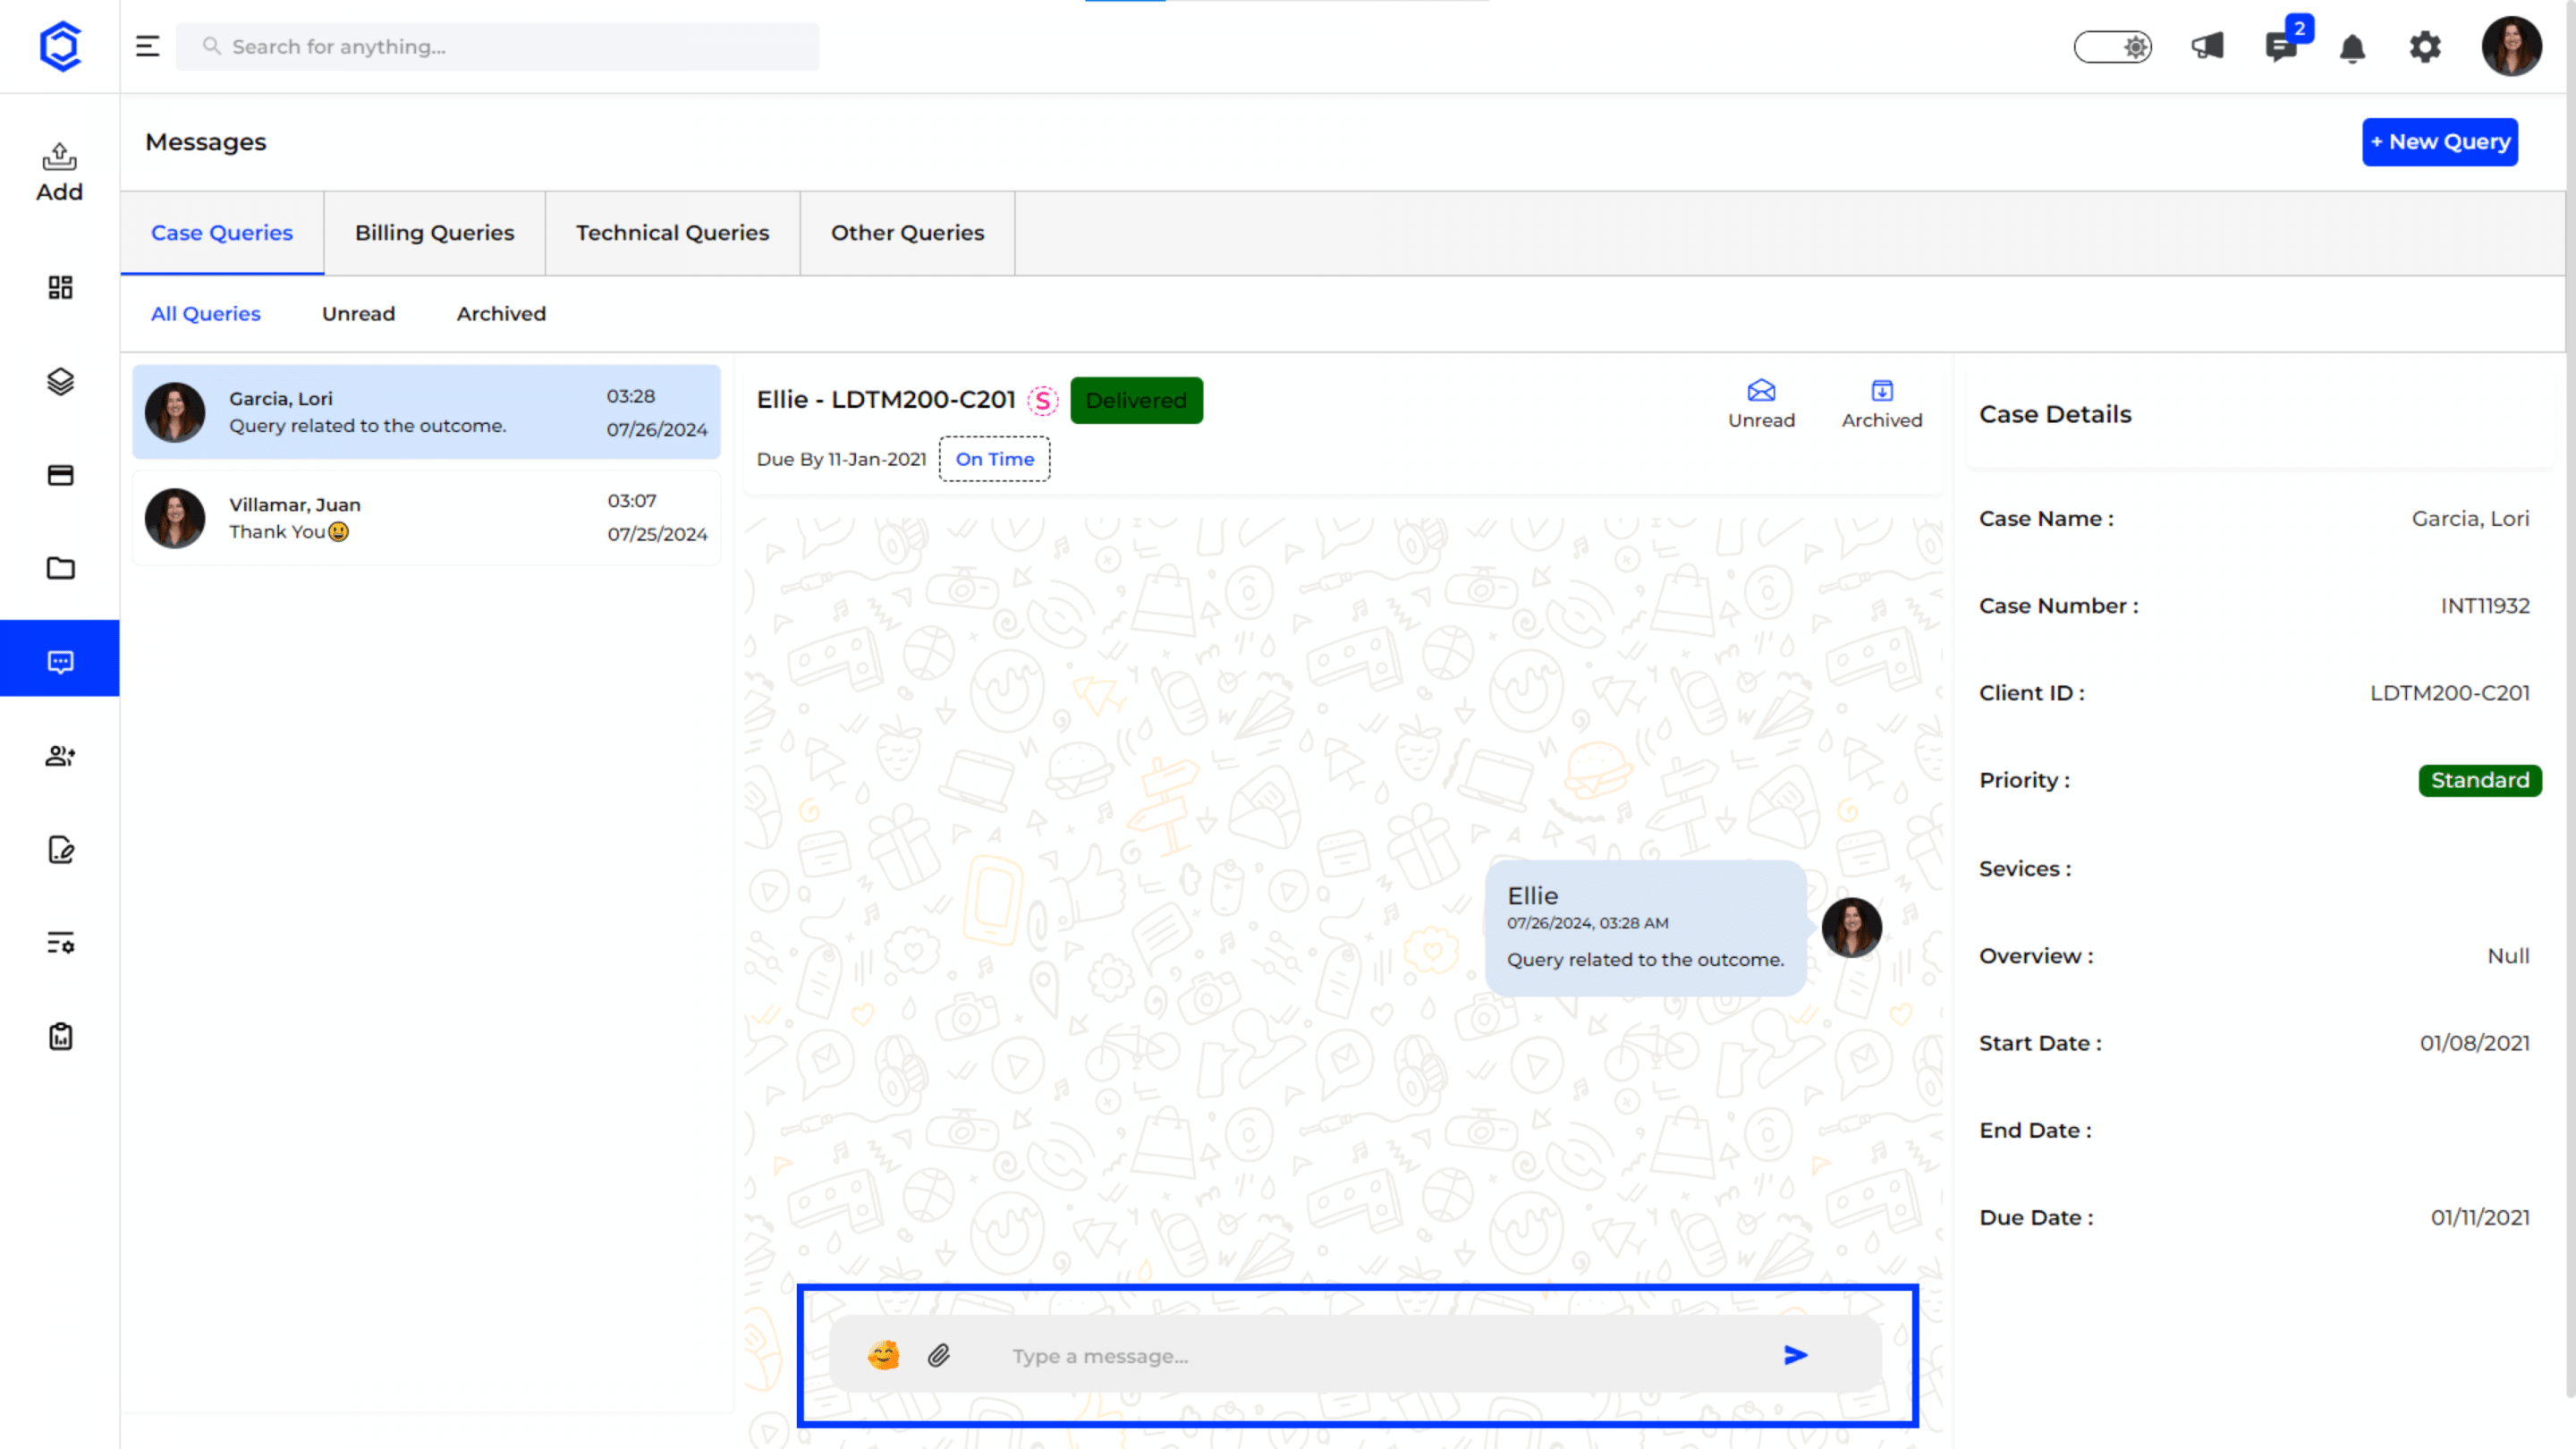
Responding to Queries
Typing and Sending Responses: Type your response in the input field at the bottom of the conversation area. Click “Send” to communicate your response. Ensure your messages are clear and address the query effectively.
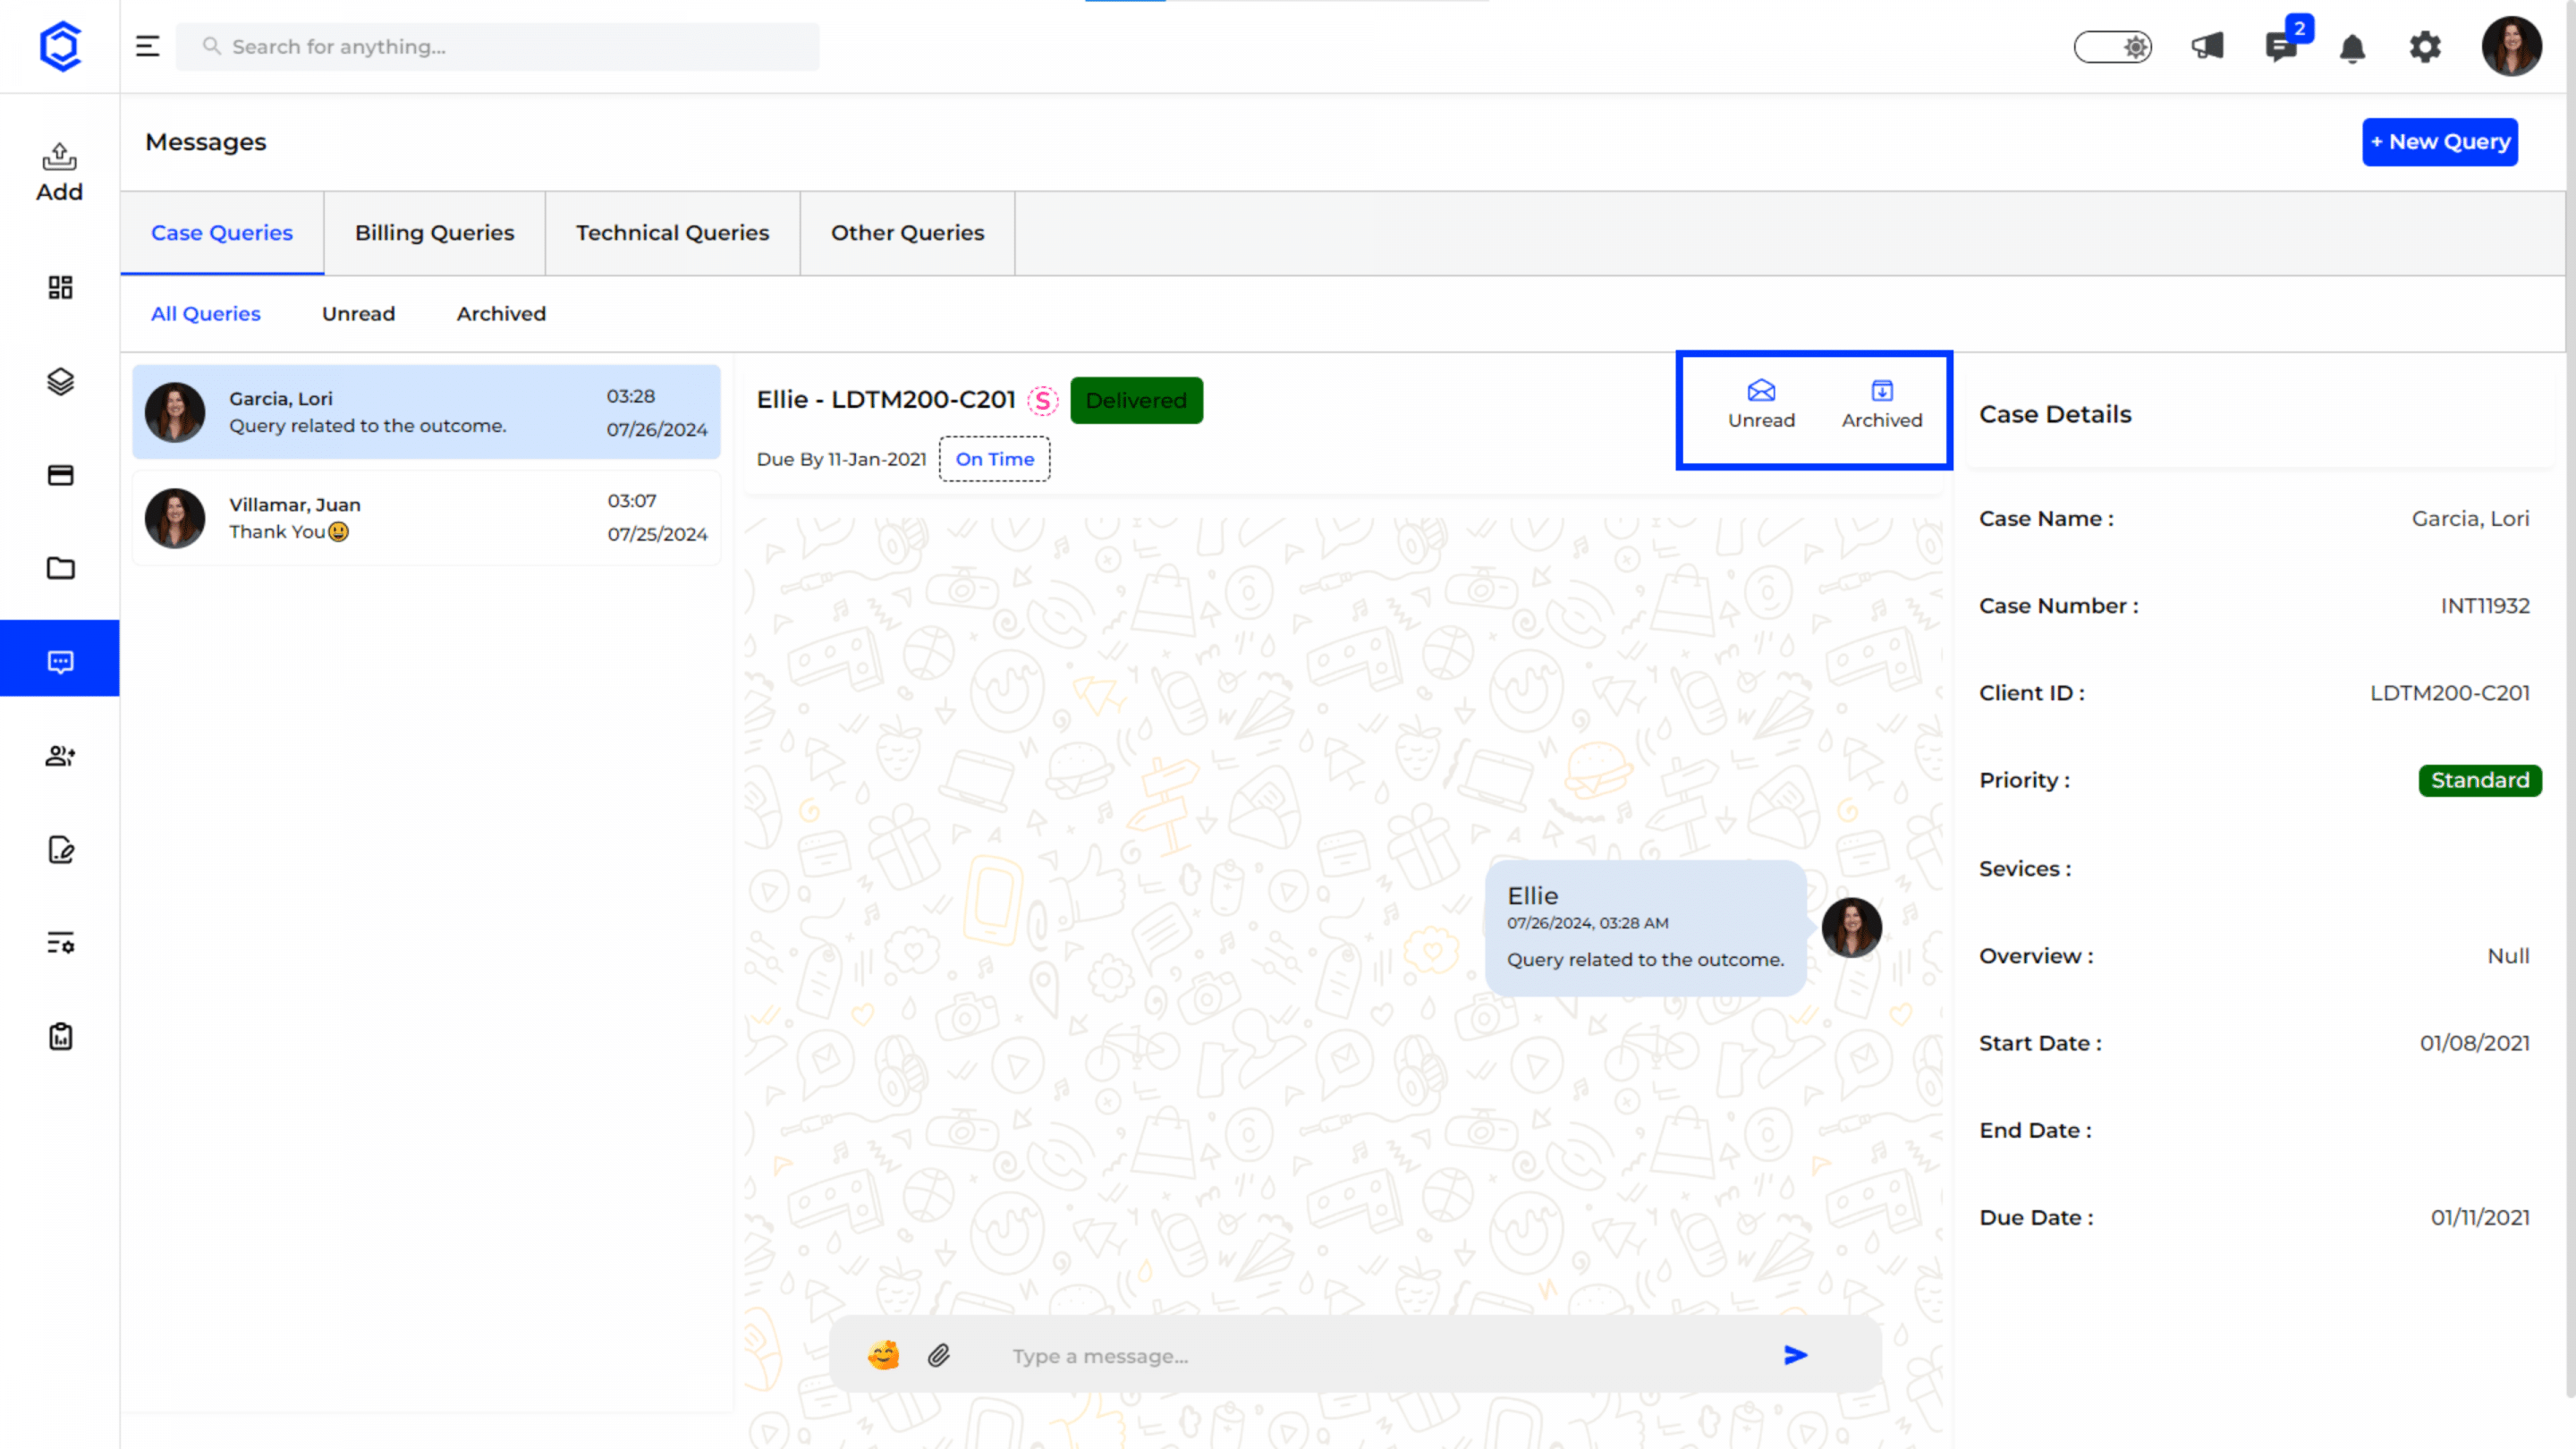
Managing Query Status
Update Status: You can mark queries as “Unread” or “Archived” based on their current status and your needs. This helps in organizing and managing your queries efficiently.
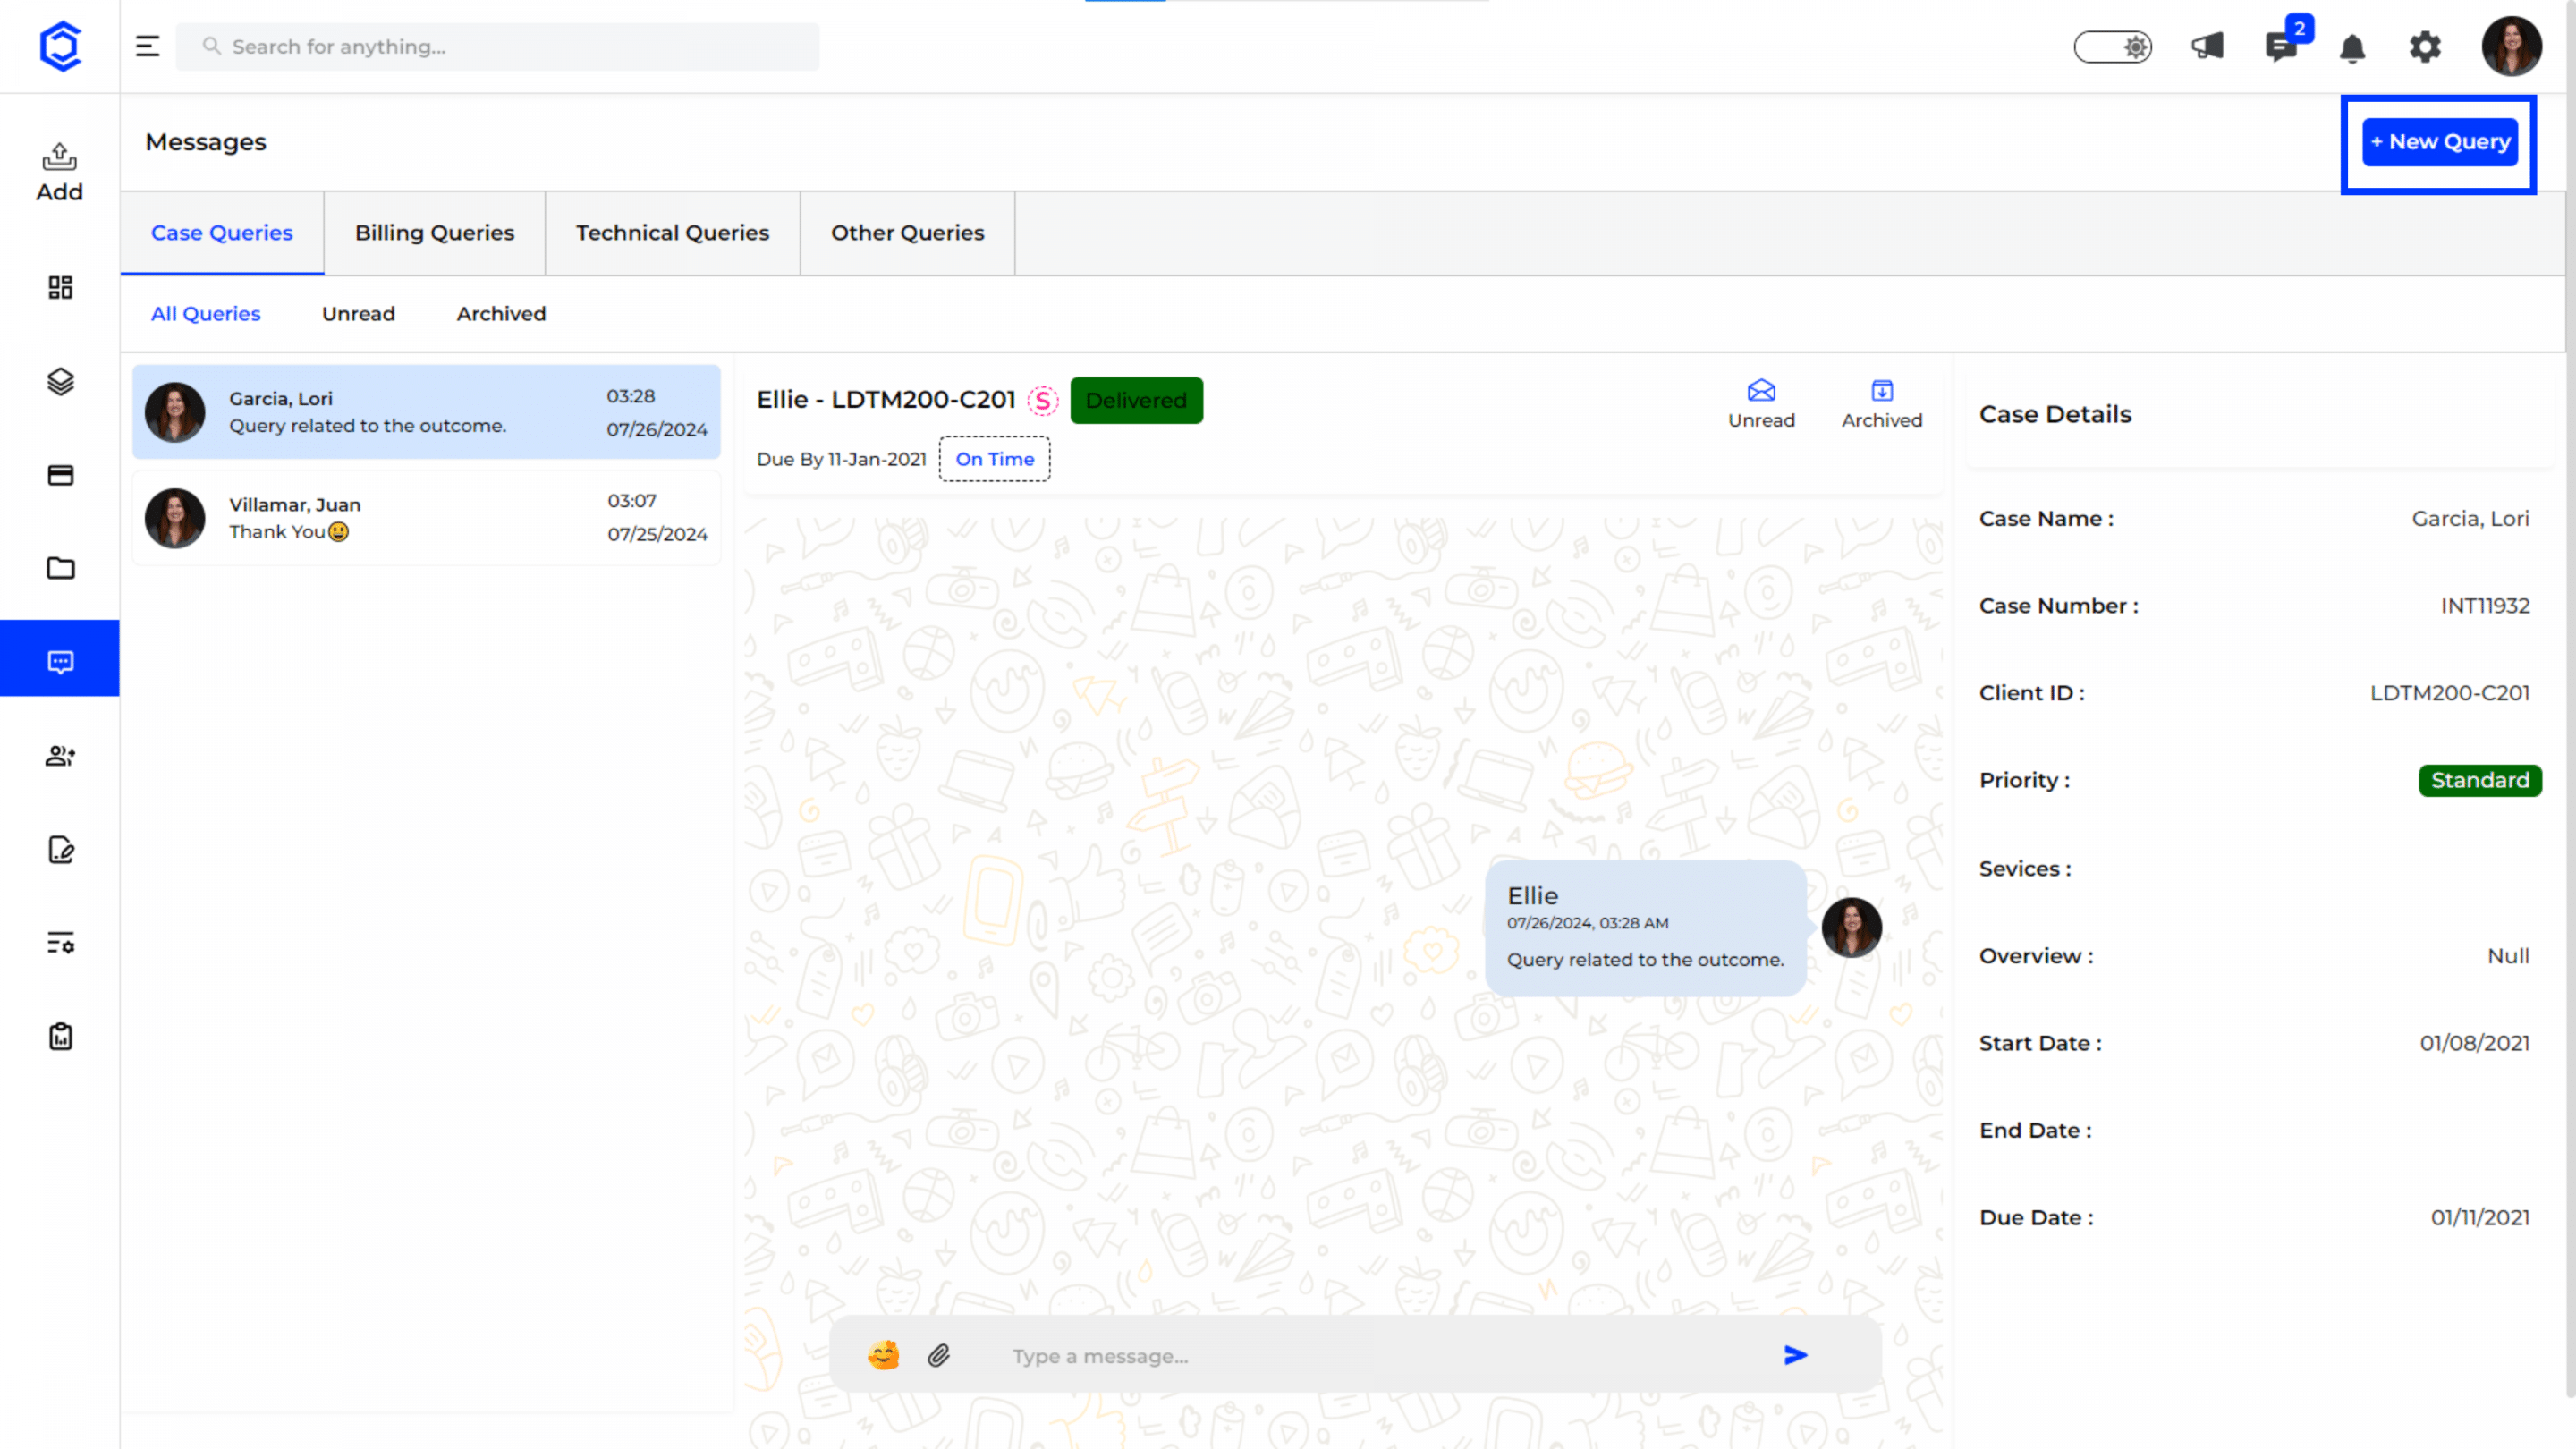
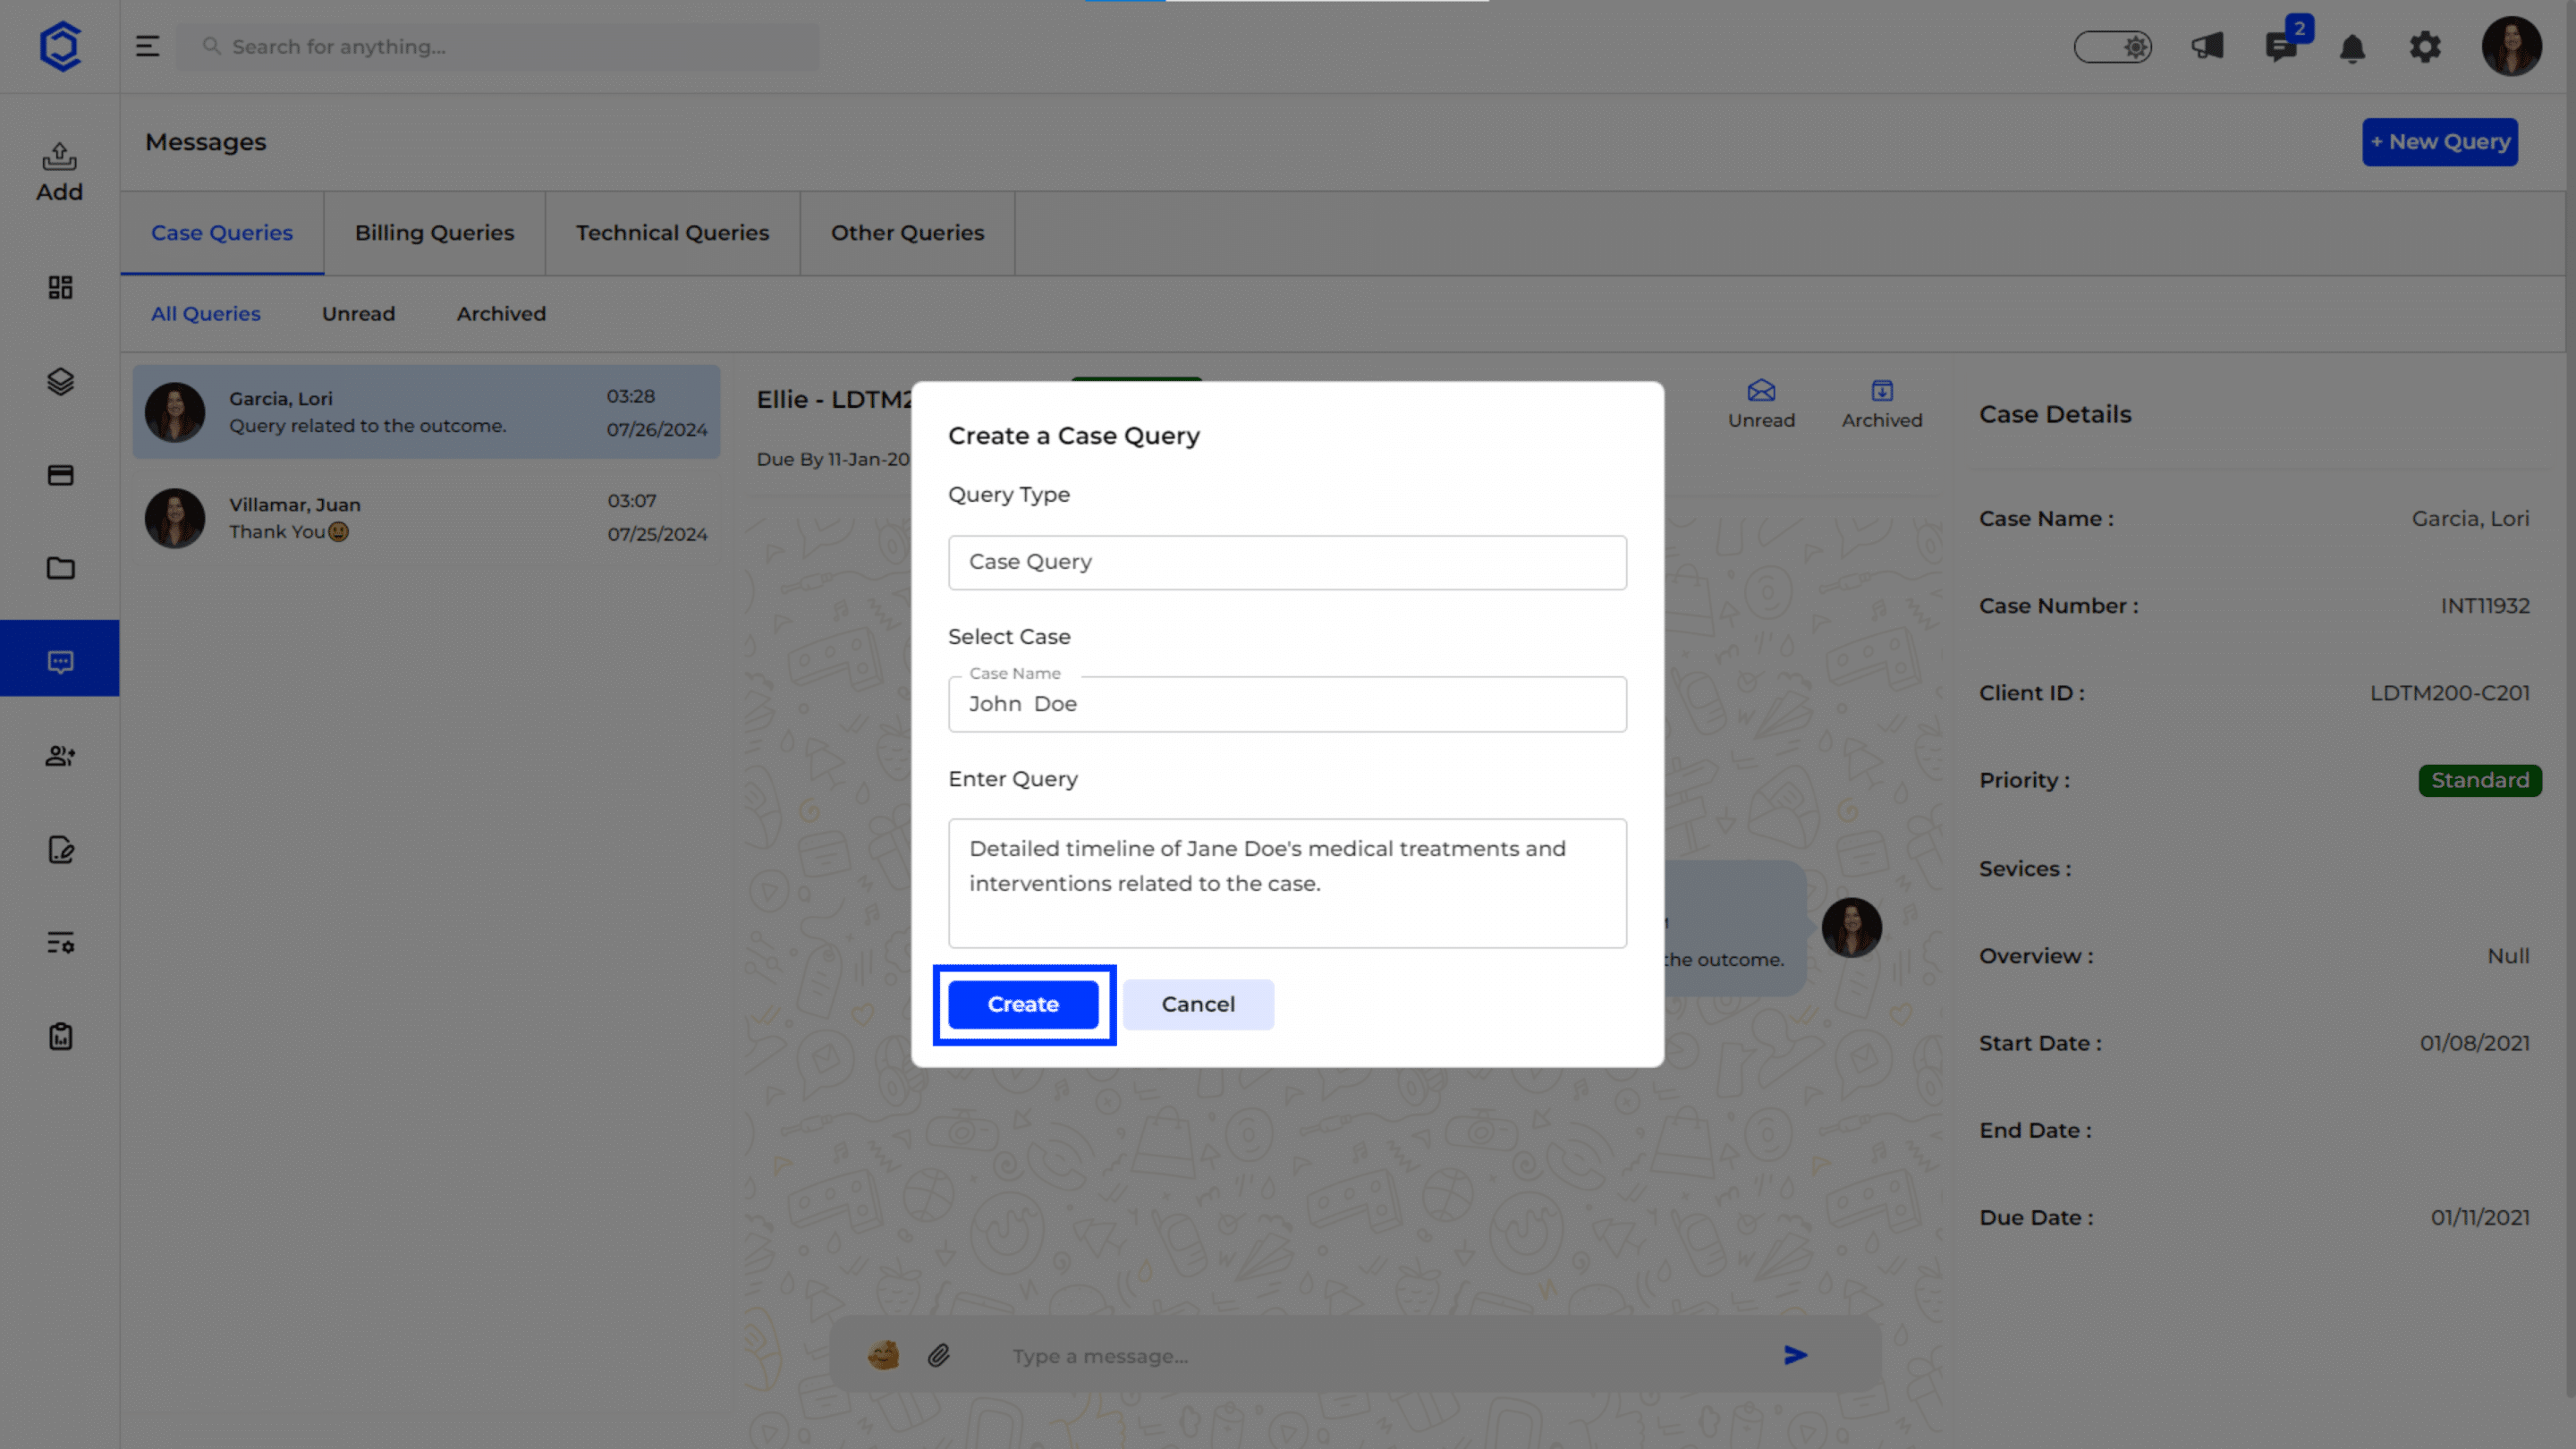
Creating a New Case Query
The New Query feature in the Case Queries section allows you to initiate a new case-related query efficiently. Here’s how to create a new case query:
Initiate a New Query:
- Click on the “New Query” button located at the top-right corner of the Case Queries section.
Fill in the Query Details:
- Query Title: Enter a concise and descriptive title for your query. This helps in quickly identifying the purpose of the query.
- Select Case: Use the dropdown menu to select the relevant case associated with your query. This links the query to the specific case for better context.
- Enter Query: Provide a detailed description of your query. Include all necessary information to help resolve the issue or answer the question.
- Submit the Query: Once all the details are filled in, click “Create” to submit your query.
Example
- Query Title: Missing Medical Records
- Select Case: Williams v. Thompson
- Enter Query: “We have identified missing medical records from the case file. Please advise on the next steps to retrieve these documents.”
Viewing and Managing the New Query
Query List: After submission, your new query will appear in the list of case queries.
You can select it to view the conversation and manage responses.