Manage Email Settings and Notification History
Access the Settings Module
- Navigate to the Settings module from the left-hand sidebar in the CaseDrive dashboard.
- Click on Notification in the Settings menu to expand the options.
Configure Email Settings
- Under the Notification section, select Email Settings.
- In the Email Settings tab, you will see two main categories: Cases and Drive.
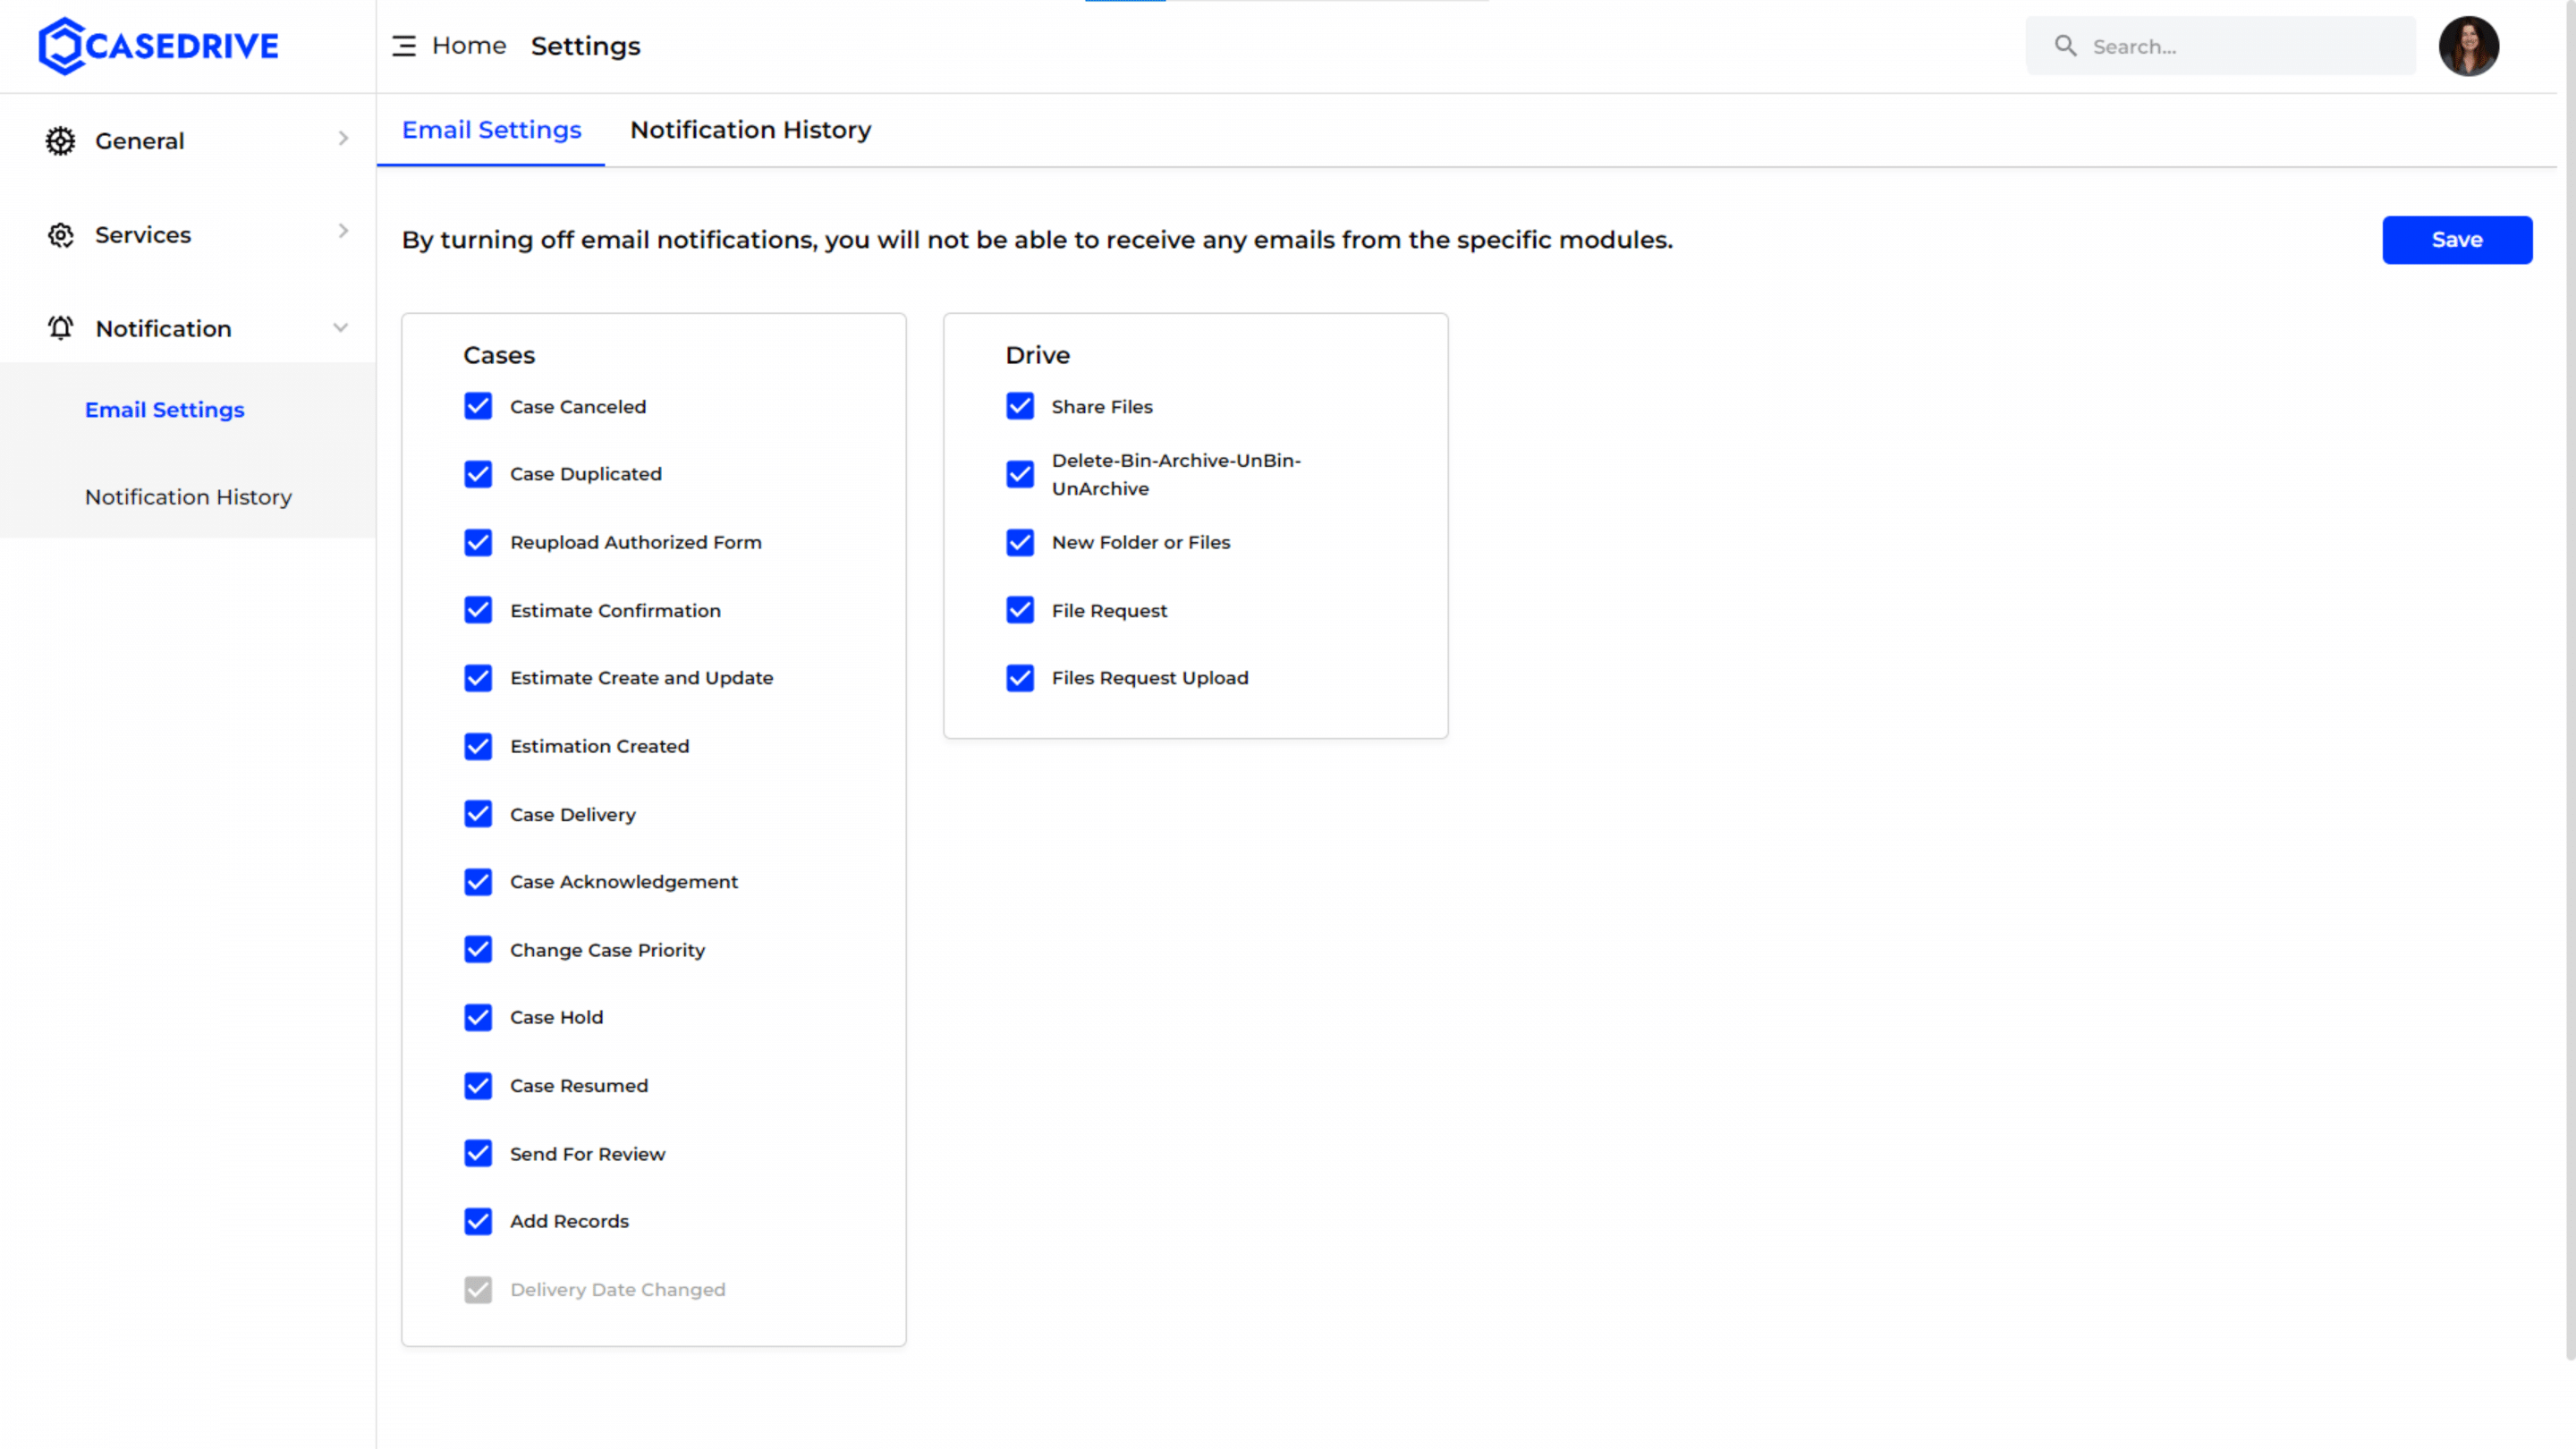
For Cases
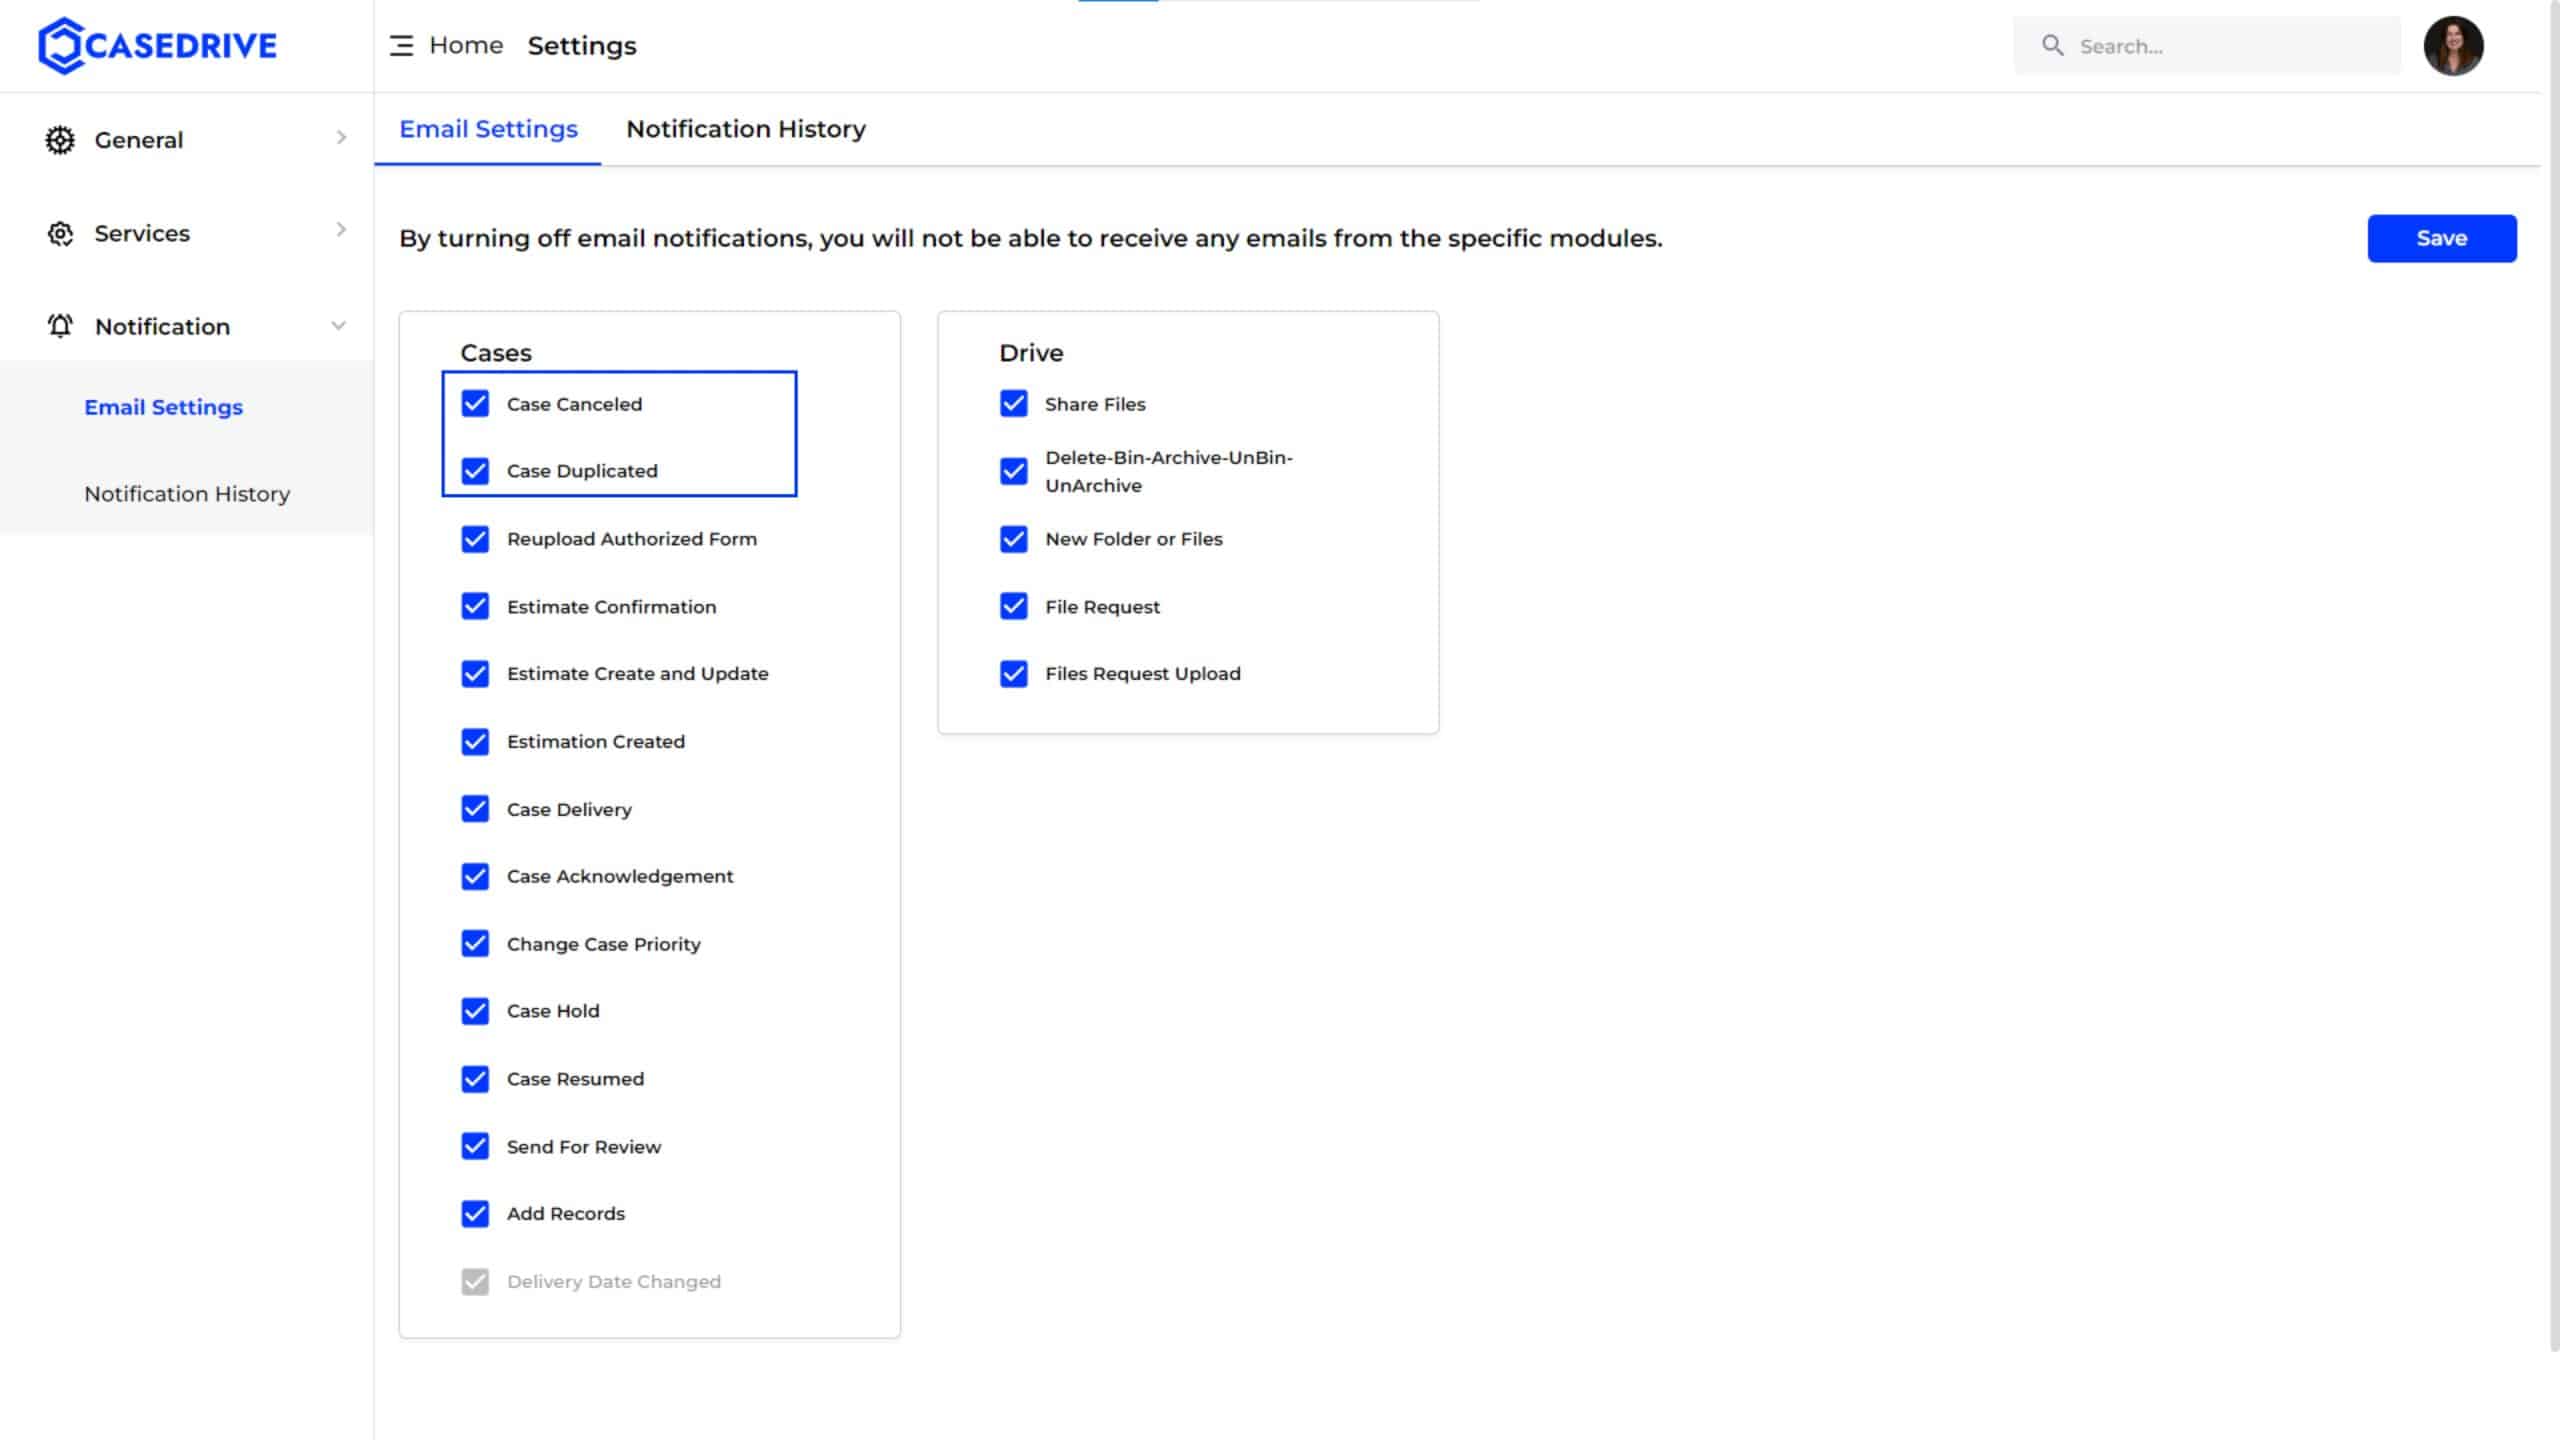
- You can choose which case-related events will trigger email notifications. For example, you may select options like “Case Canceled,” “Case Duplicated,” “Estimate Confirmation,” etc.
- Use the checkboxes next to each option to enable or disable email notifications for specific events.
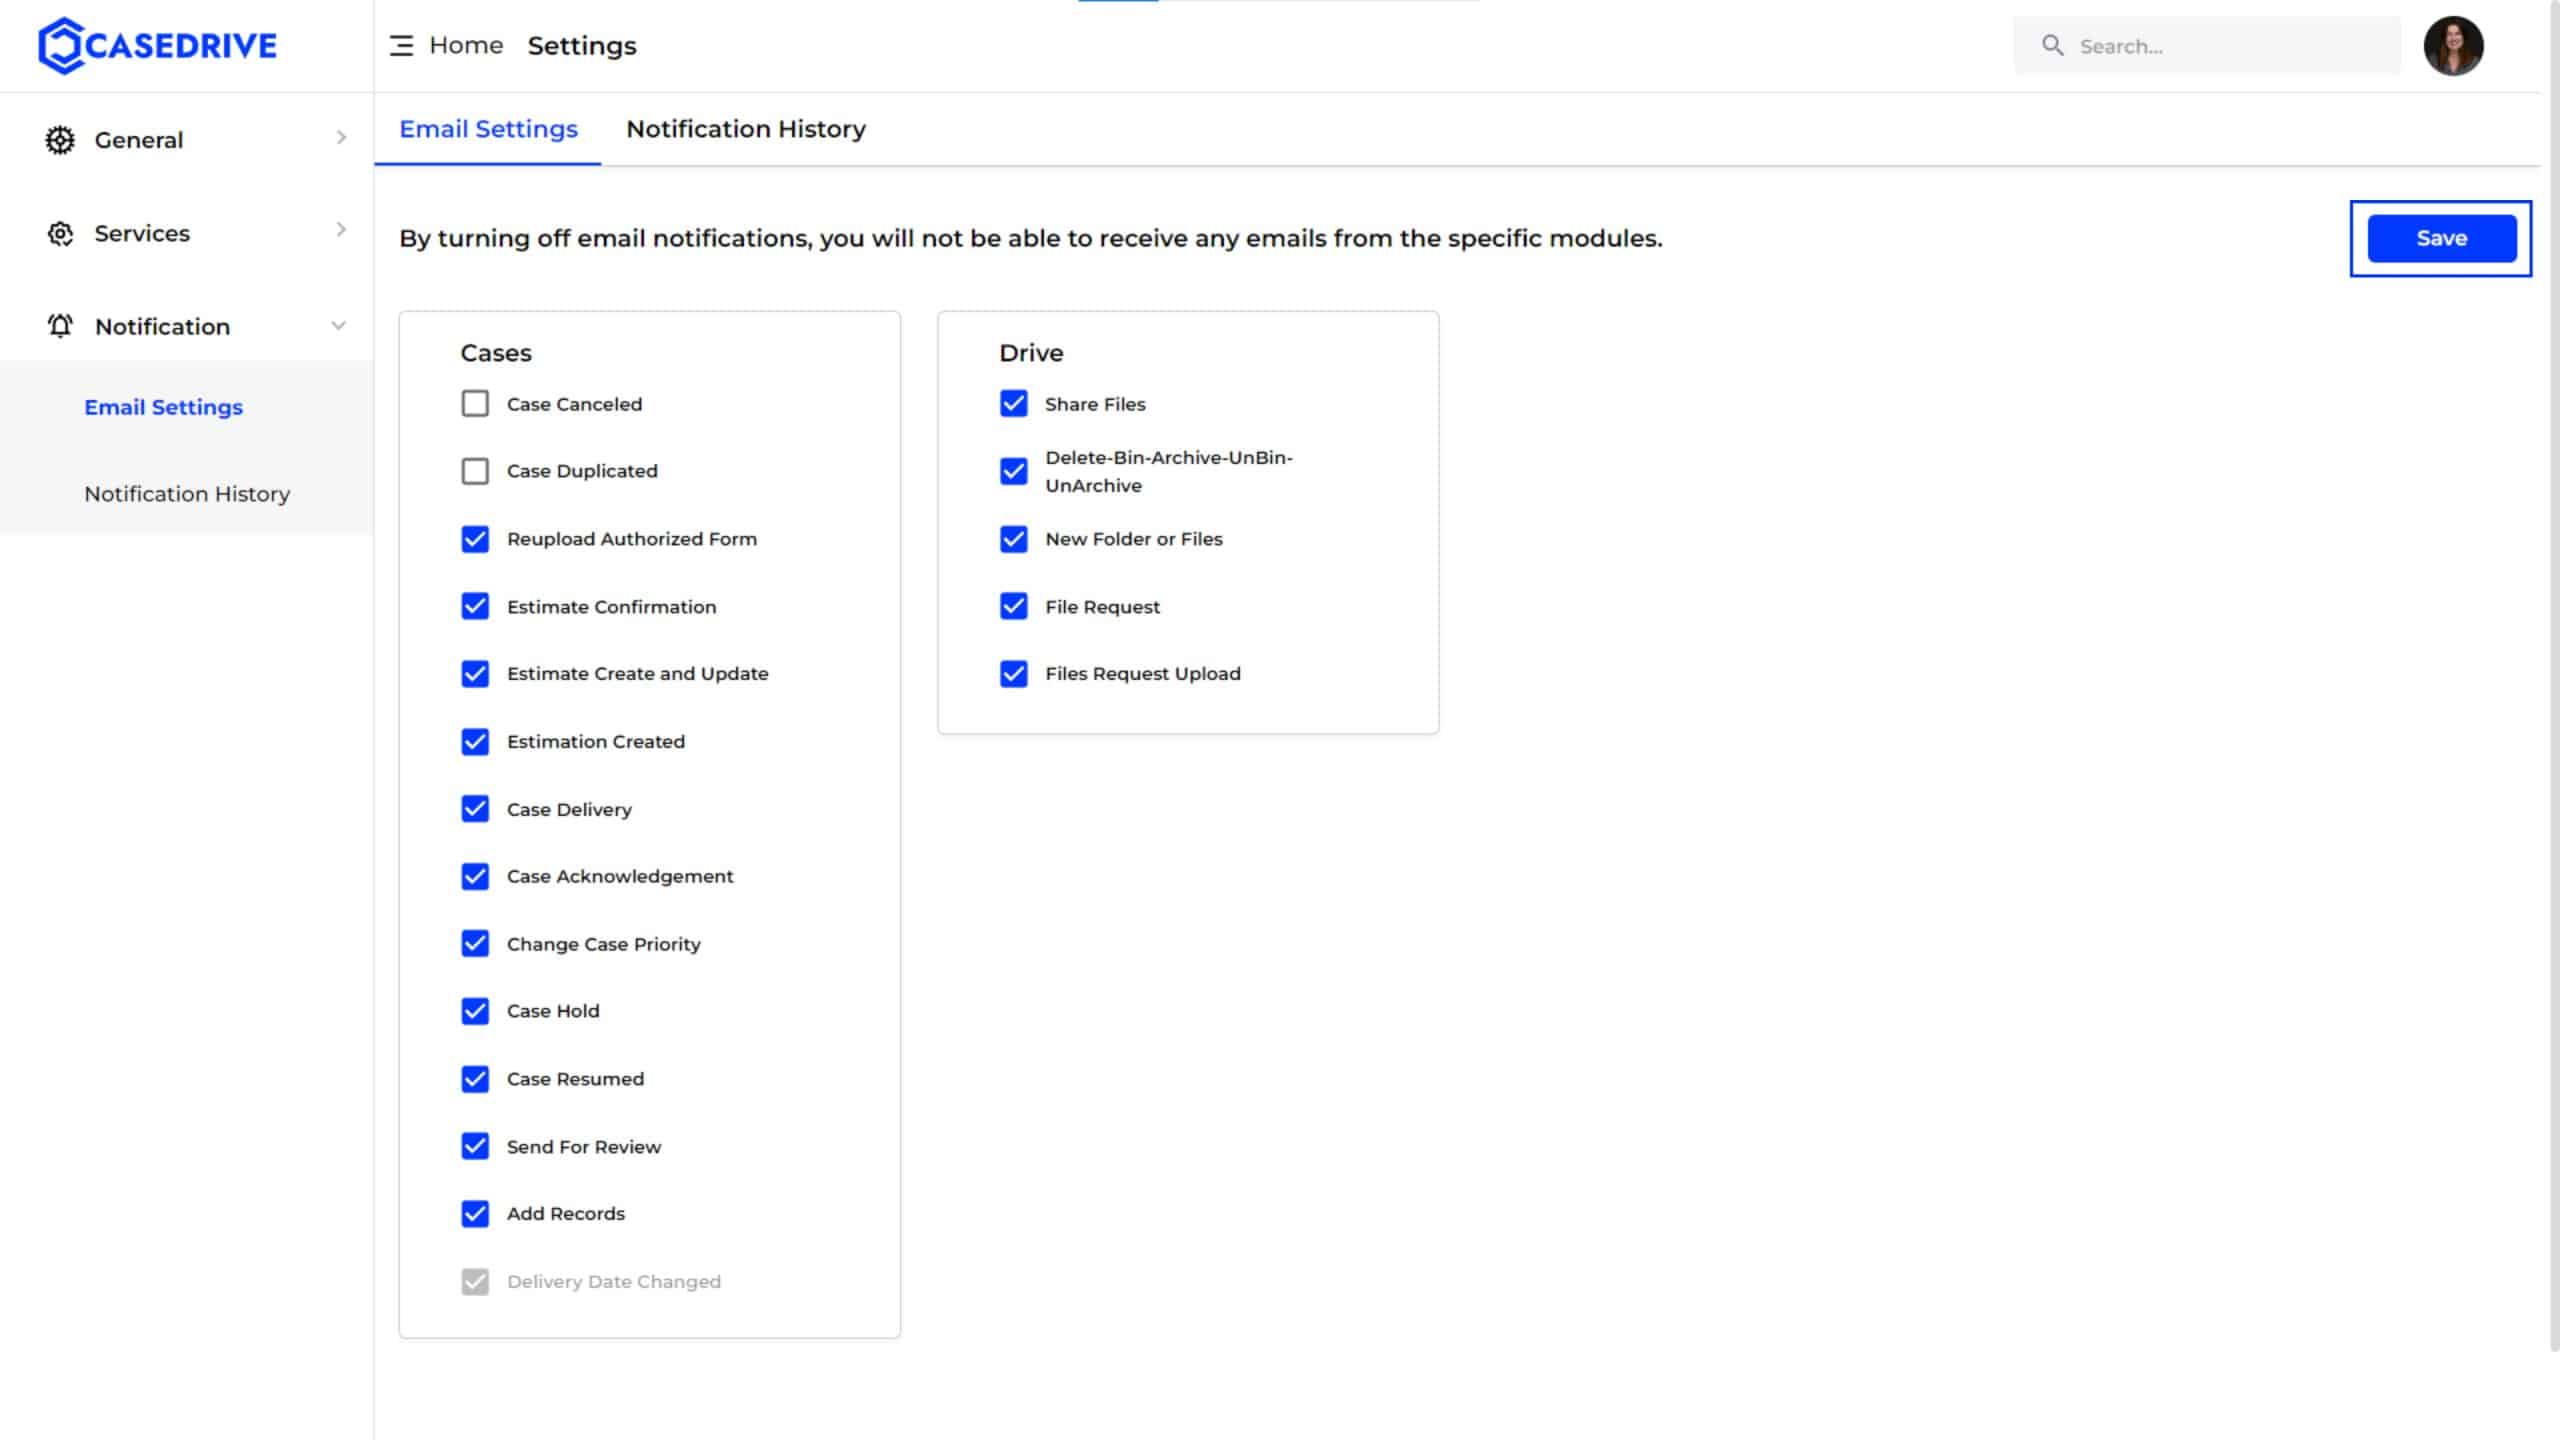
Save Changes
- After making your selections, click the Save button to apply your changes.
For Drive:
- Similar to the Cases section, select which Drive-related events (such as “Share Files,” “New Folder or Files,” etc.) should send email notifications.
- Enable or disable notifications by clicking the checkboxes.
- Click the Save button to apply your changes.
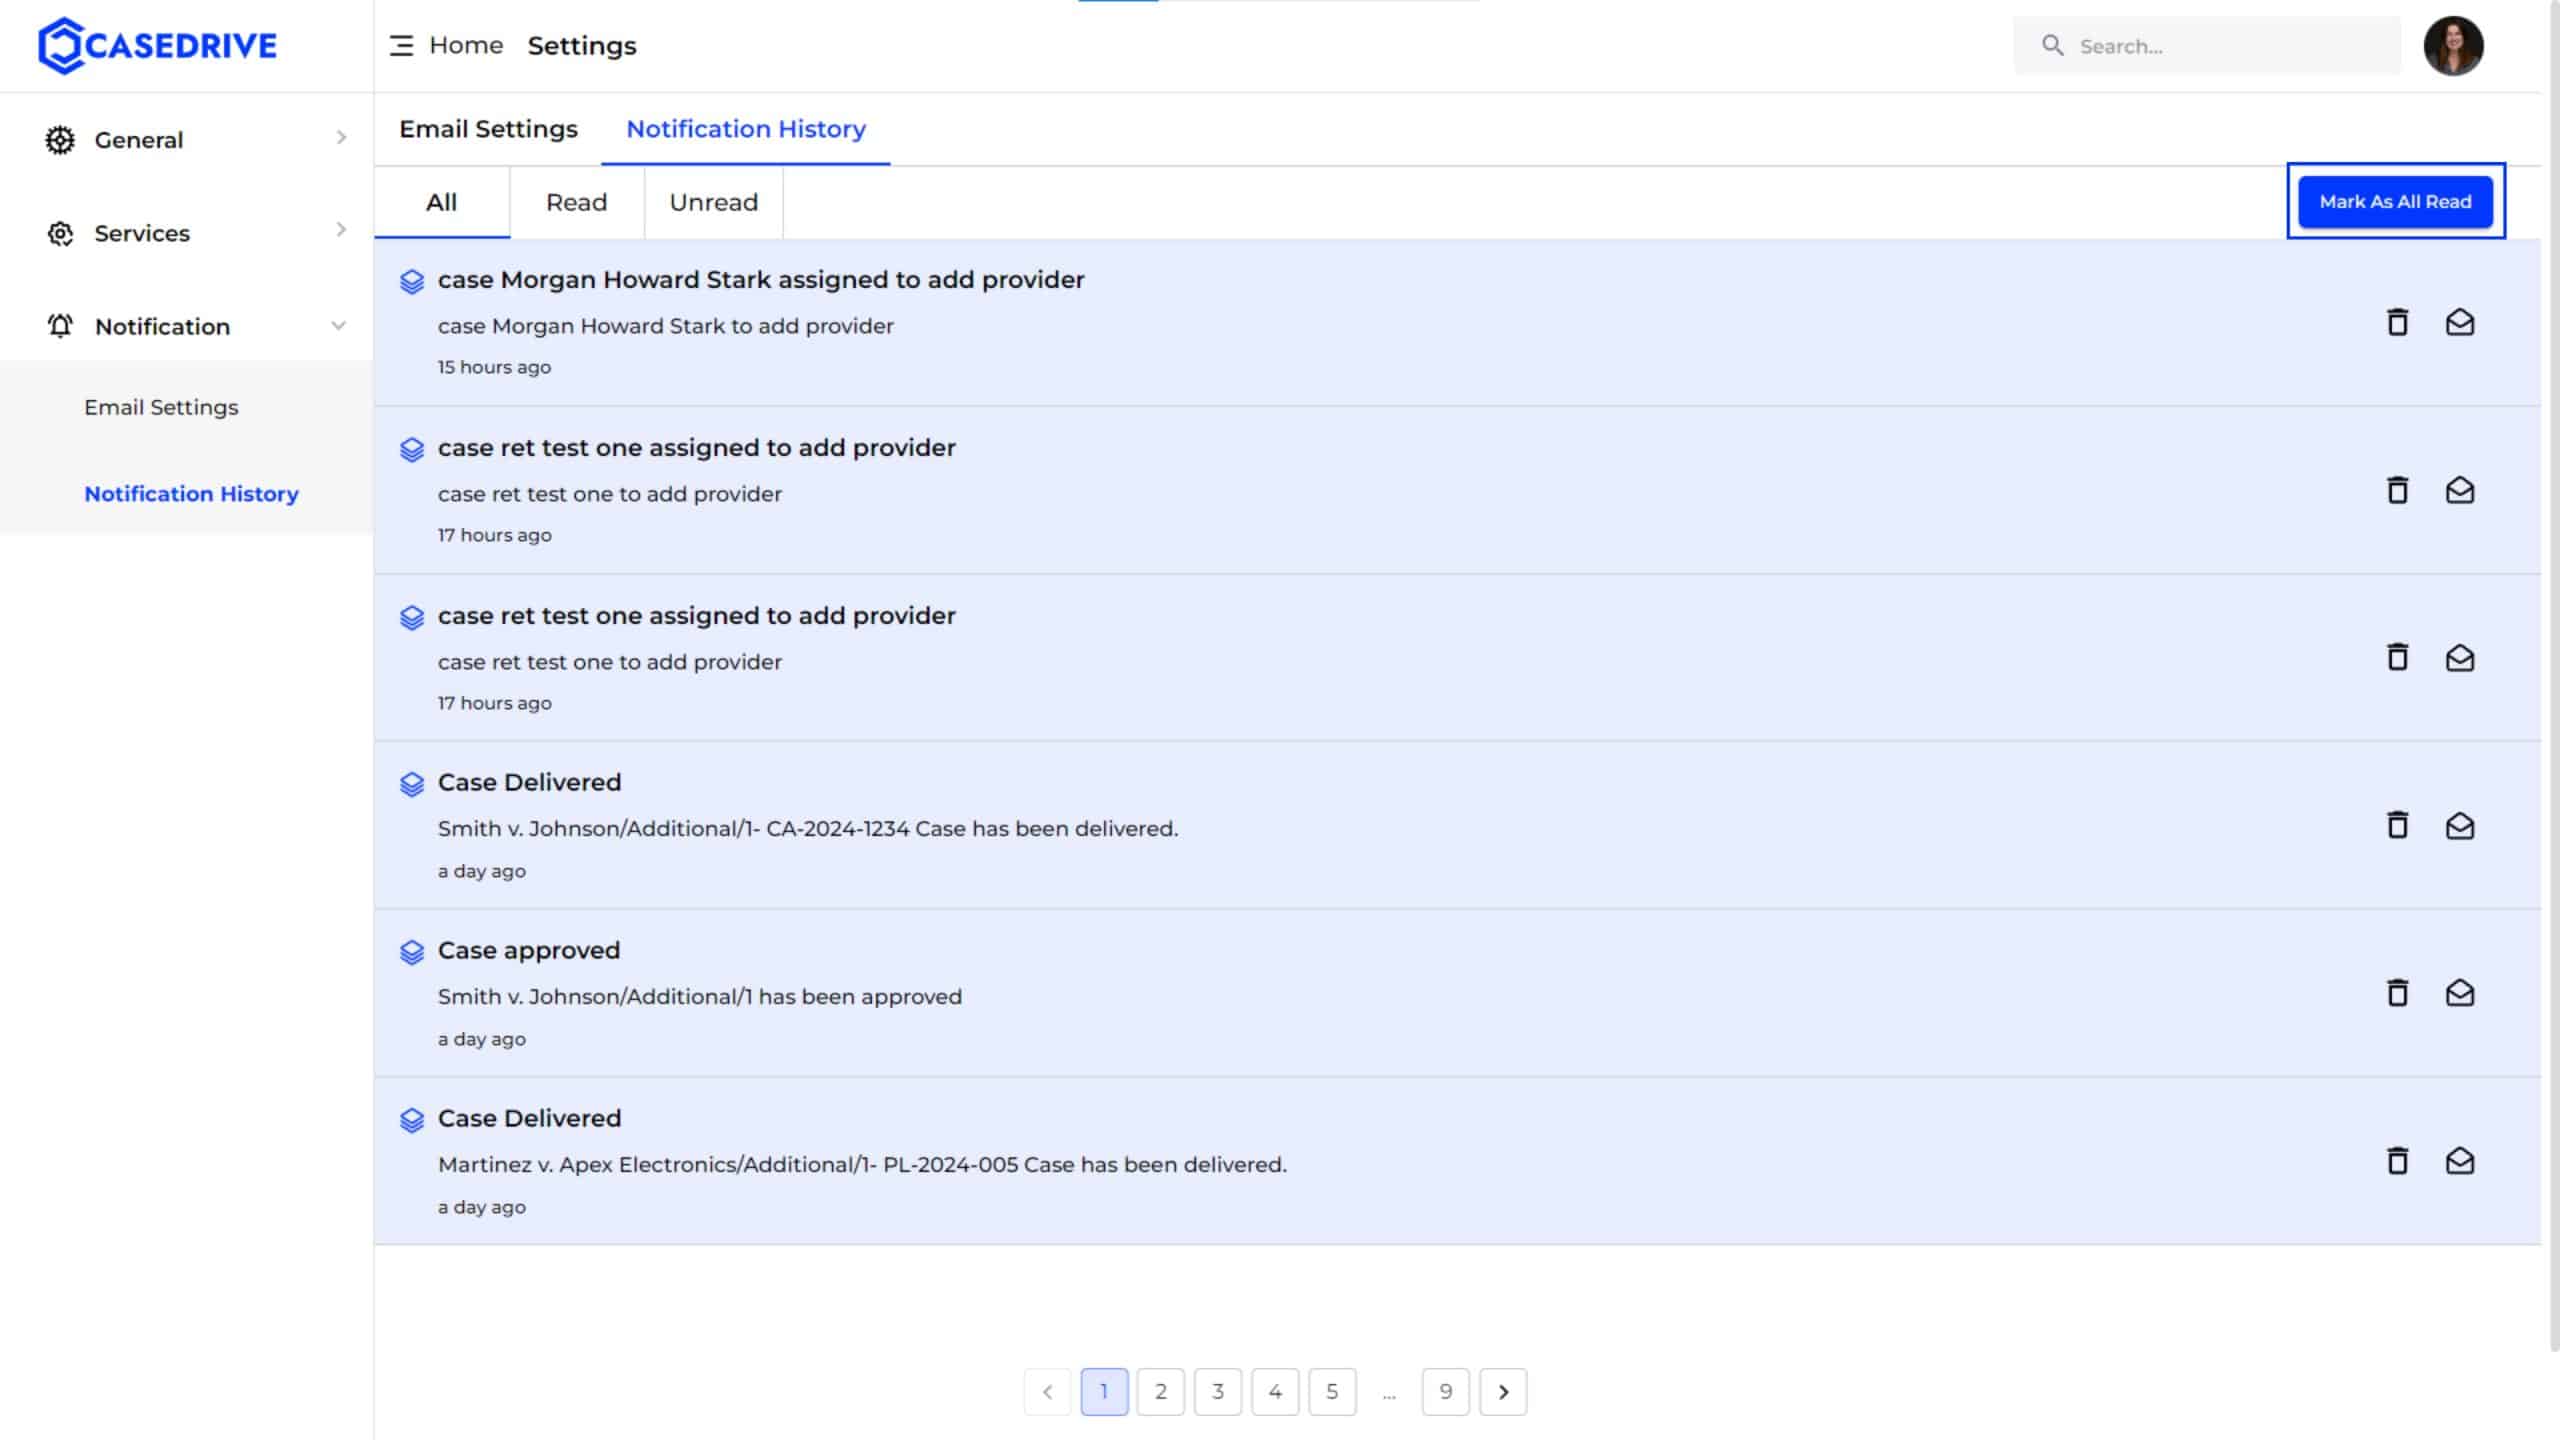
Manage Notification History
- To view the history of notifications, click on Notification History under the Notification section.
- The Notification History page displays all notifications related to your cases and activities in the system.

Viewing Notifications:
- You can filter notifications by selecting tabs such as All, Read, and Unread.
- This allows you to keep track of which notifications have been acknowledged and which are still pending.
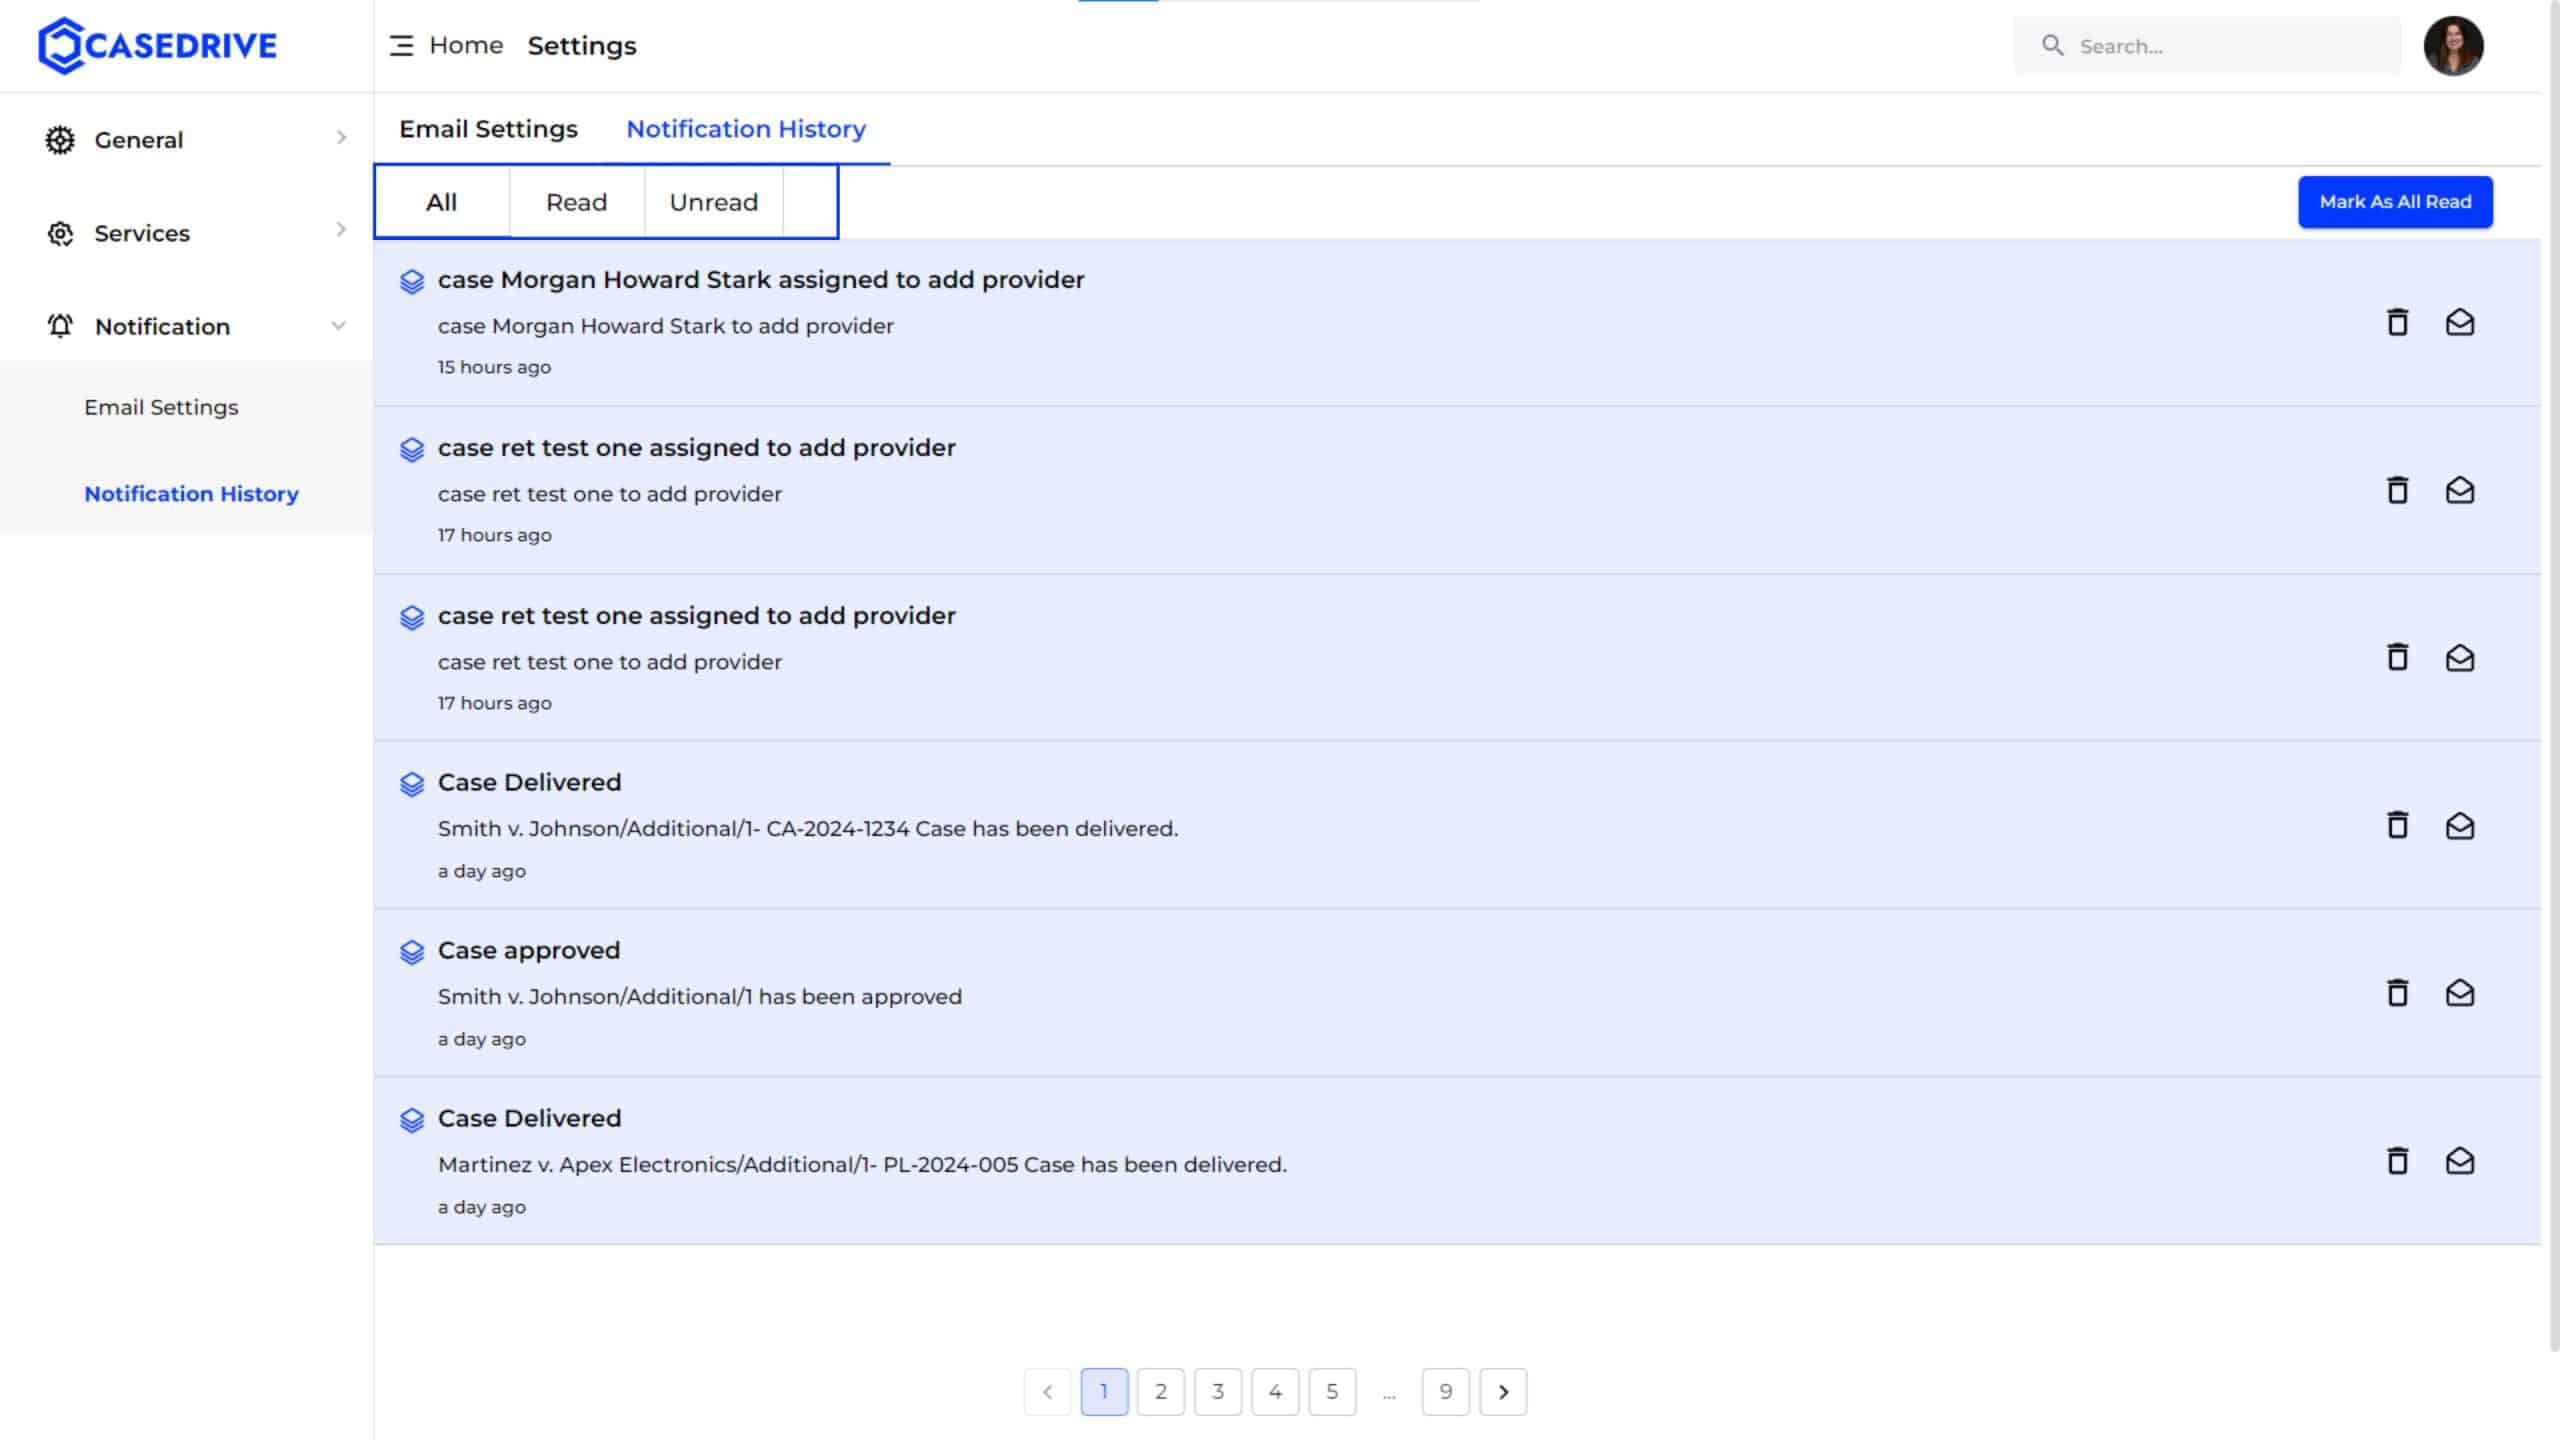
Managing Notifications:
- You can mark all notifications as read by clicking the Mark As All Read button at the top right of the notification list.
Notification Actions
- Each notification has two icons on the right: a trash can icon and an envelope icon.
Trash Can Icon
- Clicking this icon will delete the specific notification from the history.
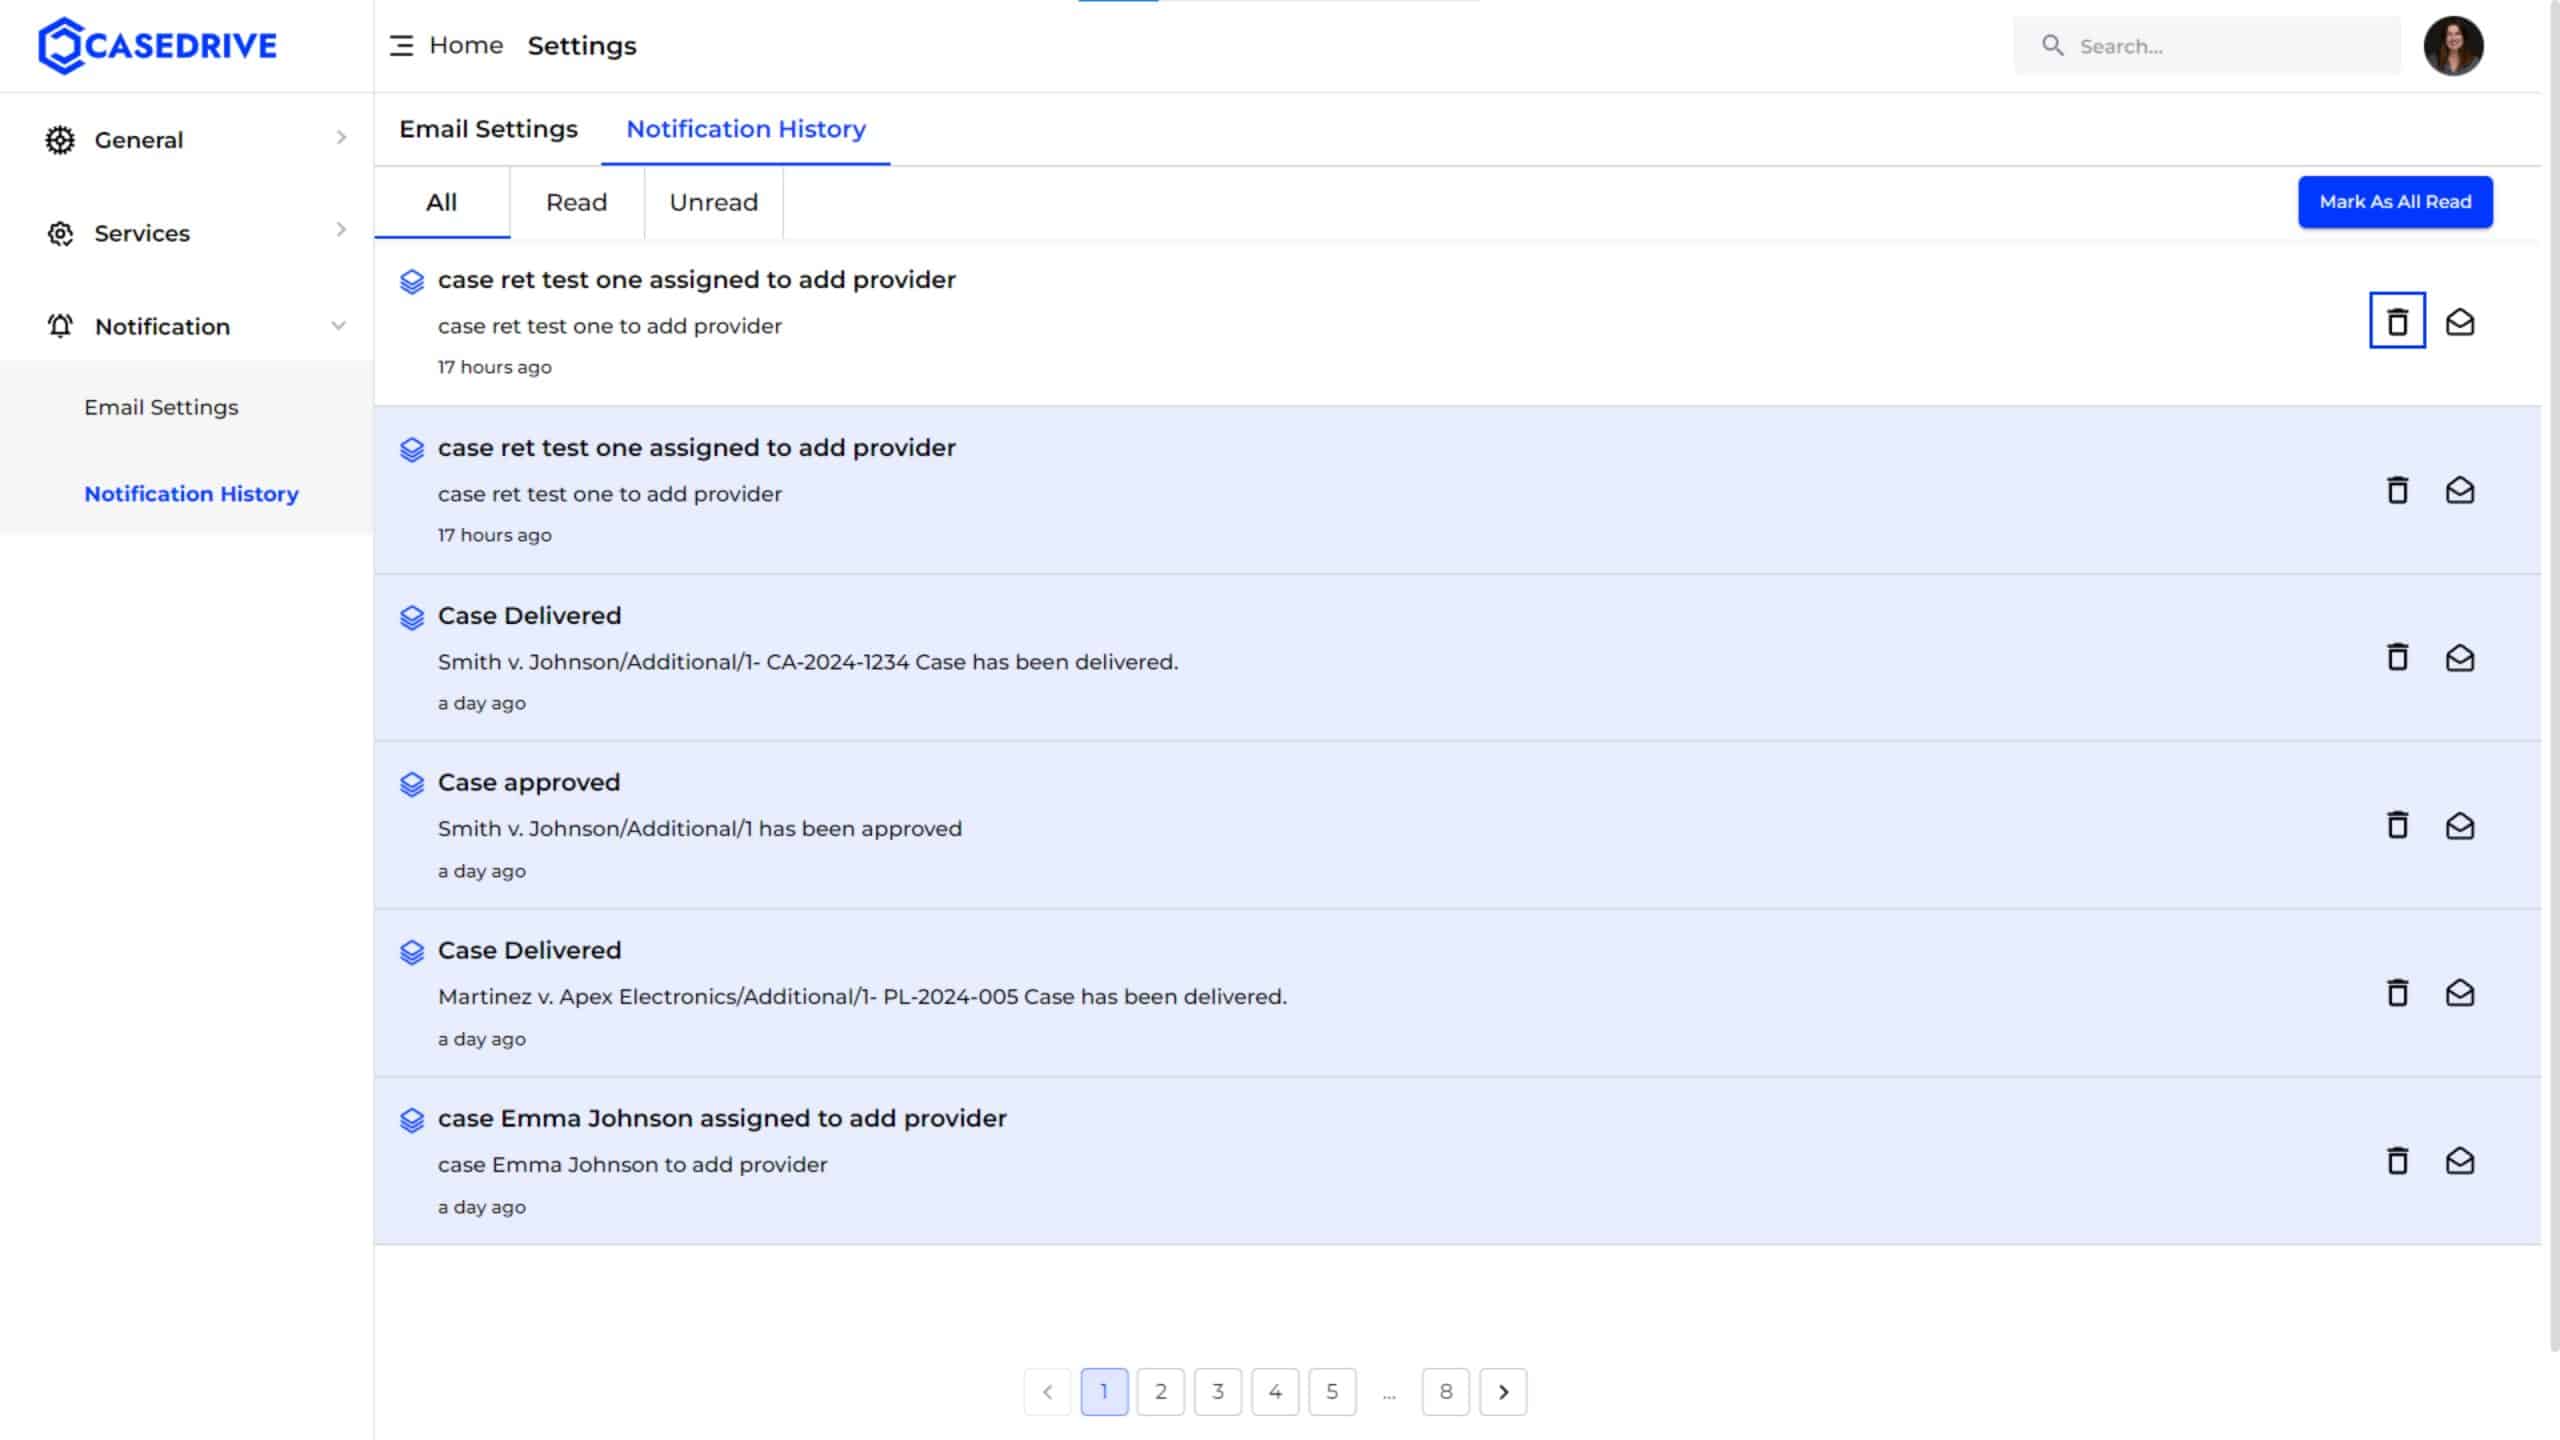
Envelope Icon
- This icon is used to mark the notification as read or unread. Clicking it changes the notification’s status.

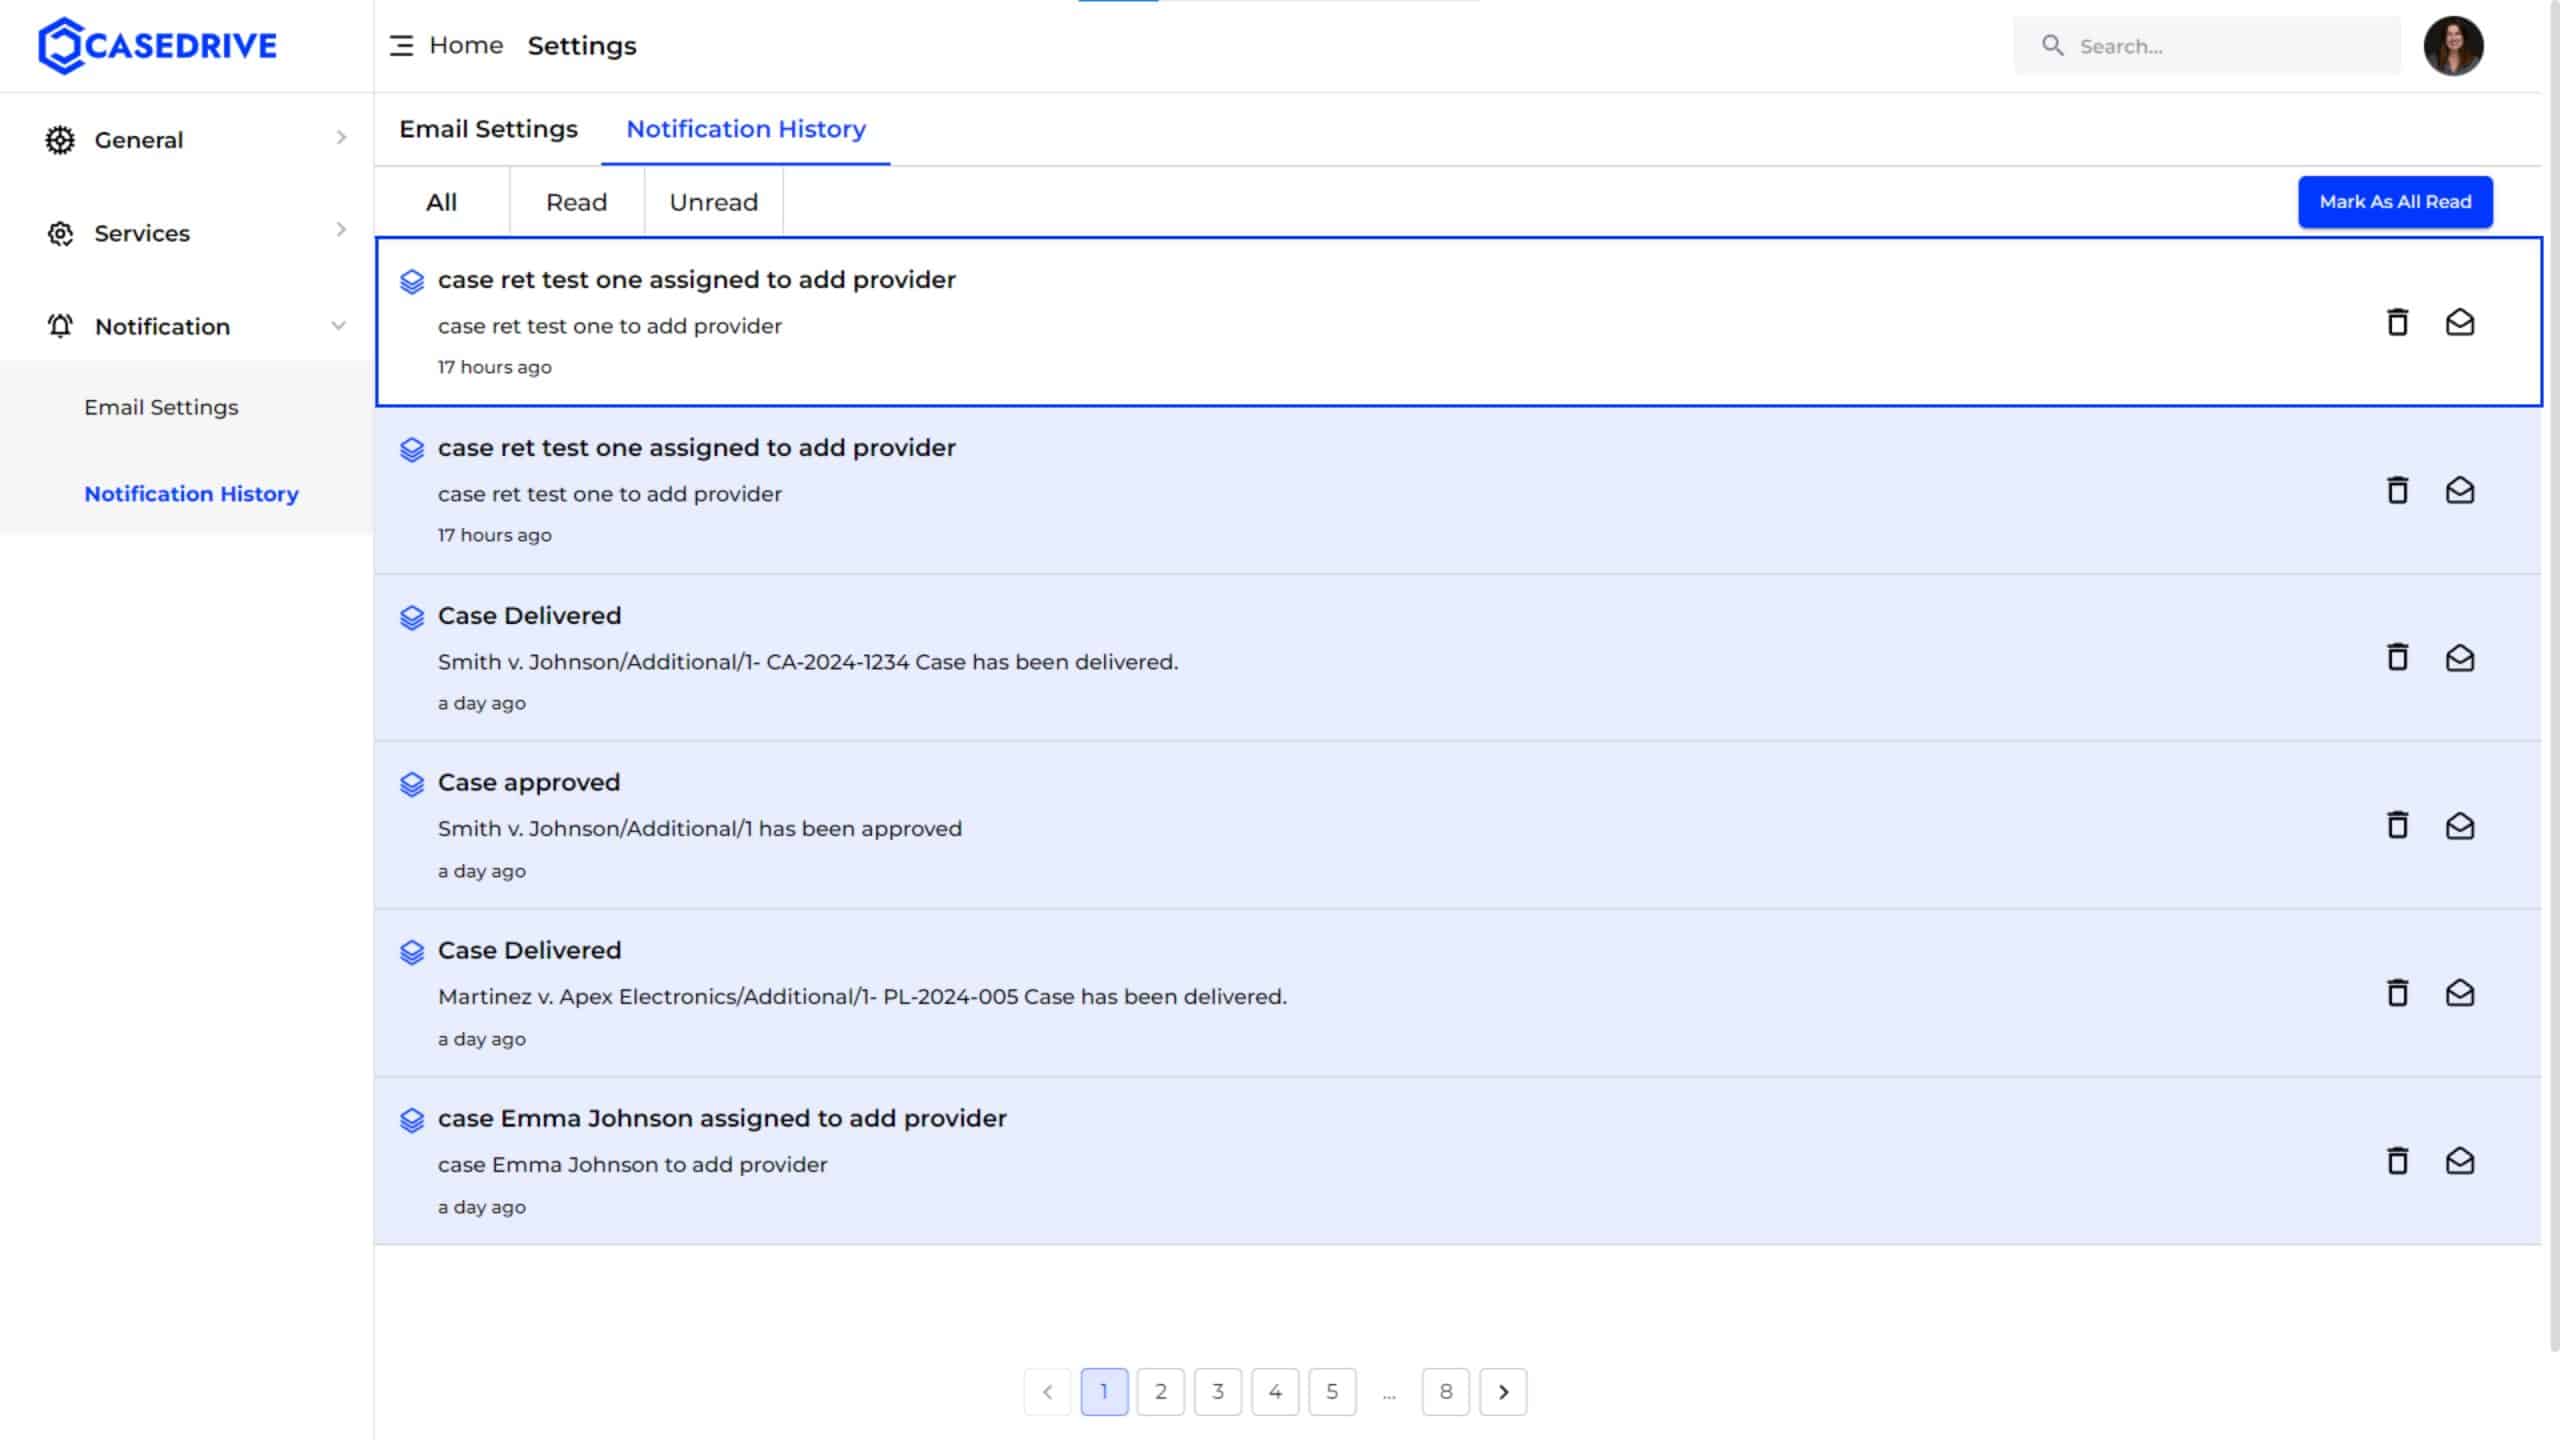
Navigation Controls
- At the bottom of the notification list, there are pagination controls (e.g., 1, 2, 3, …). These controls allow you to navigate through multiple pages of notifications, ensuring that you can access older notifications as needed.